Summary
Managing a Minecraft server is more than fixing tech issues. It's about making a good place for families, friends, and fans to build and look at worlds together. The server admin can choose how it looks and works using mods, rules, or favorite ideas. When someone runs a Minecraft server, they let people operate together on tasks, share helpful things, and do many kinds of in-game actions. Leading a Minecraft server means caring for a group where everyone feels welcome, learns new things, and does great things together.
Beginner's Guide to a BisectHosting Minecraft Java Server
Step 1: Purchase a Minecraft Server
1. Open the Minecraft Server Selector and choose Java.
2. Enter the preferred username and click Go!.
3. Decide on a modpack to pre-install.
| Note | Servers will not lock to the pre-installed pack and can be changed anytime. |
For the default experience, select the latest version of Vanilla Minecraft.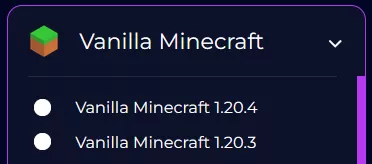
Or skip pre-installing by marking the checkbox.
When done, click Next.
4. Move the slider to the number of players on the server and hit Next.
5. Choose between a Premium or Budget server.
| Note | Premium servers offer 20 global locations and provide full access to features such as the JAR Menu, a dedicated IP address, automatic backups, and additional configurable backup and Instance Manager slots. In contrast, Budget servers offer 5 locations and limited access to these features, though these can be made available with paid addons. |
6. Select a server location.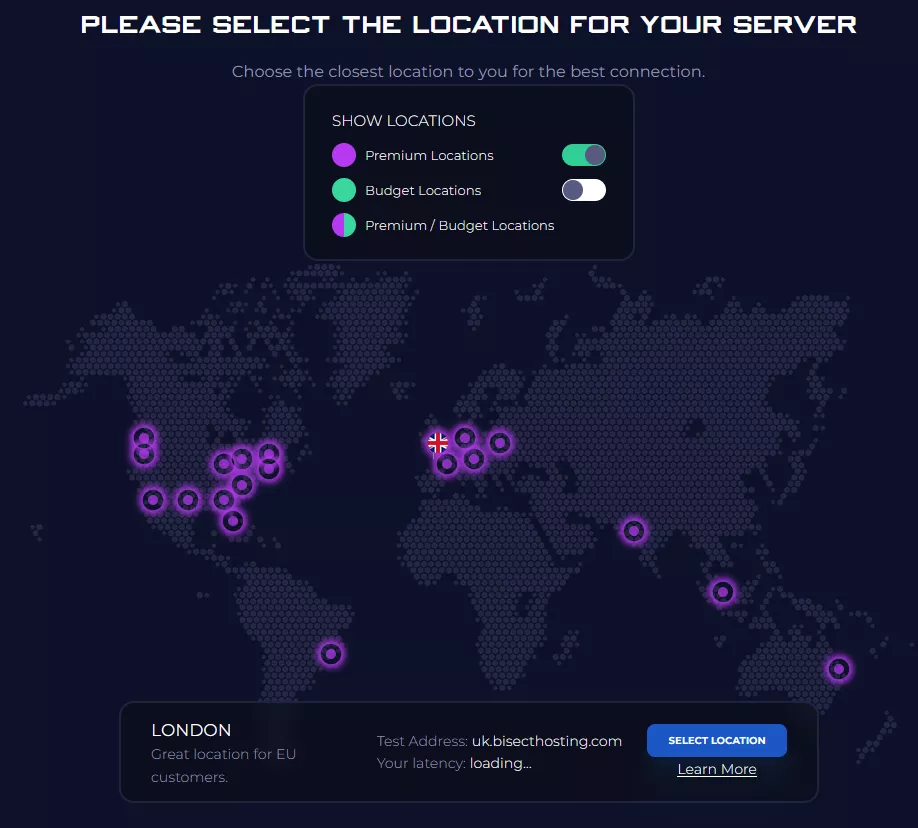
| Note | Choose a location with the lowest latency for less lag and smoother gameplay. |
7. Under the Recommended results, click Order and choose a billing cycle.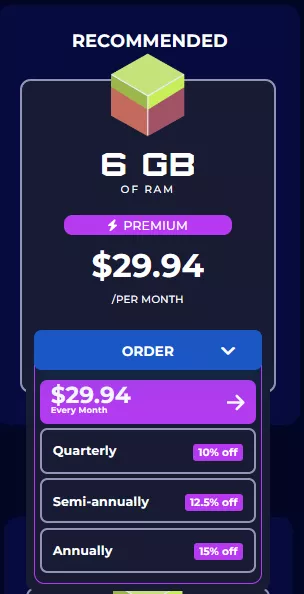

8. On the Configure page, make any preferred changes.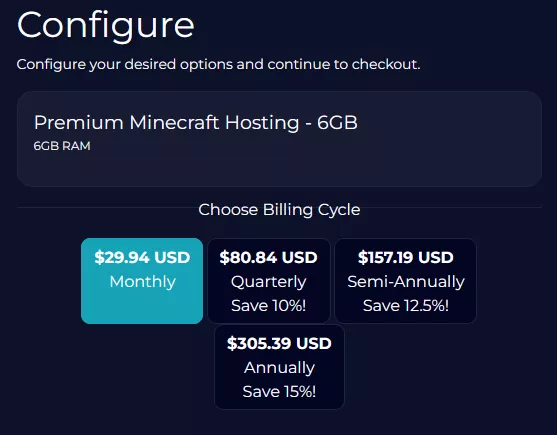
Customize Automated restart options if desired.
Mark the checkbox to accept the Minecraft EULA.
Under Available Addons, choose an addon if desired.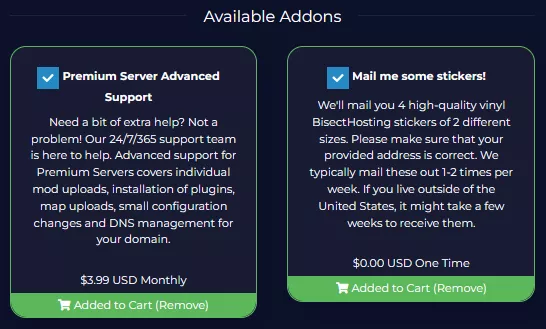
9. Under Order Summary, click Continue.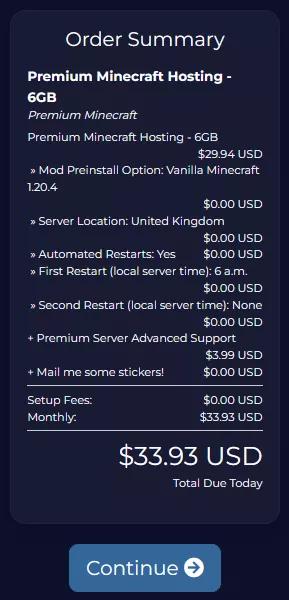
| Note | The BisectHosting team is happy to help with any questions on the server order. Click here to start a conversation with support. |
10. Review the order and click Checkout.![]()
11. Fill in the form and payment details and hit Complete Order.![]()
12. The server details and login credentials will be sent to the registered email once the order is complete.
Step 2: Accessing the Games Panel
1. Open the email received after completing the order.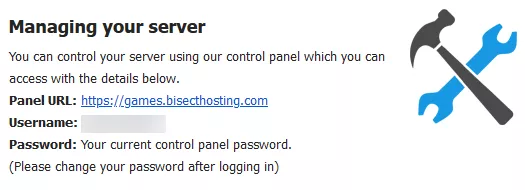
| Note | The email can also be viewed on the BisectHosting Billing panel. Learn how to here. |
2. Click the Panel URL.![]()
3. Input the credentials from the email and hit Login.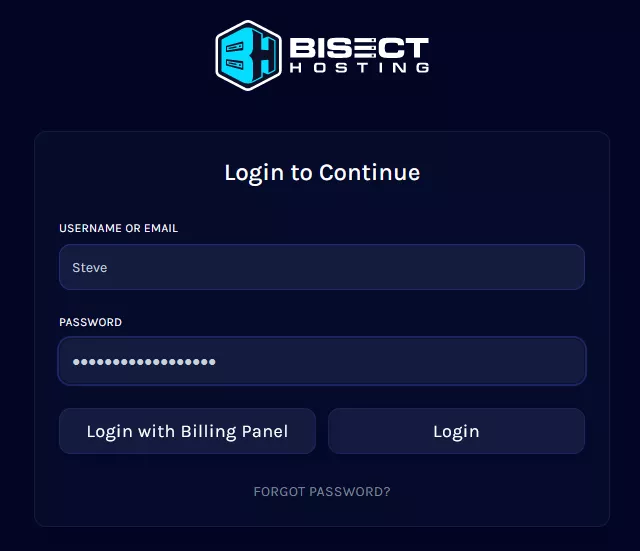
4. Under Account settings in the upper right corner, click Account.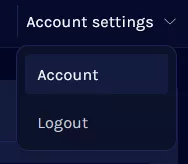
5. Change the password and hit Update Password.
6. Select the My Servers tab at the top.
7. Choose the server.
Step 3: Server Basics
Explore the guides below to learn the basics of managing a Minecraft server.
| Guide | Description |
| How to Connect to a Minecraft Server | Join and play on the Minecraft server. |
| How to Use the JAR Menu | Install different Minecraft versions and modpacks in a few clicks. |
| How to Use the Backup Manager | Secure the Minecraft server from crashes and unintended events. |
Step 4: Server Configuration
Configure a Minecraft server, including game rules, server properties, and world management.
| Guide | Description |
| How to Change the Difficulty | Customize the difficulty on the Minecraft server. |
| How to Reset or Create a New World | Start a Minecraft world from scratch or create multiple saves. |
| How to Edit Server Settings | Personalize server rules and settings. |
| Minecraft Server Properties Guide | View a detailed list of each server property. |
| How to Configure an FTP Client | Learn how to transfer large files to the server, such as custom worlds and mods. |
| How to Upload a Custom World | Play on a custom world created by players in the Minecraft community. |
Step 5: Server Administration
Find out how to give special permissions, use basic commands, and handle players on a Minecraft server.
| Guide | Description |
| How to Grant OP Permissions | Assign admins on the server. |
| Default Minecraft Commands | View the list of Minecraft commands. |
| How to Kick or Ban Players | Manage unruly players on the server. |
| How to Whitelist | Make the server private for specific players. |
| How to Install and Use the Server Stats Panel | Monitor server performance on the Multicraft panel. |
Step 6: Server Customization
Customize a Minecraft server by changing the MOTD and adding a server icon and resource pack.
| Guide | Description |
| How to Change the MOTD | Edit the Message of the Day that appears before joining the server. |
| How to Add a Server Icon | Change the server icon that appears before joining the server. |
| How to Add a Resource Pack | Require a resource pack for players to download when joining the server. |
Step 7: Minecraft Mods
Discover the essentials of using mods on a Minecraft server, from selecting mod loaders to managing modpacks.
| Guide | Description |
| How to Find Minecraft Mods | Visit the best places to download Minecraft mods. |
| How to Add Custom Mods | Find out how to install mods on the server. |
| How to Install a Custom Modpack | Discover installing personal modpacks on the server. |
| How to Install Forge | Learn how to install the Forge modloader to use Forge mods on the server. |
| How to Install NeoForge | Learn how to install the NeoForge modloader, a fork of Forge. |
| How to Install Fabric |
Learn how to install the Fabric modloader to use Fabric mods on the server. |
| How to Install Quilt |
Learn how to install the Quilt modloader, a fork of Fabric. |
Helpful Links
BisectHosting Minecraft Knowledgebase
Contact BisectHosting Support
