Summary
Uploading custom sandbox settings on a Project Zomboid server allows for a personalized and unique gameplay environment by enabling administrators to adjust parameters such as zombie behavior, loot availability, and environmental conditions. Custom sandbox settings empower server operators to craft scenarios that align with specific themes, challenges, or gameplay styles, enhancing players' overall immersion and enjoyment. Whether aiming for a more realistic survival simulation or creating a uniquely challenging zombie apocalypse, the ability to upload custom sandbox settings fosters a dynamic and engaging experience that caters to the desired vision of the Project Zomboid server community.
| Note | Make backups locally to save any necessary files. |
How to Upload Custom Sandbox Settings on a Project Zomboid Server
1. Log in to the BisectHosting Games panel.
2. Stop the server.![]()
3. Go to the Startup tab.![]()
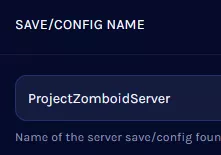
4. On the Save/Config Name table, take note of the name.
5. Launch Project Zomboid.
6. Select Host.
7. Click Manage settings.![]()
| Note | If the custom settings have already been created, skip to step 12. |
8. Select Create New Settings.![]()
9. Enter a name and click Next.
![]()
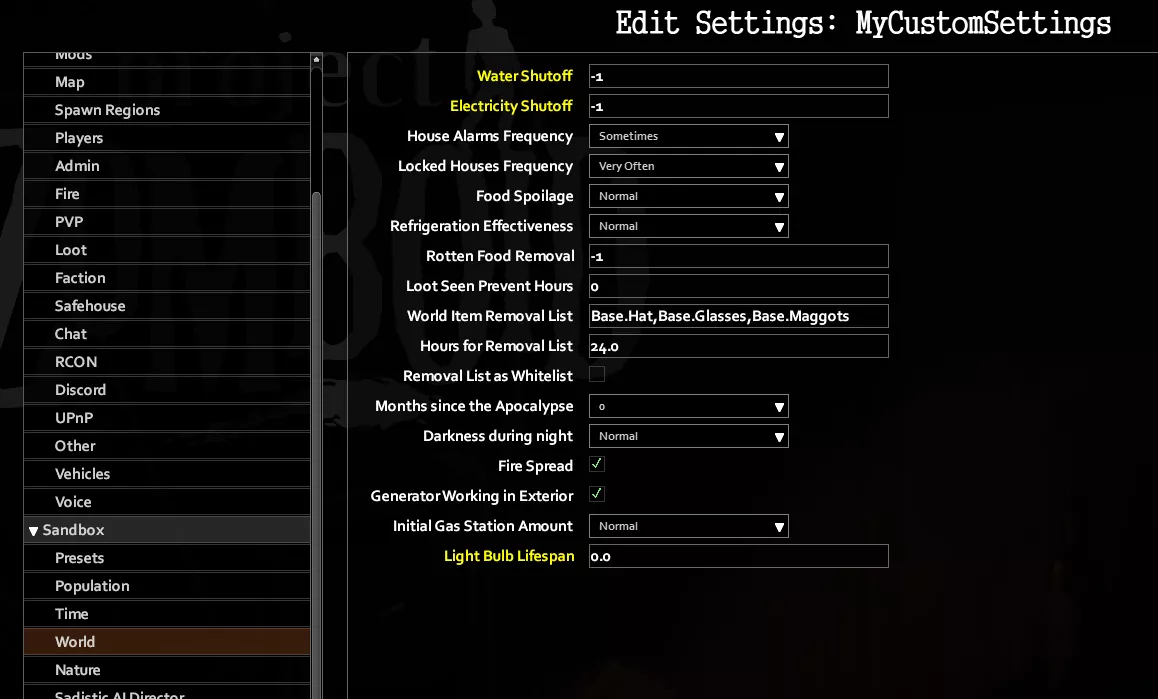
10. Under Sandbox, go through the tabs and edit the desired settings.
11. Click Save.![]()
12. Open File Explorer. 
13. Find the following directory: C:\Users\[Username]\Zomboid\Sandbox Presets . ![]()
14. Open [SettingsName]_SandboxVars.lua in Notepad.![]()
15. Go to Edit and click Select All. (Shortcut: CTRL + A)
16. Go to Edit and click Copy. (Shortcut: CTRL + C)
16. Return to the BisectHosting Games panel.
17. Go to the Files tab.![]()
18. Find the following directory: /home/container/.cache/Server .![]()
19. Open [Save/Config Name]_SandboxVars.lua for editing.![]()
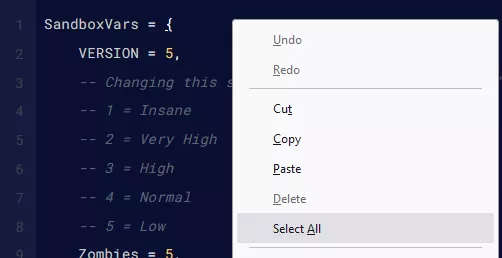
20. Right-click anywhere in the file and click Select All. (Shortcut: CTRL + A)
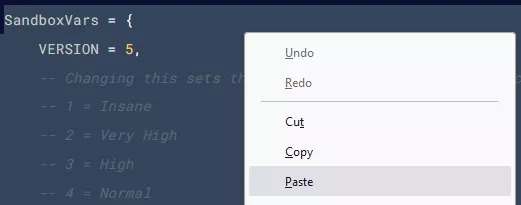
21. Right-click anywhere in the file and click Paste. (Shortcut: CTRL + V)
22. Choose the Save Content button on the lower right.
23. Start the server.![]()

