Summary
BeamMP servers have many default maps to choose from; however, many high-quality community maps can be installed and played on servers. Installing custom community maps follows the same process as installing mods, with a few extra steps that allow users to change to the new map. BeamMP uses map mods from the base game BeamNG.drive.
How to Install Custom Maps on a BeamMP Server
1. Download the desired map from the BeamNG site.
2. Log in to the BisectHosting Games panel.
3. Stop the server.![]()
4. Go to the Files tab.![]()
5. Find the following directory: home/container/Resources/Client .
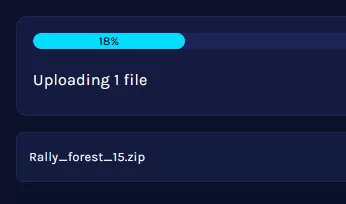
6. Upload the custom map to the server.
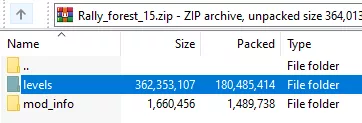
7. Open the map's zip file locally, not on the server, then open the levels folder.
8. Take note of the folder name inside. This will be the Map Name.
9. Go to the Startup tab on the games panel.![]()
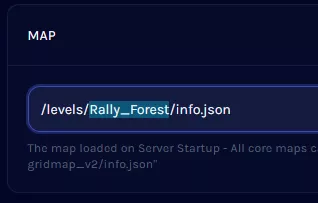
10. In the Map section, place the Map Name as follows: /levels/Map_Name/info.json .
11. Start the server. Players who join will download the map automatically.![]()


