Summary
BisectHosting's No One Survived servers offer a way for large groups of players to survive the harsh environment and dangerous zombie enemies that will hinder them at every turn. The game can be challenging for New Players, so look through all available server settings and customize them to their preferred playstyle. Purchasing a server through BisectHosting also ensures that the server can remain online so users can connect and play whenever possible.
Beginner's Guide to a BisectHosting No One Survived Server
Step 1: Purchase a No One Survived Server
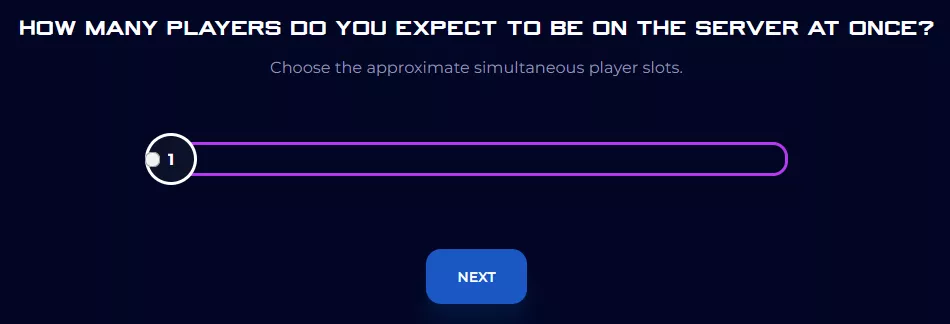
1. Open the No One Survived Server Selector.![]()
2. Adjust the sliders for the preferred Max Player Slots on the server. When finished, click Next.
3. Choose the nearest location available, and click Select Location.
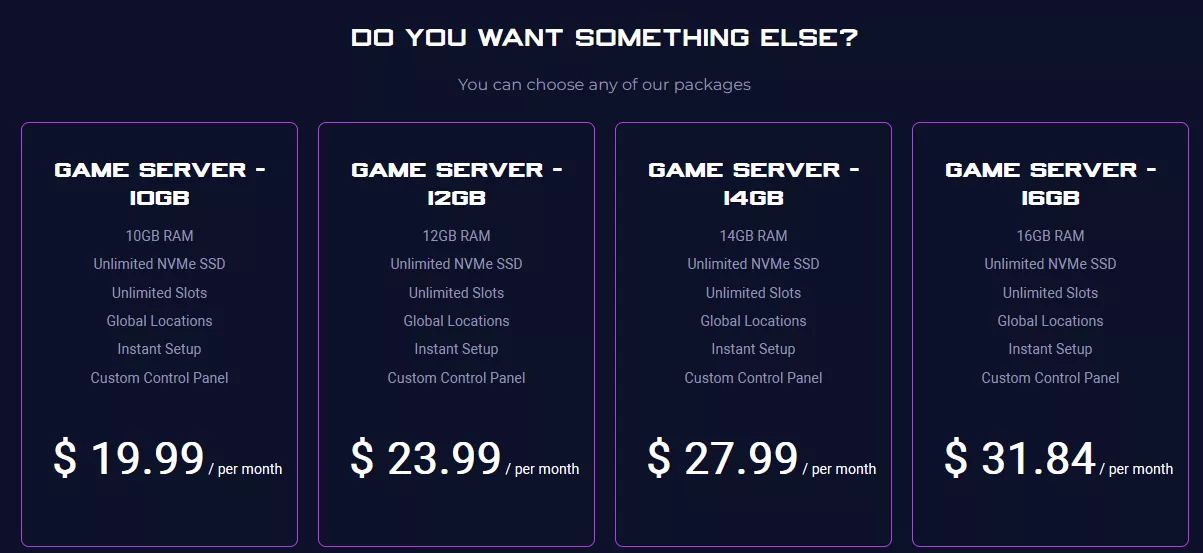
4. Choose the desired Server Package.
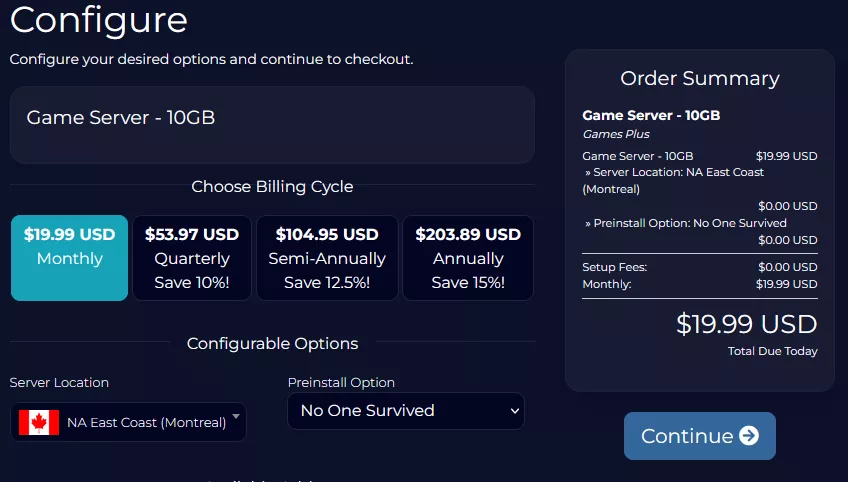
5. Select the desired Billing Cycle.
6. Press the Continue button.![]()
7. Review the order and click Checkout.
| Note | BisectHosting is happy to help with any questions on the server order. Click here for assistance. |
8. Fill in the form and Payment Details, then choose Complete Order.
Step 2: Access the BisectHosting Games Panel
1. Go to the email received after completing the order.
2. Open the provided link to the BisectHosting Games panel next to the Panel URL.![]()
3. Enter the credentials from the email or log in with the Billing panel.![]()
4. View the newly purchased server from the My Servers tab.![]()
Step 3: Server Basics
Explore the basics of setting up and joining the server.
| Guide | Description |
| How to Connect to a No One Survived Server | Learn how to join the server and start playing. |
| How to Change the Server Name on a No One Survived Server | Learn how to change the server name so it stands out more. |
| How to Add a Password to a No One Survived Server | Learn how to add a password to secure the server from random users. |
Step 4: Server Configuration
Learn where to find various settings for a No One Survived server and how to adjust them.
| Guide | Description |
| How to Edit Server Settings on a No One Survived Server | Learn where to locate configuration files to customize the server. |
| How to Change the Max Players on a No One Survived Server | Learn how to adjust the maximum player cap. |
| How to Change the Zombie Spawn Rate on a No One Survived Server | Learn how to change the spawn rate of zombies on the server. |
| How to Change the Listed Server Region on a No One Survived Server | Learn how to change the server region, so players know what region it's from. |
Step 5: Server Administration
Learn where to access the admin console and how to use various admin functions.
| Guide | Description |
| How to Access the Admin Console on a No One Survived Server | Learn how to set an admin password and open the panel in-game. |
| How to Kick or Ban Players on a No One Survived Server | Learn how to remove another player from the server. |
| How to Spawn Items on a No One Survived Server | Learn how to spawn items using the admin panel. |
Step 6: World Management & In-Game
Learn about new character attributes and how to manage world saves.
| Guide | Description |
| How to Upload a Save on a No One Survived Server | Learn how to upload a local or custom save onto a server. |
| How to Create a New Save on a No One Survived Server | Learn how to start a new save while retaining the old one. |
| New Character Attributes in No One Survived | Learn about the new character attributes available in the game. |
Helpful Links
BisectHosting Blog: No One Survived
BisectHosting No One Survived Knowledgebase
Contact BisectHosting Support
