Summary
Euro Truck Simulator 2 has many mods for players to add custom cars or other community-made content directly to the server. By executing the required commands, server Moderators can export and import mod packages directly to the server. This transfers any mods installed to the server and prompts users to download them upon joining the convoy. This makes the server much more enjoyable for advanced players, as they can acquire new advanced trucks and much more.
How to Install Mods on a Euro Truck Simulator 2 Server
1. Ensure the desired mods are loaded through the in-game Mod Manager.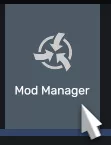
2. Select a profile and start driving with the mods enabled.
3. Open the Developer Console and enter the following: export_server_packages .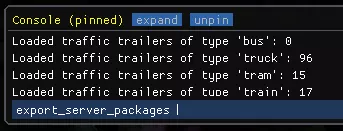
4. The console will report that the mods have been exported.![]()
5. Open the File Explorer and find the following file path: [User]/Documents/Euro Truck Simulator 2 .![]()
6. Locate the server_packages.dat and server_packages.sii files. Then, minimize the folder for later use.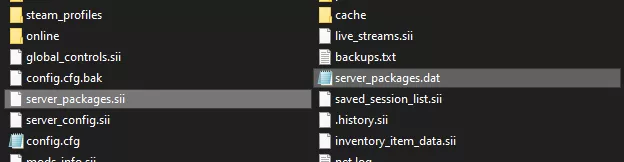
7. Log in to the BisectHosting Games panel.
8. Stop the server.![]()
9. Go to the Files tab.![]()
10. Find the following directory: /.local/share/Euro Truck Simulator .
11. Delete the server_package files on the server.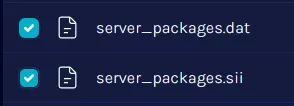
![]()
12. Upload the server_packages files from the local folder.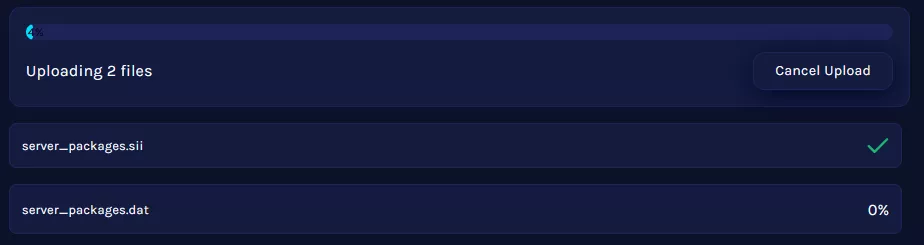
13. Start the server.![]()
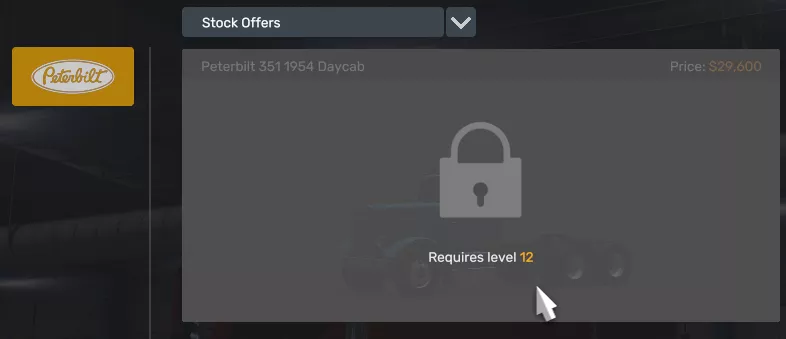
14. Modded Vehicles can be acquired by going to Services > Truck Dealers.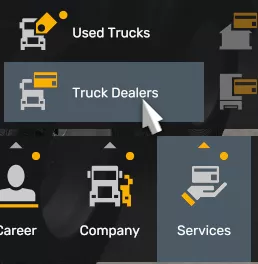
15. From the Truck Dealer, choose Access Mod Dealer.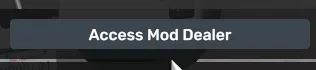
16. Any modded vehicles will be available for purchase here.