Summary
Using the Plugins Manager on a Minecraft server simplifies plugins' installation, management, and updating, ensuring the server runs smoothly with the latest features and security patches. It offers an easy-to-use interface that helps server administrators customize and enhance gameplay without needing extensive technical knowledge. Additionally, the Plugins Manager helps prevent conflicts between plugins, maintaining a stable and enjoyable gaming environment for players.
| Requirement |
| PaperMC or SpigotMC must be installed on the server. Learn how to here. |
How to Use the Plugins Manager on a Minecraft Server
1. Log in to the BisectHosting Games panel.
2. Stop the server.![]()
3. From the Minecraft Tools tab, choose Plugins.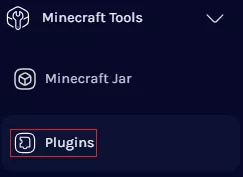
4. Choose the desired Plugin Loader.
5. Use Search and Filter Categories to find the desired plugin.![]()
6. Select the desired plugin and click Open Plugin Page.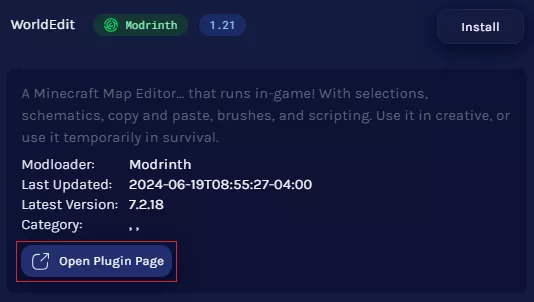
7. Take note of the plugin versions to match the current Minecraft server version.![]()
8. Return to the BisectHosting Games panel, choose the desired plugin, and click install.![]()
9. Select the desired plugin version from Step 7.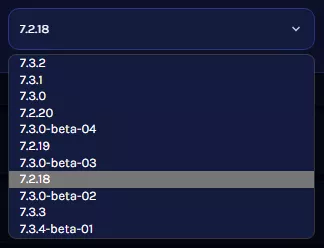
10. Press the Install button.![]()
11. Start the server.![]()
How to Manage a Plugin on a Minecraft Server (Using Plugins Manager)
1. Log in to the BisectHosting Games panel.
2. Stop the server.![]()
3. From the Minecraft Tools tab, choose Plugins.
4. Under Plugin Loader, choose Installed.![]()
5. Select the desired plugin and click Edit.![]()
6. Edit the desired plugin settings.![]()
7. Start the server.![]()

