Summary
Forge is a modding API for Minecraft that allows users to create and install mods to add new features, items, blocks, and gameplay mechanics. It is free and open-source, providing developers with a platform to create and share mods easily and tools and utilities to aid in mod development. This guide covers installing Forge 1.17+ manually on a Minecraft server.
| Note | For versions of Forge 1.16 and lower, follow the guide here. |
How to Manually Install Forge 1.17+ on a Minecraft Server
1. DownloadForge.
2. Choose a version and select Installer.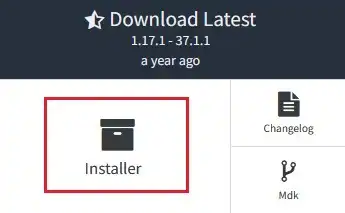
3. Launch the Forge Installer and select InstallServer.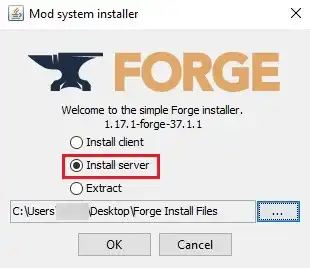
4. Change the installlocation to a folder on the desktop.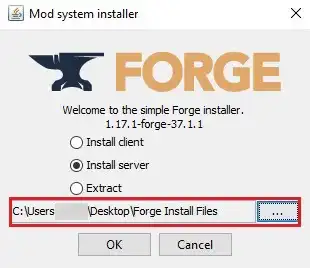
5. Click OK.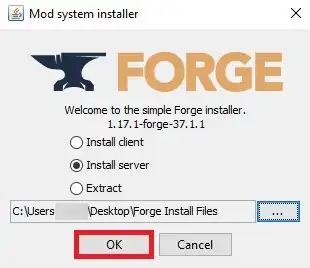
6. Once finished, navigate to the folder on the desktop.
7. Select all files. Right-click and choose Send to>Compressed (zipped) folder. 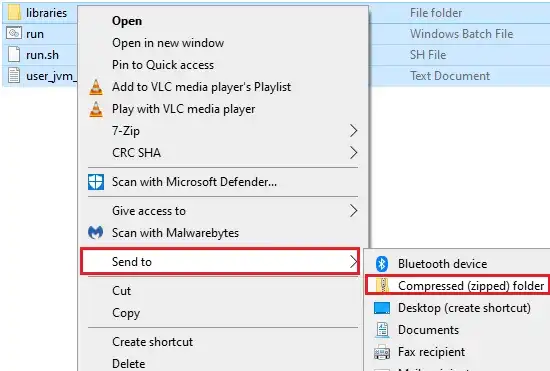
8. Minimize the file to use later in the tutorial.
9. Log in to the Bisecthosting Budget panel.
10. Stop the server.![]()
11. Choose the blue Open JAR Menu button.![]()
12. Select Custom on the left.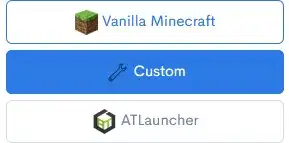
13. Toggle the button next to Custom Forge 1.17+.![]()
14. Choose what to do with the existing server files.
15. Go to the File Manager tab on the left.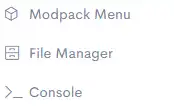
16. Choose the green Upload button. 
17. Drag and drop the .zip file from step 8.
18. Right-click on the .zip file and choose Unarchive.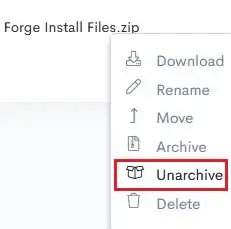
19. Confirm by choosing the green Unarchive button.
20. Start the server.![]()

