Summary
Configuring an FTP (File Transfer Protocol) client for Minecraft allow players to upload and download files to and from their server, which can help transfer custom maps, mods, skins, and other game data. It makes managing and organizing game files easier. Additionally, an FTP client can allow players to quickly backup their Minecraft files, which can be helpful in case of crashes, data loss, or other issues.
| Note | We recommend the following FTP Clients based on your operating system: WinSCP - Windows Users (download here) Cyberduck - MacOS Users (download here) |
What is the purpose of using an FTP client?
A third-party FTP (File Transfer Protocol) client allows you to access, upload, and download files from your server. Although we do have a File Manager built into the BisectHosting control panel, any file bigger than 500MB must be transferred through an FTP.
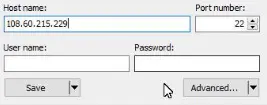
How to configure an FTP using WinSCP:
1. Download and launch WinSCP from here.
2. Unless login panel automatically appears, click New Session.
3. Log in to the BisectHosting Premium or Budget panel.
4. Click on File Manager then FTP Credentials.

5. Copy and paste credentials into fields on WinSCP.
6. Click Login.
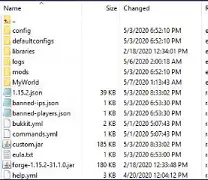
7. You now have access to all your files and can easily drag and drop to upload/download files.
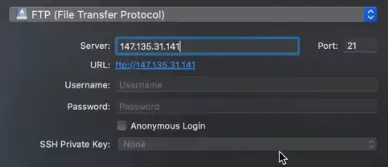
How to configure an FTP using Cyberduck
1. Download and launch Cyberduck from here.
2. Click Open Connection.
3. Log in to the BisectHosting Premium or Budget panel.
4. Click File Manager then FTP Credentials.

5. Copy and paste credentials into fields on Cyberduck.
6. Click Connect.
7. You now have access to all your files and can easily drag and drop to upload/download files.


