Summary
Adding a server icon to a Minecraft server is a simple but effective way to enhance its appearance and make it more recognizable to players. A server icon is a small image next to the server name in the server list and can be customized to represent the server's theme, brand, or style. Adding a server icon can make the server stand out from the countless other servers in the Minecraft community and attract more players to join.
| Requirement |
Server icons must be 64x64 pixels and saved as a PNG file. |
| Note | Server icons support partial image transparency. |
How to Add a Server Icon on a Minecraft Server
1. Prepare the server icon image. 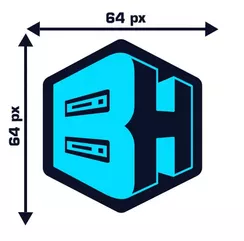
2. Rename the image to server-icon.png.
| Note | If Windows File Extensions is disabled, rename it to just server-icon. |
3. Minimize the file to use later in the tutorial.
4. Log in to the BisectHosting Premium or Budget panel.
5. Stop the server.![]()
6. Go to the File Manager tab on the left.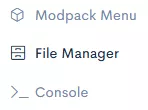
7. Upload the .png file from step 3.![]()
8. Start the server.![]()
How to Resize a Server Icon for a Minecraft Server
1. Open the server icon image in Paint.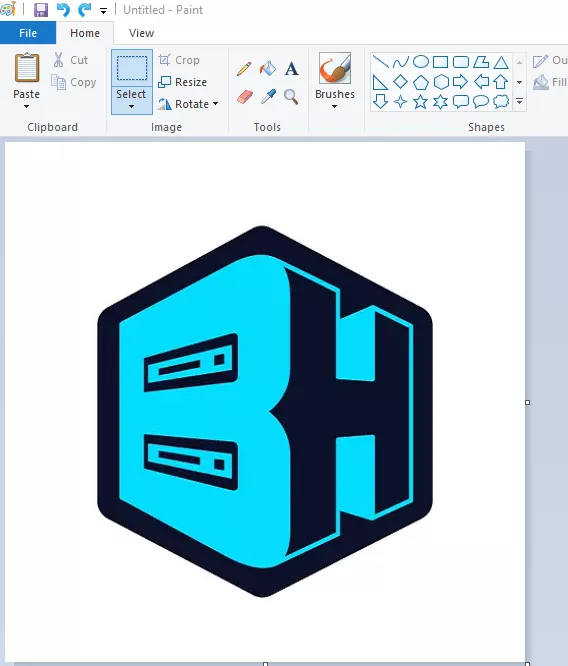
2. Under the Home tab, select Resize.![]()
3. Choose the Pixels option.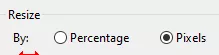
4. On both Horizontal and Vertical fields, input 64.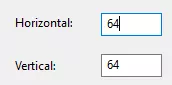
5. If the pixel sizes do not match, uncheck Maintain aspect ratio.![]()
| Note | The image may stretch if the pixel sizes do not match. Consider cropping the image borders until the desired result. |
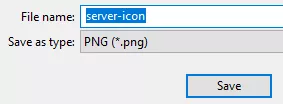
6. Go to the File tab and choose Save as > PNG picture.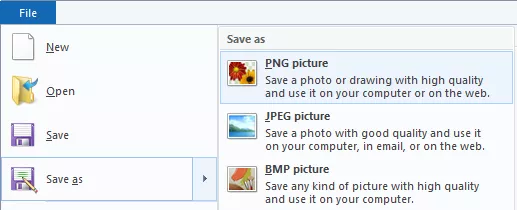
7. Input server-icon and hit Save.