Summary
BungeeGuard is a plugin designed to enhance the security of BungeeCord servers in Minecraft, which are inherently insecure by default. The plugin adds a secret authentication token to the login handshake on the proxy and checks login handshakes on the backend to ensure they contain an allowed authentication token. This simple solution helps prevent malicious users from bypassing the proxy and connecting using any UUID/username chosen. It eliminates the need for complicated firewall rules that can be difficult to set up and maintain.
| Note | Learn how to setup a BungeeCord server network here. |
How to Install BungeeGuard on a BungeeCord Server Network
1. Log in to the BisectHosting Premium or Budget panel.
2. Stop all servers on the BungeeCord server network.![]()
3. Download BungeeGuard.jar.
4. On the BungeeCord server, go to the File Manager tab on the left.
5. Open config.yml for editing.
6. Change ip_forward: from false to true.
7. Choose the blue Save and close button on the lower right.
8. Open the plugins folder.![]()
9. Choose the green Upload button.
10. Drag and drop BungeeGuard.jar from step 3.
11. Start the server.
12. Return to the File Manager tab.
13. Find the following directory: /plugins/BungeeGuard .![]()
14. Open the token.yml file.
15. Take note of the token to use later in the tutorial.![]()
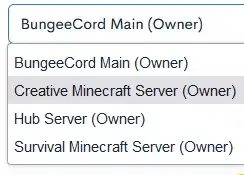
16. Return to the Home tab and select a Minecraft game server from the dropdown. Creative Minecraft Server is used in this example.
17. Download ProtocolLib.jar. If the server is on Paper 1.9.4+, skip this step.
18. Go to the File Manager tab.
19. Open the plugins folder.![]()
20. Choose the green Upload button.
21. Drag and drop BungeeGuard.jar from step 3 and ProtocolLib.jar from step 17.
22. Start the server.![]()
23. Return to the File Manager tab.
24. Open spigot.yml for editing.
25. Under settings:, change bungeecord: from false to true.
26. Choose the blue Save and close button on the lower right.
27. Find the following directory: /plugins/BungeeGuard .![]()
28. Open the token.yml file.
29. Under allowed-tokens:, enter the token from step 14 within the quotation marks.
30. Remove any default tokens from the list.
31. Choose the blue Save and close button on the lower right.
32. Restart the server.![]()
33. Repeat steps 16 to 32 for each Minecraft game server connecting to the BungeeCord server network.
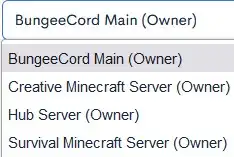
34. Return to the Home tab and select the BungeeCord server from the dropdown.
35. Go to the Console tab on the left.
36. Run the following command: bungeeguard reload![]()

