Summary
Uploading a custom world to a Minecraft server can provide players with a pre-built environment to explore, build in, and interact. It is a great way to share Minecraft creations and collaborate with other players to create even more elaborate structures and landscapes. Uploading a custom world to a Minecraft server can build a community of players with similar interests who enjoy playing the game together.
| Note | World save location will vary depending on the type of launcher used. For the official launcher, saves can be found in %appdata%\.minecraft\saves\ . |
| Note | An FTP client is required to transfer files over 500mb onto the Minecraft server. Follow this tutorial to learn how to use an FTP client, then continue to the FTP method in the next section. |
How to Upload a Custom World to a Minecraft Server (File Manager Method)
1. Select the world folder. Right-click, and choose Send to>Compressed (zipped) folder. 
2. Minimize the file to use later in the tutorial.
3. Log in to the BisectHosting Premium or Budget panel.
4. Stop the server.![]()
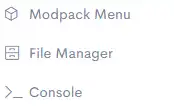
5. Go to the File Manager tab on the left.
6. Choose the green Upload button.
7. Drag and drop the .zip file from step 2.
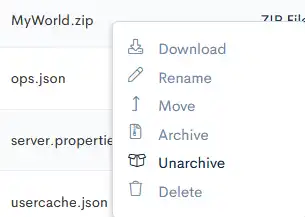
8. Right-click on the .zip file and choose Unarchive.
9. Confirm by choosing the green Unarchive button.![]()
10. Return to the Home tab.![]()
11. On the World field, change the name to match the custom world.
12. Choose the blue Save button.
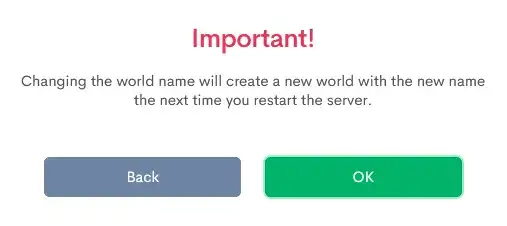
13. Confirm by clicking the green OK button. 
14. Start the server.![]()
How to Upload a Custom World to a Minecraft Server (FTP Method)
1. Select the world folder. Right-click, and choose Send to>Compressed (zipped) folder. 
2. Minimize the file to use later in the tutorial.
3. Log in to the BisectHosting Premium or Budget panel.
4. Stop the server.![]()
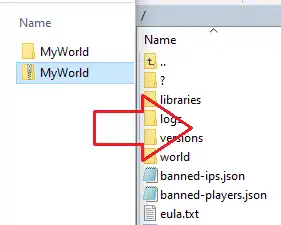
5. Log in to the Minecraft server using an FTP client.
6. Drag and drop the .zip file from step 2.
7. Return to the BisectHosting Premium or Budget panel.
8. Go to the File Manager tab on the left.
9. Right-click on the .zip file and choose Unarchive.
10. Confirm by choosing the green Unarchive button.![]()
11. Return to the Home tab.![]()
12. On the World field, change the name to match the custom world.
13. Choose the blue Save button.
14. Confirm by clicking the green OK button. 
15. Start the server.![]()


