
Summary
Setting up a Last Oasis server requires using the Last Oasis webpanel. This panel allows you to set up the server and change the PVP settings, the gathering rate, and more! Admins can control the server with admin controls, allowing you to change aspects of the server to customize Last Oasis.
How to Start and Join a Last Oasis Server
1. Log in to the BisectHosting Games panel.
2. Stop the server.![]()
3. Login to the Realm Manager with Steam or Xbox. 
4. Choose the Manage My Realm button. ![]()
5. Click Create my own realm now. ![]()
6. Enter the desired server name and choose Create. 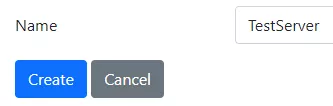
7. Next to Oases, click Manage. ![]()
8. Select the tile on which the server will be run and choose Add. 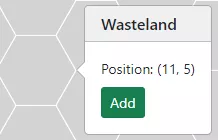
9. Enter the desired tile name. 
10. Choose the desired Map. This cannot be changed once chosen.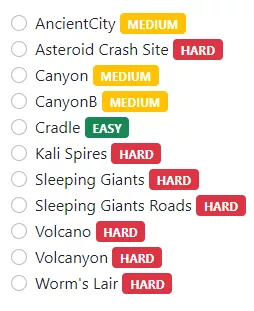
11. Select the desired PVP mode. 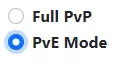
12. Input the desired Loot Quality. This cannot be changed once chosen. (0 being the lowest quality, 4 being the highest) 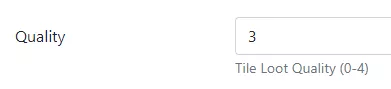
13. Once finished, press the Add tile button.![]()
14. Choose the tile from Step 8 and click Activate.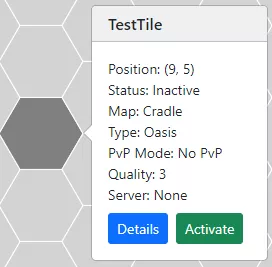
| Note | Once activated, please wait 5 minutes for the server to fully start. |
15. Select the Hosting drop-down menu and choose Providers. 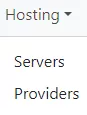
16. Copy the Customer Key. 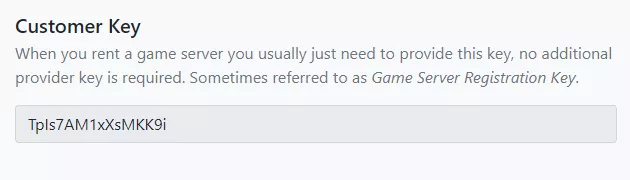
17. Return to the BisectHosting Games panel.
18. Go to the Startup tab. ![]()
19. From the Customer Key field, paste the key copied from Step 16. 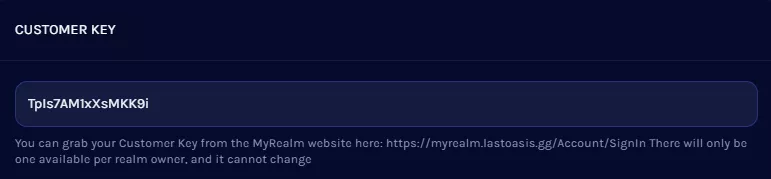
20. On the Last Oasis Dashboard, copy the Provider Key.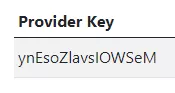
21. Return to the BisectHosting Startup tab. ![]()
22. Paste the key copied from Step 19 in the Provider Key field. 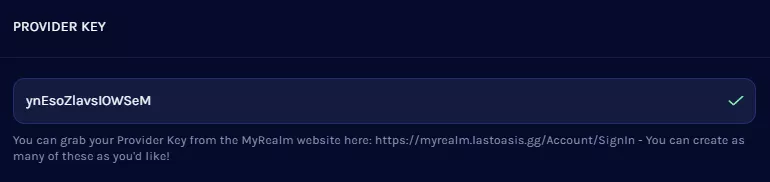
23. Start the Server. ![]()
24. Launch Last Oasis.
25. Choose Join Realm.![]()
26. Search the server name from Step 6. 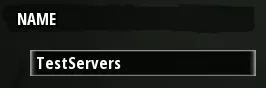
27. Click the server to join! ![]()