
Summary
Soulmask servers are a great way to host large players, allowing for fun events, faction dynamics, or simply progressing with a group of friends. Some users may have already started a local or coop playthrough that they wish to continue with more players. Fortunately, uploading a local save to a dedicated server is straightforward and allows users to retain their progress. Look at available Console Commands for server admins to help with moderation for larger servers.
How to Upload a Save to a Soulmask Server
1. Launch the game and press Continue.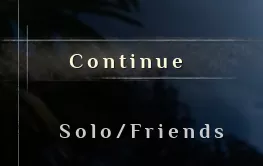
2. Select the desired save, and take note of its Invitation Code.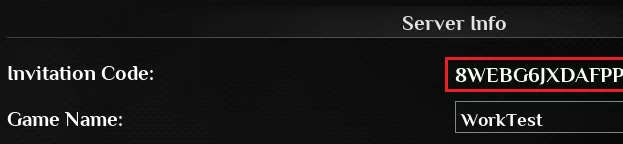
3. Open the Run menu by pressing the Windows + R Key.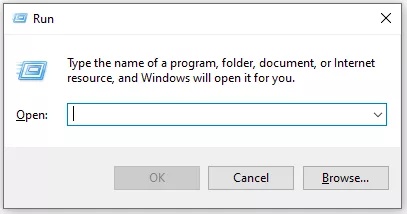
4. Enter the following: %localappdata%\WS\ and press Ok.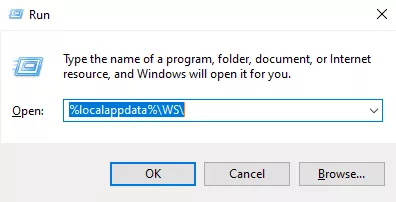
5. Open the folder named after your SteamID.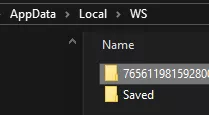
6. Open the 2646460 and AutoGames folders.![]()
7. Enter the folder matching the Invite Code we took note of in Step 2, then minimize the file for later use.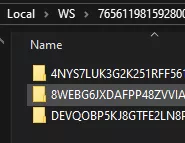
8. Log in to the BisectHosting Games panel.
9. Stop the server.![]()
10. Go to the Files tab.![]()
11. Find the following directory: /home/container/WS/Saved/GameplaySettings .
| Note | If the Saved file is absent, Start and Stop the server to generate the files. |
12. Delete or rename the existing GameXishu.json file.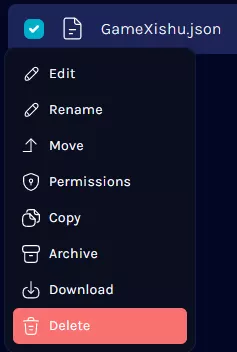
13. Open the minimized file and upload the most recent GameXishu_X file.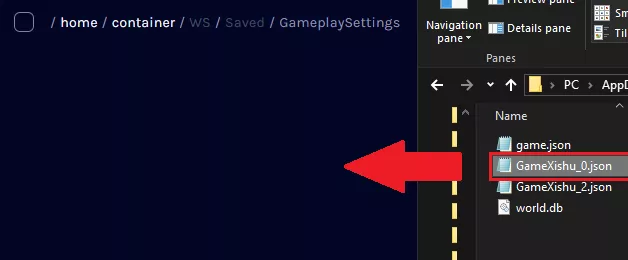
14. Rename the file to GameXishu.json by pressing Right-click > Rename.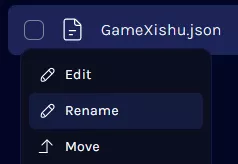
15. Find the following directory: /home/container/WS/Saved/Worlds/Dedicated/Level01_Main .![]()
16. Delete or rename the existing world.db file.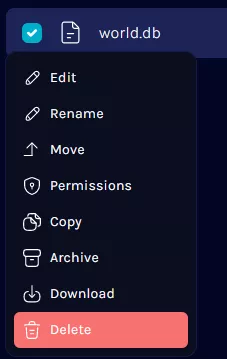
17. Upload the world.db file from the local folder.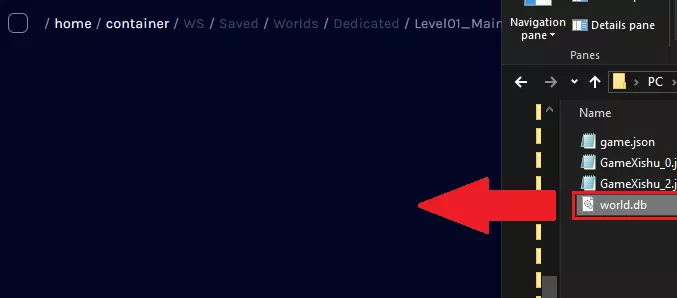
18. Start the server.![]()