Summary
Discord Bots using NodeJS have incredible utility; by utilizing JavaScript to its fullest potential, NodeJS makes it simple to send messages, listen to events, or handle errors. Many different functions or types of bots, such as a music bot that can play songs directly to a channel, can be made. Also, many additional packages are available to install for NodeJS that allow for easy installation of entire modules or functionality. Alternatively, a Git Repository can be used to pull these files automatically.
| Note | Some steps may vary per the installed bot; always check the bot's "Readme" file to verify the required steps. |
How to Install a NodeJS Bot with the NPM Installer
1. If the bot is in a .zip file, Extract it to an empty folder.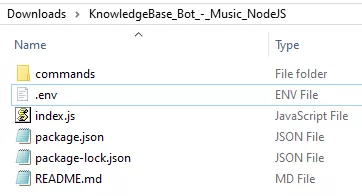
2. Open the .env file with any text editing software.
| Note | If the bot does not use a .env file, check the readme for altered steps or modify the main file directly. |
3. The Token and Client_ID must be generated from the Discord Dev Portal.
4. After creating an app, go to the Bot tab.
5. Untoggle the Public Bot setting and toggle on the Privileged Gateway Intents.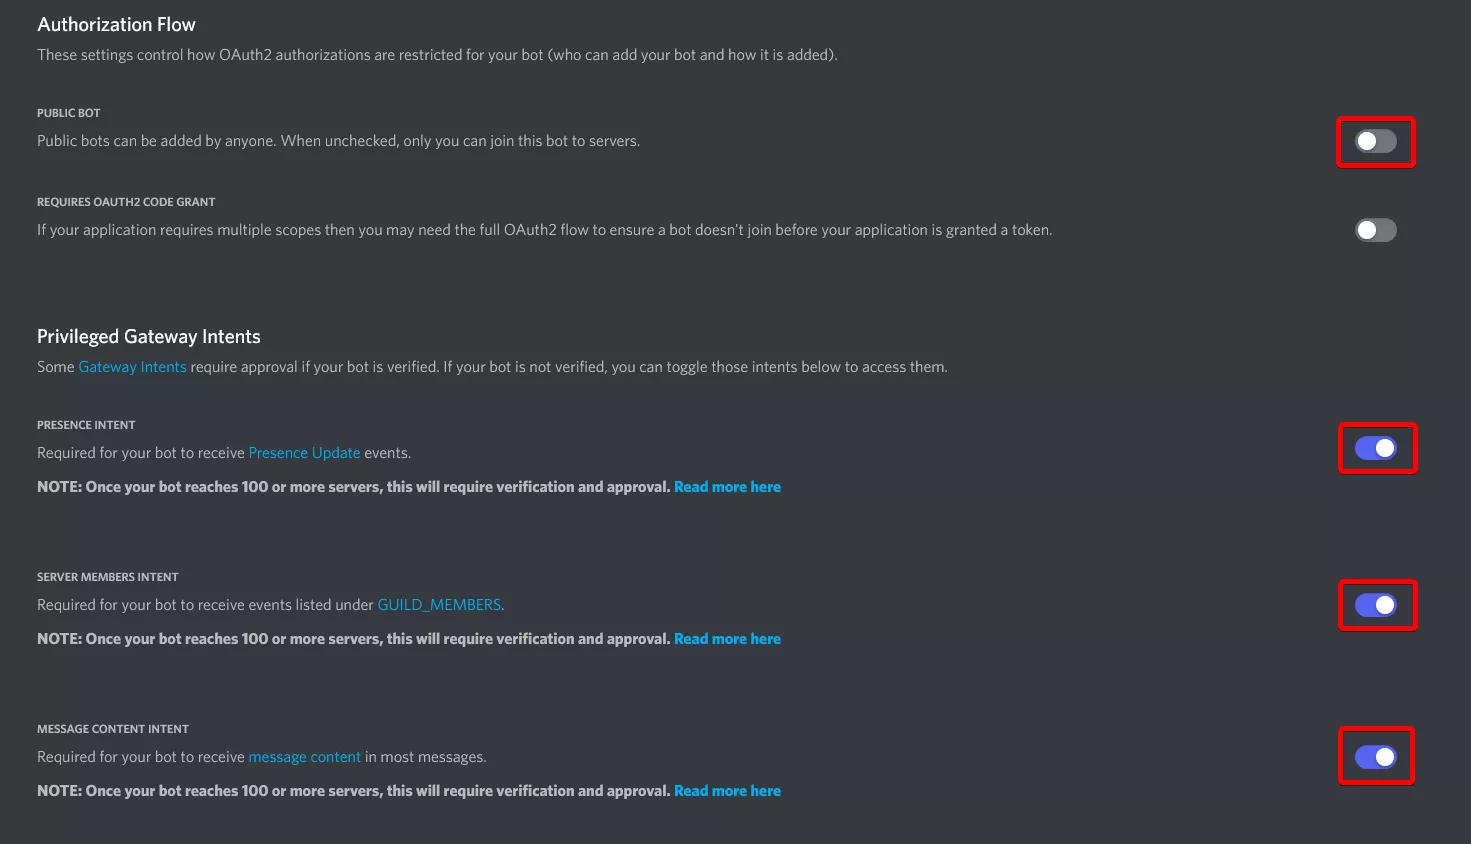
6. From the Token section, choose Copy. If no token is present, then select the Reset Token button.![]()
7. Return to the .env file and Paste the token.
8. From the Dev Portal, go to OAuth2 and copy the Client ID.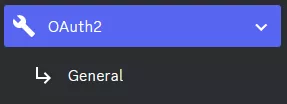
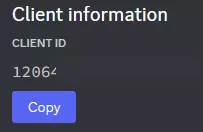
9. Paste the Client ID into the .env file.
10. Save the document by pressing Ctrl + S or File > Save.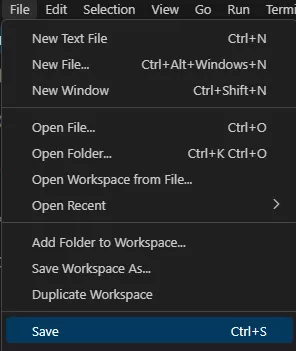
11. Invite the bot to the server by entering the following link with the Bots Client ID.https://discord.com/oauth2/authorize?client_id=INSERT_CLIENT_ID_HERE&scope=bot&permissions=8.![]()

12. Log in to the BisectHosting Games panel.
13. Go to the Files tab.
14. Upload the custom bot and any additional files to the server.

15. Go to the Startup tab.
16. Under Additional Packages, enter any modules to be installed when the bot runs, separated by a Space.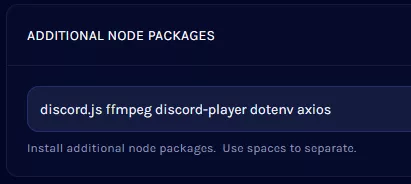
17. In the Main File section, set the name to the main file the bot uses, such as index.js .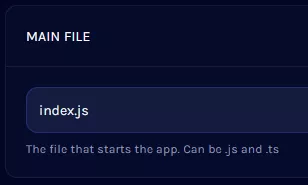
18. Once finished, return to the Home tab and Start the bot.
