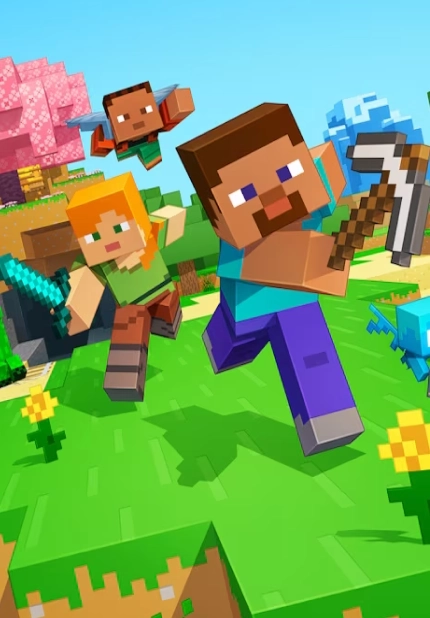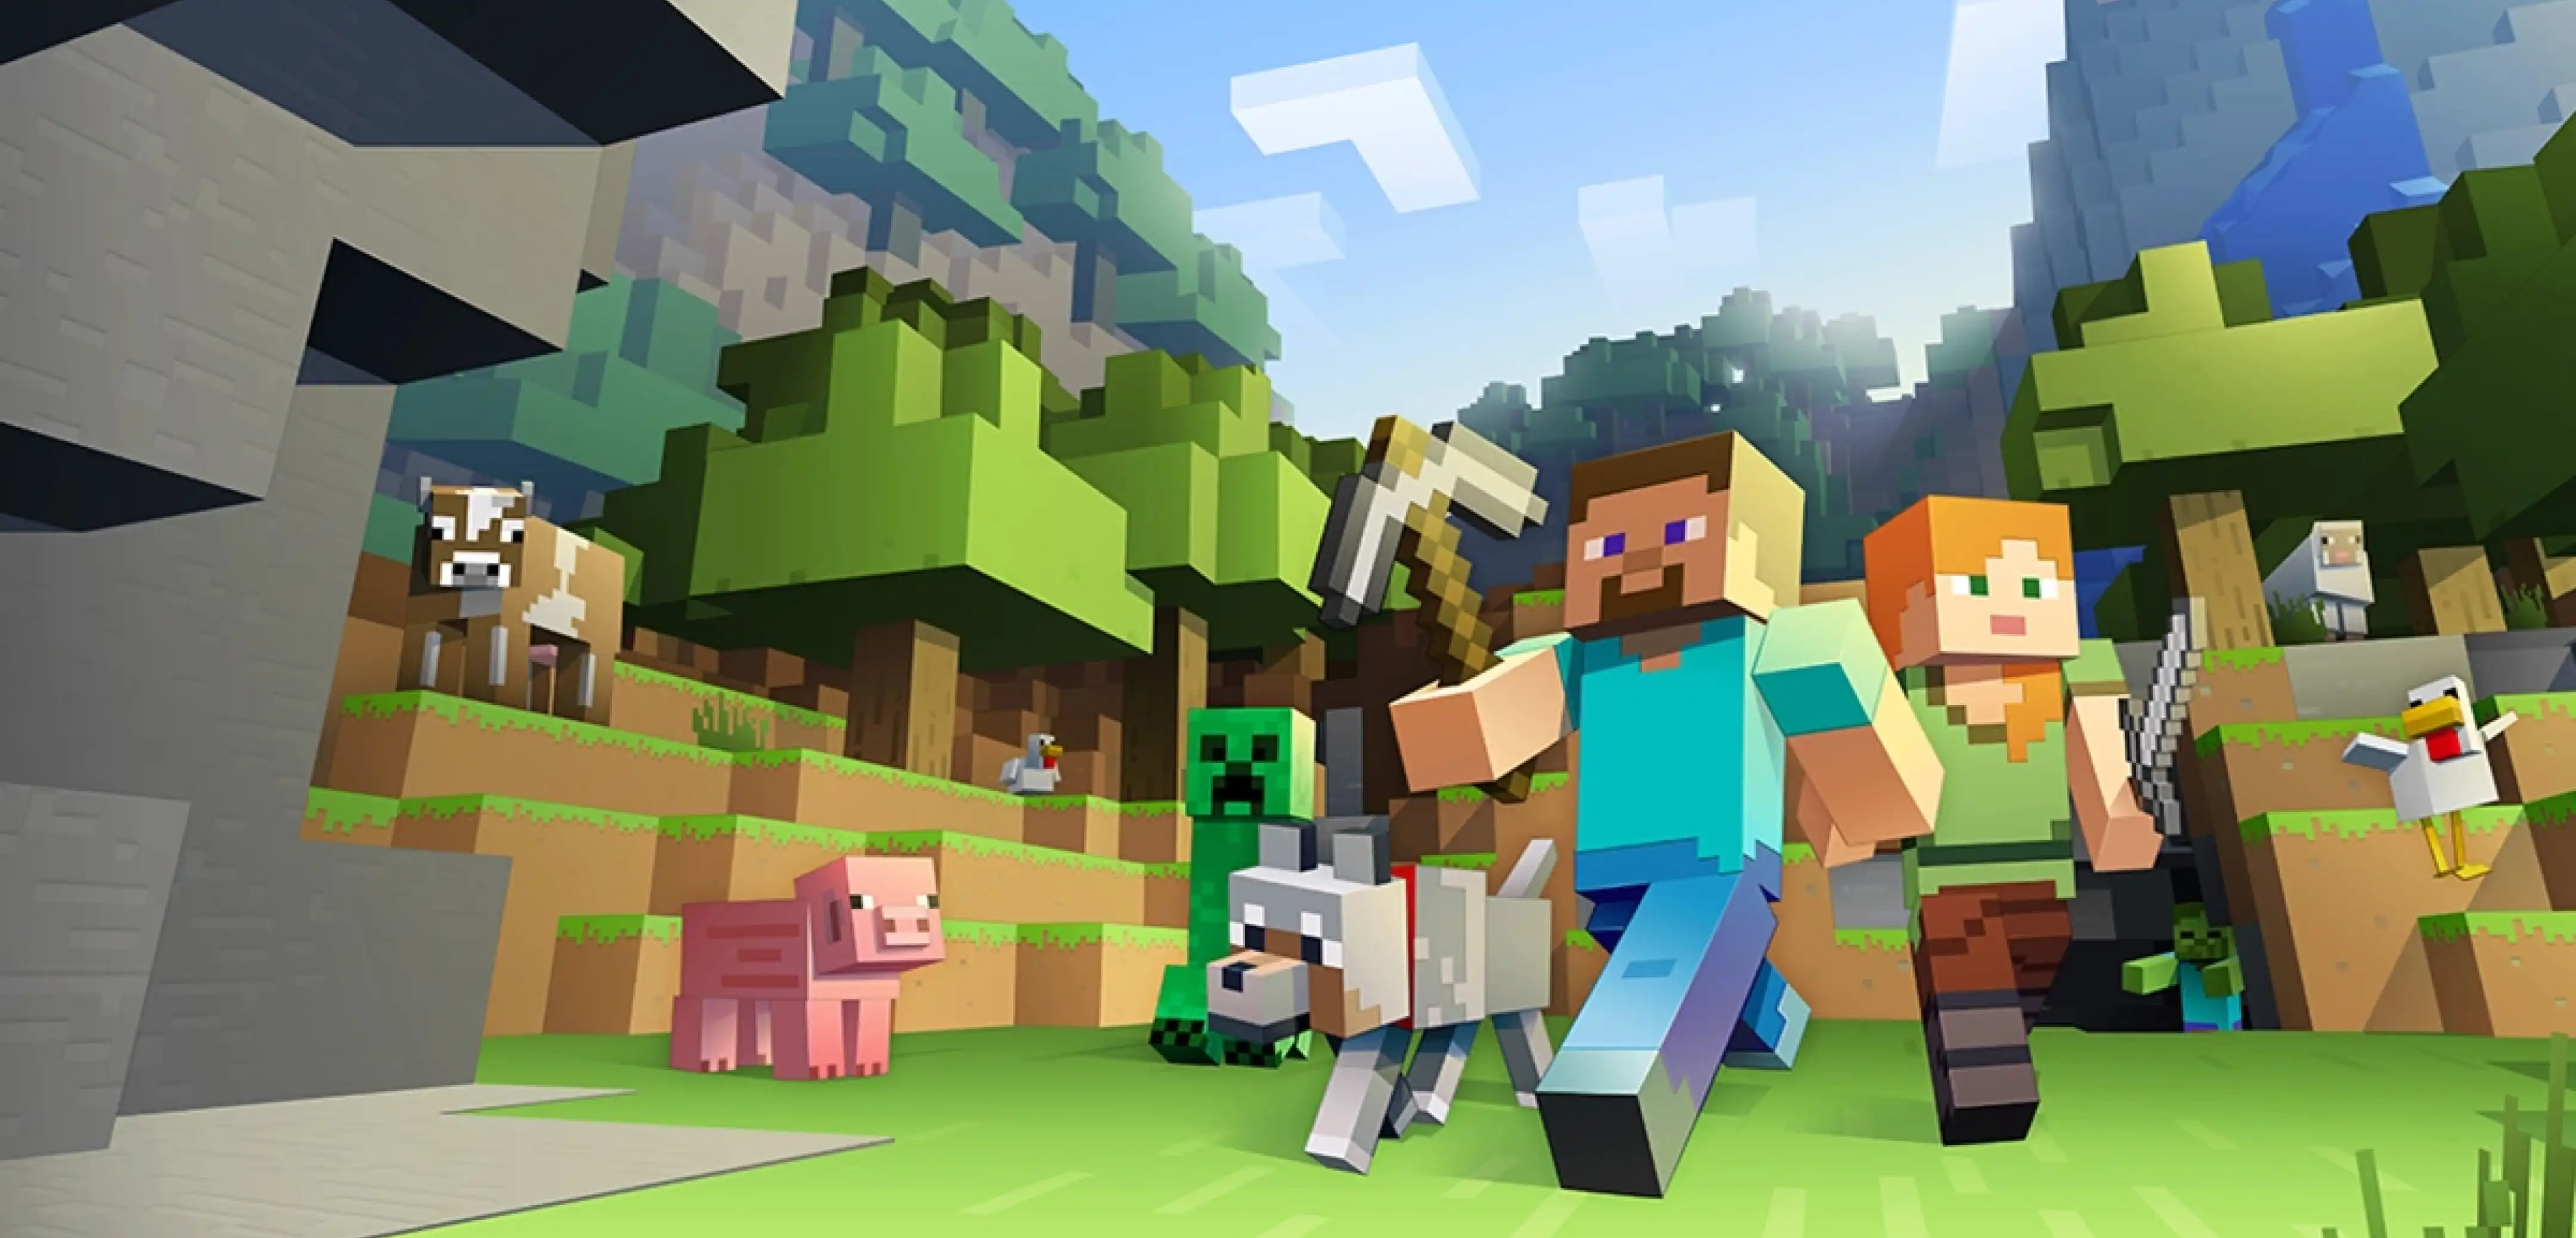
Minecraft Beginner’s Guide: Game modes, UI, & Surviving the Night
Posted on by
Share:
Share on X
Share on Facebook
Share on Threads
Share on Bluesky
Copy to Clipboard
Share via email
(Estimated Read Time: 13 Minutes)
With the limitless potential of Minecraft, starting out can often be overwhelming without a little help. So, today, we explore Minecraft’s game modes, survival mechanics, and how to make it to the second day in our Minecraft beginner’s guide.Getting Started
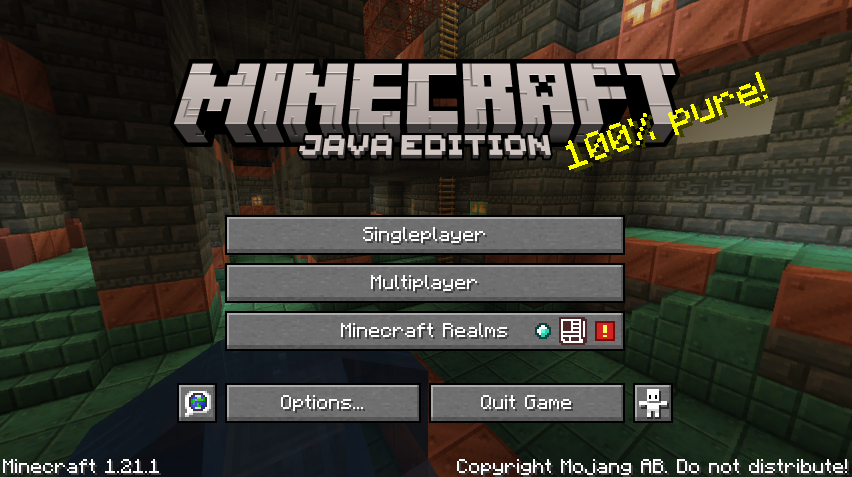 Minecraft comes in two versions: Java Edition and Bedrock Edition. In terms of vanilla gameplay, they are almost entirely the same. For the sake of this guide, either can be used as their differences mainly come down to preference and long-term goals. Additionally, owning either edition of Minecraft grants free access to the other.
Java Edition:
Minecraft comes in two versions: Java Edition and Bedrock Edition. In terms of vanilla gameplay, they are almost entirely the same. For the sake of this guide, either can be used as their differences mainly come down to preference and long-term goals. Additionally, owning either edition of Minecraft grants free access to the other.
Java Edition:
- Cheaper Third-Party Multiplayer Options
- Free Plugins & Mods
- No Microtransactions
- Easy UI Navigation
- Console & Mobile Cross-Play
- Official Paid DLC Options
- Survival Mode – The default game mode, focused on gathering resources, crafting, and fending off monsters to survive.
- Creative Mode – The builder’s game mode, focused on creativity with unlimited resources and the ability to fly.
- Hardcore Mode – Survival mode on hard difficulty with a twist: One death and the journey ends.
User Interface and Survival Basics
 After clicking play, a world of your very own will generate, resulting in many possibilities. Some may start on an island in the sea, while others may find themselves atop snowy peaks. Regardless of the location, the basics remain the same.
At the bottom of the screen, the row of hearts indicates current health points, the line of meat indicates current hunger, and an empty green bar indicates your level for enchanting. Clicking “E” will additionally open one’s inventory. Here, you can see your character, the items you’ve collected, and a 2x2 crafting grid.
Ideally, your hunger bar should be kept full at all times. This is done by eating when it begins to gradually decline. A full hunger bar will slowly regenerate health points, or hearts, ensuring you remain alive.
After clicking play, a world of your very own will generate, resulting in many possibilities. Some may start on an island in the sea, while others may find themselves atop snowy peaks. Regardless of the location, the basics remain the same.
At the bottom of the screen, the row of hearts indicates current health points, the line of meat indicates current hunger, and an empty green bar indicates your level for enchanting. Clicking “E” will additionally open one’s inventory. Here, you can see your character, the items you’ve collected, and a 2x2 crafting grid.
Ideally, your hunger bar should be kept full at all times. This is done by eating when it begins to gradually decline. A full hunger bar will slowly regenerate health points, or hearts, ensuring you remain alive.
Minecraft Beginner’s Guide: Surviving Day One
Minecraft Beginner's Guide Step 1: Punching Trees
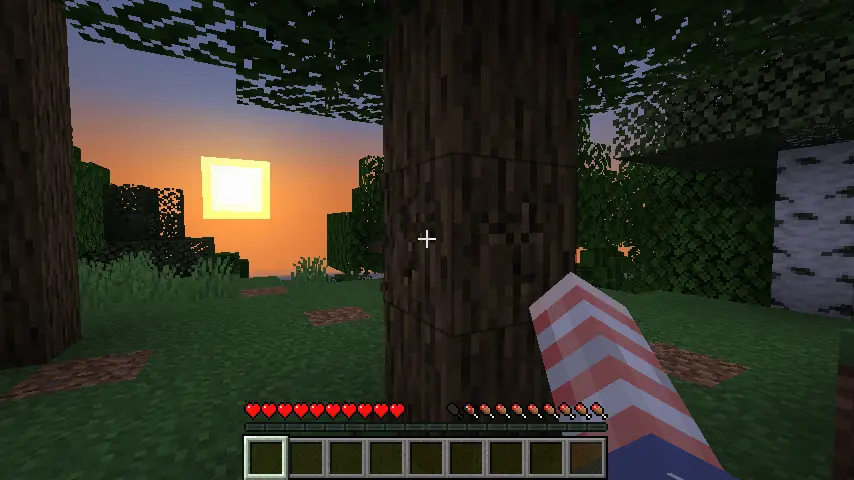 The first step of every Minecraft playthrough is punching trees. Simply move toward a tree and hold down the left mouse button to break the log block. Once broken, it will drop, allowing you to pick it up. We recommend grabbing about four logs to start.
Minecraft Beginner's Guide Step 2: Early Crafting
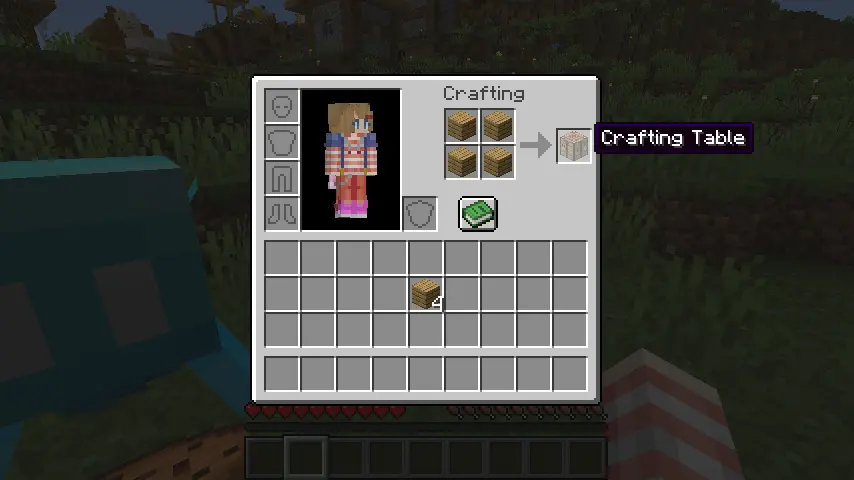 With the logs in hand, click “E” to open your inventory. Here, you will see the 2x2 crafting grid mentioned earlier and the log blocks that were collected. Start by placing the logs in the crafting grid, which will cause wooden planks to appear. Each log block can be crafted into four wooden planks.
Once done, drag the newly crafted planks to your inventory before taking four planks and placing one in each space of the 2x2 crafting grid. This will create a crafting table where nearly every recipe in the game can be made.
With the logs in hand, click “E” to open your inventory. Here, you will see the 2x2 crafting grid mentioned earlier and the log blocks that were collected. Start by placing the logs in the crafting grid, which will cause wooden planks to appear. Each log block can be crafted into four wooden planks.
Once done, drag the newly crafted planks to your inventory before taking four planks and placing one in each space of the 2x2 crafting grid. This will create a crafting table where nearly every recipe in the game can be made.
Step 3: Creating Tools
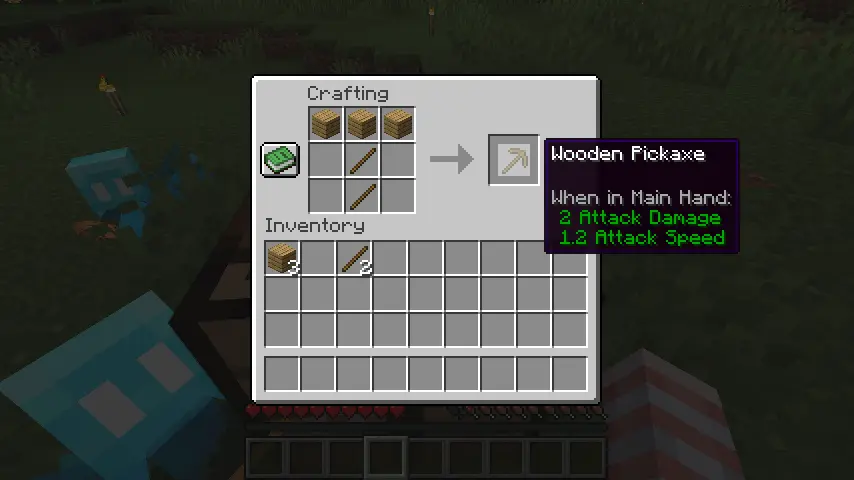 Move the crafting table to your hot bar and place it on the ground by right-clicking with the item in hand. From there, right-click the crafting table to open a new 3x3 crafting grid. We recommend creating a pickaxe as your first tool, which requires two sticks and three wooden planks.
- Sticks – Sticks are crafted by placing two wooden planks vertically in the inventory crafting grid. Two wooden planks will create four sticks.
- Wooden Pickaxe – Wooden pickaxes can be crafted by placing two sticks vertically in the center column of the crafting table, then three wooden planks across the top row of the grid.
Step 4: Stone & Coal
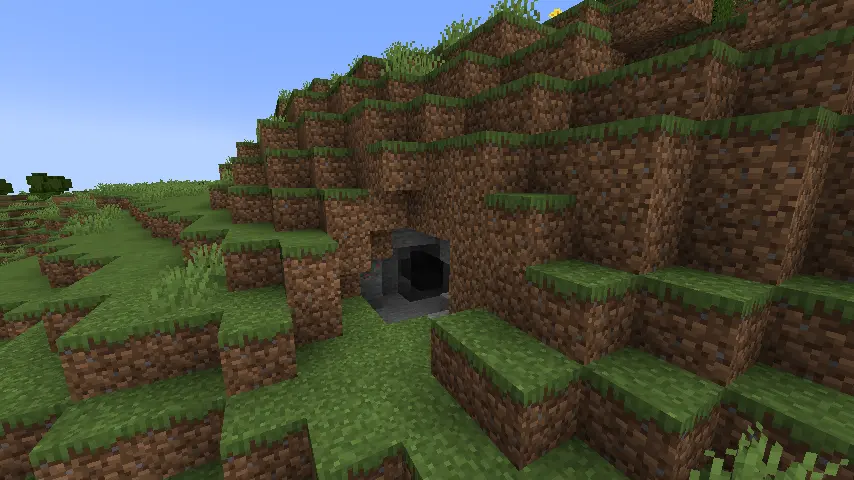 The next step is mining stone. Stone can be found nearly everywhere by digging a staircase down a few layers. If a cave or mountain has been spotted, those can be used for stone as well. At this point, gathering cobblestone is the main goal, but keep an eye out for coal.
Coal is essential for crafting torches, which will prevent hostile mobs from spawning and light up the underground. Thankfully, coal is very common and should eventually be found even in the unluckiest of circumstances.
The next step is mining stone. Stone can be found nearly everywhere by digging a staircase down a few layers. If a cave or mountain has been spotted, those can be used for stone as well. At this point, gathering cobblestone is the main goal, but keep an eye out for coal.
Coal is essential for crafting torches, which will prevent hostile mobs from spawning and light up the underground. Thankfully, coal is very common and should eventually be found even in the unluckiest of circumstances.
Step 5: Stone Tools & Weapons
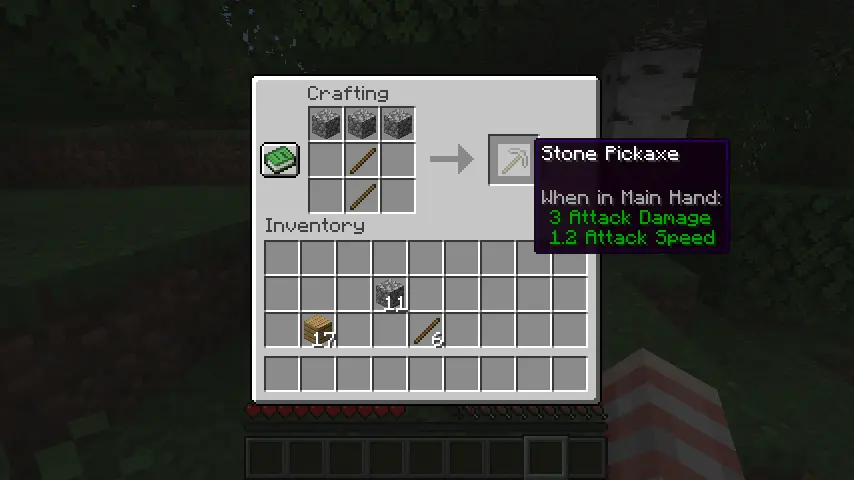 We recommend crafting a stone pickaxe, stone axe, and stone sword on the crafting table at this point in the journey.
- Stone Pickaxe – Stone pickaxes can be crafted by placing two sticks vertically in the center column of the crafting table, then three cobblestone across the top row of the grid.
- Stone Axe – Stone Axes can be crafted by placing two sticks vertically in the center column of the crafting table, then two cobblestone in the top and rightmost slots of the top row, followed by one cobble to the right of the stick in the middle row.
- Stone Sword – Stone Swords can be crafted by placing one stick in the middle of the bottom-most row, followed by two cobblestone vertically placed in the center column.
Step 6: Crafting a Furnace
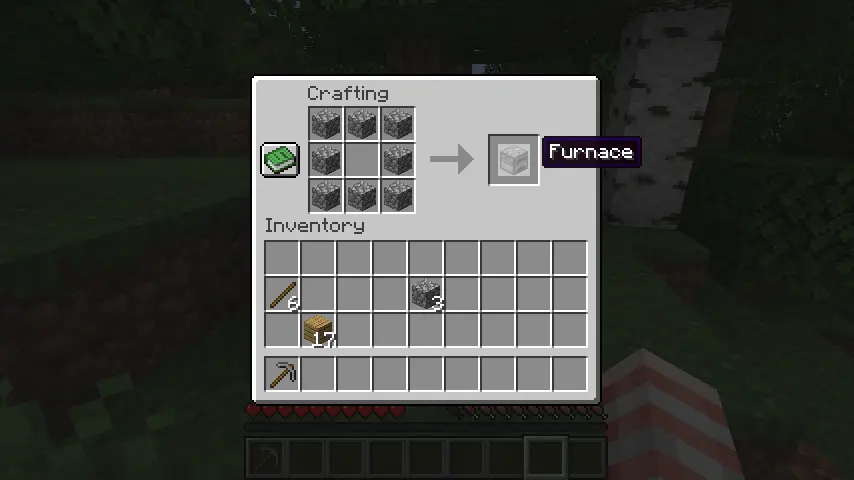 Once the tools and sword have been crafted, we recommend making a furnace, which once more requires the crafting table.
- Furnace – Furnaces can be crafted by placing eight cobblestone blocks in a ring shape around the 3x3 crafting grid.
Step 7: Food
 By this time, you may notice your hunger bar declining. This will prevent health regeneration and eventually lead to starvation. There are a few ways to get food on your first day:
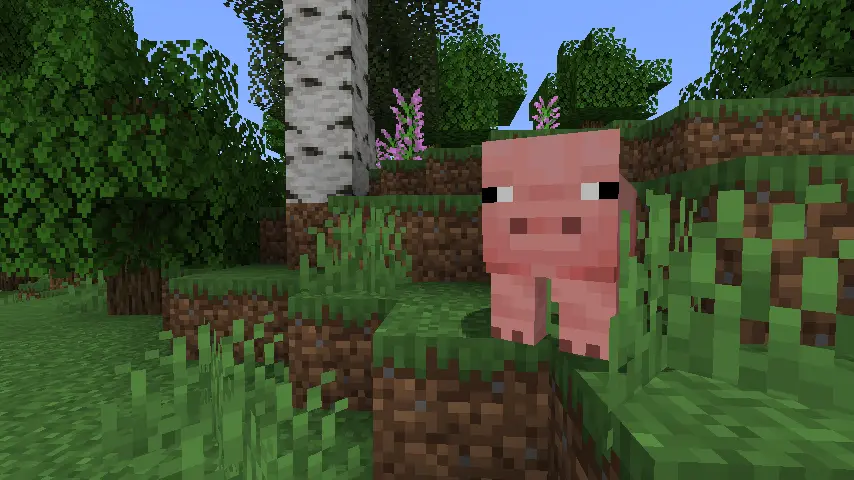
- Slaying Animals – Pigs, cows, chickens, and sheep all drop meat when slain, which can be cooked in the previously made furnace.
- Fishing – Those with a fishing rod, made using sticks and string, can catch fish to cook. If a fishing rod has not yet been made, you can also jump in the water and slay fish by hand, like with the animals above.
- Foraging – Oak tree leaves can drop apples when decaying, and some biomes have berry bushes growing about. However, neither are guaranteed to be nearby.
Step 8: Shelter
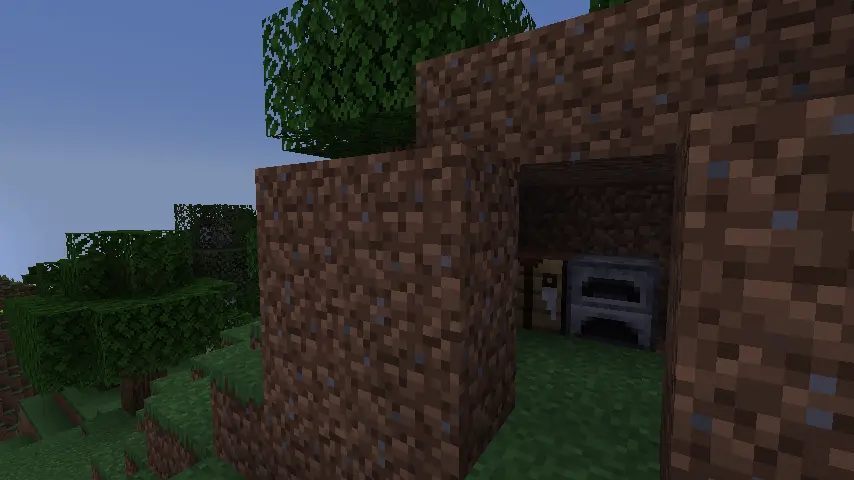 When the sun starts to set after about 10 minutes of game time, shelter should become a top priority since monsters such as zombies, skeletons, spiders, and creepers spawn at night. At this point in the journey, the shelter does not need to be pretty, and a dirt hut or even just a hole in the ground will do.
Regardless of the choice, we recommend making it at least three-by-three blocks in size to allow some items, and eventually a bed, to be placed inside. Beds allow you to sleep and skip the night entirely, but they require wool, so that is still a little bit down the line.
When the sun starts to set after about 10 minutes of game time, shelter should become a top priority since monsters such as zombies, skeletons, spiders, and creepers spawn at night. At this point in the journey, the shelter does not need to be pretty, and a dirt hut or even just a hole in the ground will do.
Regardless of the choice, we recommend making it at least three-by-three blocks in size to allow some items, and eventually a bed, to be placed inside. Beds allow you to sleep and skip the night entirely, but they require wool, so that is still a little bit down the line.
Step 9: Surviving The Night
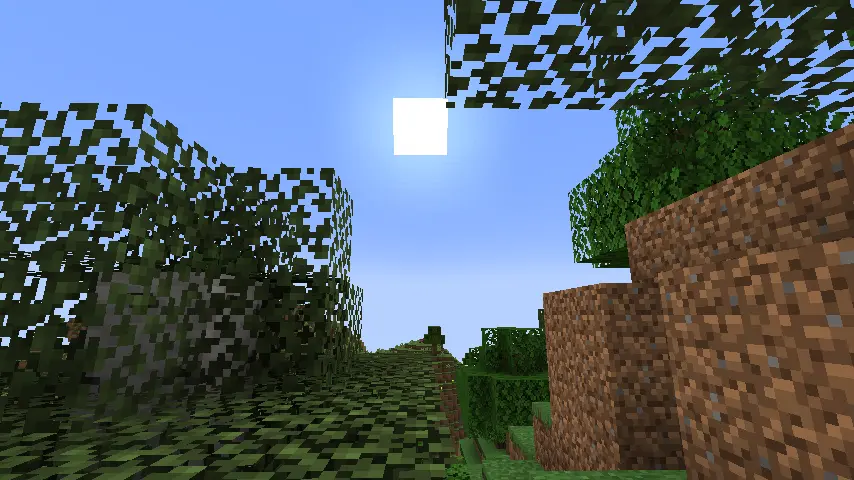
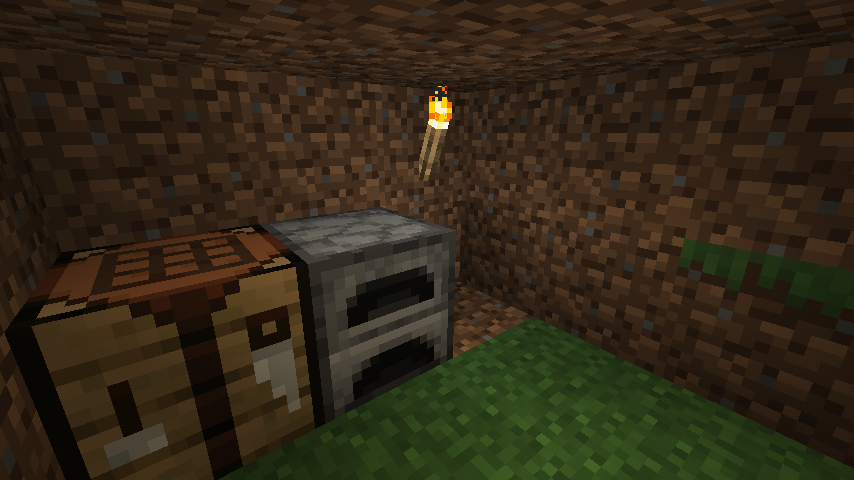 By now, the sun is likely setting. However, if all of the previous steps were followed, surviving the night will simply be a matter of waiting. Seal up the entrance to your temporary shelter and ensure the walls and roof have no holes in them. If torches have been crafted, setting some inside and around the shelter will ensure nothing spawns nearby.
If you hear mobs outside, don’t panic. As long as your shelter is secure, they won’t get in. We recommend spending the night organizing your inventory, crafting chests, or mining further underground if you feel safe enough to do so. Nights in Minecraft last about 10 minutes in real-time, and once the sun rises, most hostile mobs burn and die, except for creepers, so be cautious when stepping outside. Spiders will also survive but they are not hostile in daylight.
By now, the sun is likely setting. However, if all of the previous steps were followed, surviving the night will simply be a matter of waiting. Seal up the entrance to your temporary shelter and ensure the walls and roof have no holes in them. If torches have been crafted, setting some inside and around the shelter will ensure nothing spawns nearby.
If you hear mobs outside, don’t panic. As long as your shelter is secure, they won’t get in. We recommend spending the night organizing your inventory, crafting chests, or mining further underground if you feel safe enough to do so. Nights in Minecraft last about 10 minutes in real-time, and once the sun rises, most hostile mobs burn and die, except for creepers, so be cautious when stepping outside. Spiders will also survive but they are not hostile in daylight.
Minecraft Beginner’s Guide: Day 2 and Beyond
 When the sun rises anew, what you do at this point is entirely up to you! The green book found in both the inventory and crafting table will show all unlocked recipes, and that list will only grow larger and larger as you explore and gather more items. This is typically the best way to advance in any chosen direction.
Some players may never venture underground again and instead focus on farming and building using wood, while others may aim to have the best weapons and armor as quickly as possible through mining and enchanting. The magic of Minecraft is there is no right or wrong answer. With your basic survival needs met, it is simply a matter of doing what you most desire.
When the sun rises anew, what you do at this point is entirely up to you! The green book found in both the inventory and crafting table will show all unlocked recipes, and that list will only grow larger and larger as you explore and gather more items. This is typically the best way to advance in any chosen direction.
Some players may never venture underground again and instead focus on farming and building using wood, while others may aim to have the best weapons and armor as quickly as possible through mining and enchanting. The magic of Minecraft is there is no right or wrong answer. With your basic survival needs met, it is simply a matter of doing what you most desire.Join our Newsletter
Subscribe for the latest updates on all things gaming!
How would you rate this blog?
Share your opinion and help us make our blogs even better!
Didn't like
Neutral
Liked

Need a game server?
Rent a game server where you and your friends can play privately with low latency and custom settings. Choose from 100+ games, invite people from around the globe, and enjoy private matches, or build your own online community with your own rules.

Relevant Blogs


GET THE INSIDE SCOOP!
Join our email for updates on our hosted games, company news and exclusive deals. Stay in the loop!