Minecraft 1.21 Villager Trading Hall Guide: Setup, Discounts, & More
Posted on by
(Estimated Read Time: 10 Minutes)
The value of villager trading can not be understated, especially once an optimal setup has been created. So, today, we explain step-by-step how to create a trading hall in our Minecraft 1.21 villager trading hall guide.What Is a Villager Trading Hall?
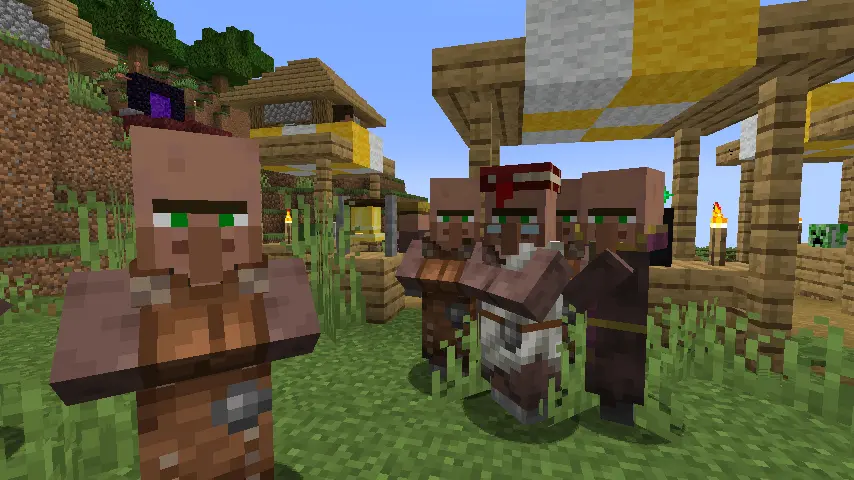 Villager trading halls are player-made structures that optimize villager trading, ensuring the best deals and efficient villager access. Their designs and layouts can vary in depth, with some even incorporating automated villager movement and management systems through rail networks. However, they needn’t be that complicated to achieve their main goal.
How to Create a Minecraft 1.21 Villager Trading Hall
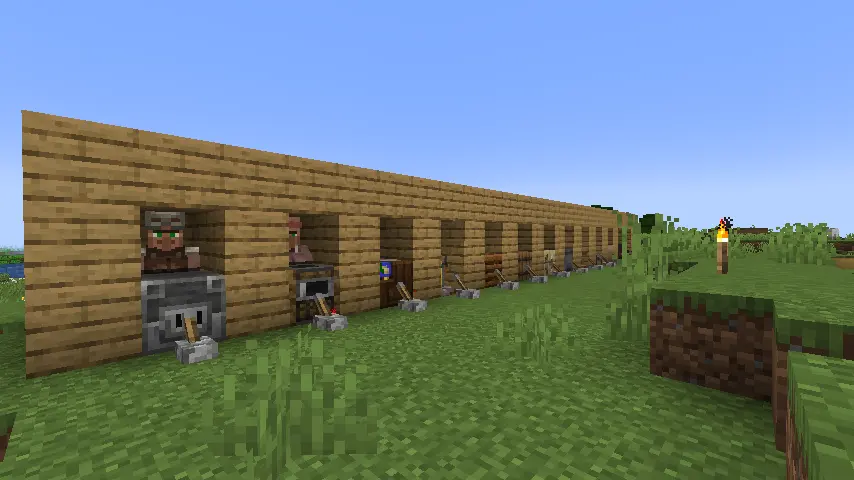 Below, we have provided step-by-step instructions on creating one of the more popular villager trading hall variants, completable in a mere few minutes’ time. The total items required for this project have been listed as part of step one, and by the end, every trading villager type, excluding the wandering trader, will be readily available with the cheapest prices one can find.
Step 1: Required Items
- Planks x 158
- Lever x13
- Trapdoor x13
- Piston x13
- Redstone x13
- Dirt x14
- Minecart x13
- Rails x64
- Splash Potion of Weakness x13
- Golden Apple x13
- Name Tag OR Set of Armor (Any Kind)
- Blast Furnace
- Smoker
- Cartography Table
- Brewing Stand
- Composter
- Barrel
- Fletching Table
- Cauldron
- Lectern
- Stonecutter
- Loom
- Smithing Table
- Grindstone
Step 2: Foundation
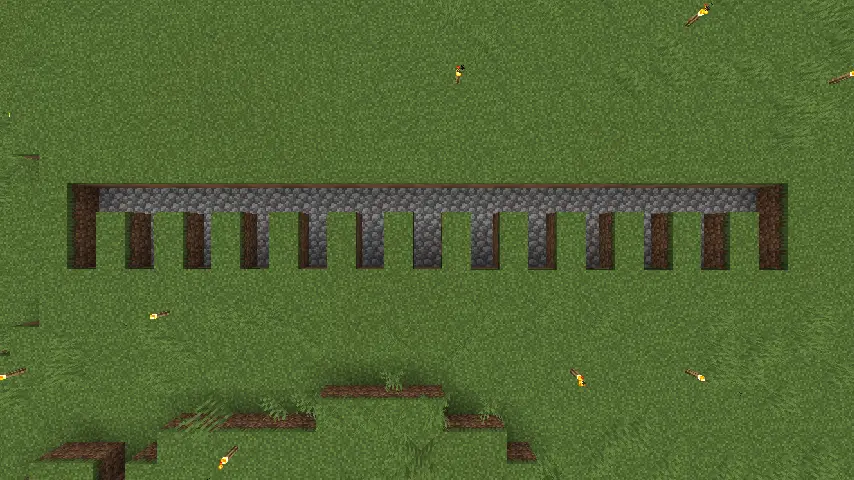 Building a villager trading hall begins with the foundation. Start by digging 13 lines that are three blocks tall, one block wide, one block deep, and one block apart from each other. Once done, connect all the lines by digging out the top row. The result should be a 25-block wide line with 13 two-block lines extending out from the bottom like in the image above.
We would also like to note the cobblestone used is purely to make the foundation easier to see and is not required as part of this step or for the villager trading hall.
Step 3: Structure Layer 1
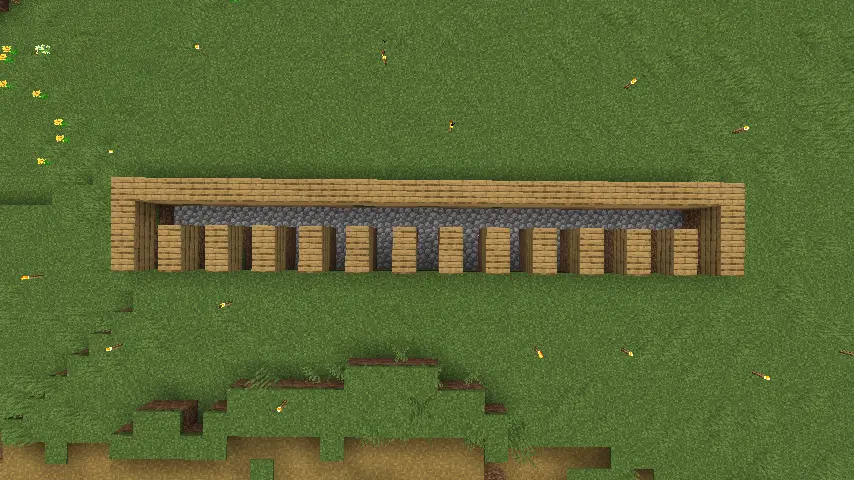 Moving onto the actual structure, begin by creating an outline of planks around the previously dug foundation’s top, sides, and interior. However, be sure not to outline the bottom of the structure, as this will be the storefront for the trading hall.
Step 4: Structure Layer 2
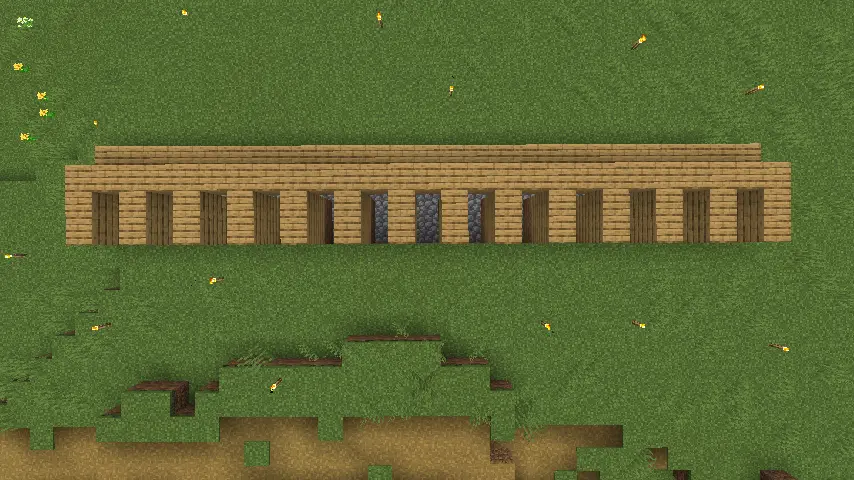 The second layer will be almost identical to the first, but the 25-block wide line dug in step two will now be covered by planks. If all is correct, the walls at the front should be two blocks tall, and an enclosed two-block tall walkable tunnel should be hidden inside.
Step 5: Structure Layer 3
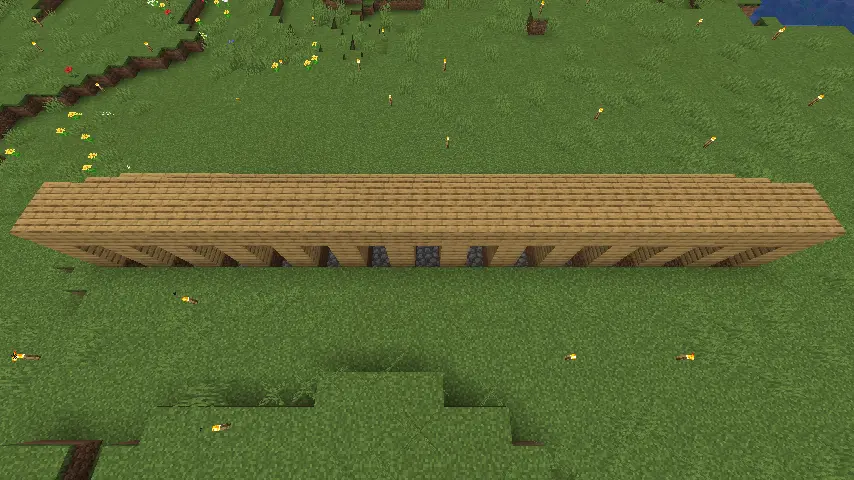 Finally, cover the top of the thirteen enclosed spaces with planks to create a roof for the trading hall.
Step 6: Interior Setup
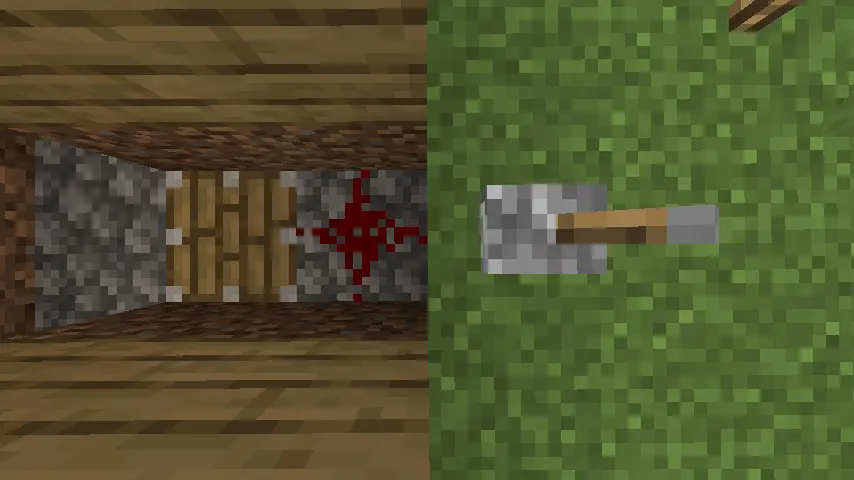 With the structure complete, it is now time to set up the interior. Start by digging the foundation one block deeper just below where the enclosed space meets the covered tunnel and place a piston that is facing upwards. Next, place a piece of redstone at the edge of what will eventually be the trading hall’s storefront. Last, place a lever directly in front of the storefront’s entrance.
The final result should look exactly like our image above. Once confirmed, repeat this step for all thirteen of the enclosed spaces.
Step 7: Interior Setup Part 2
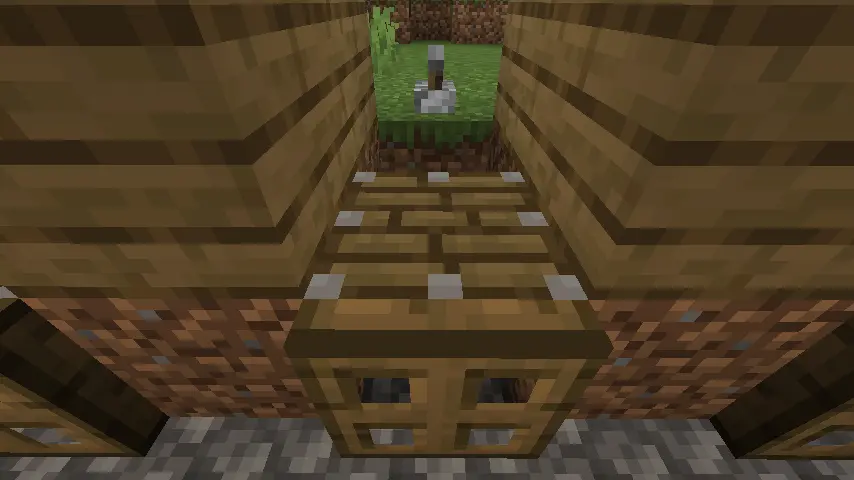 With 13 trapdoors in hand, head inside the trading hall and activate every lever to ensure the pistons work. Once done, add one opened trap door to the back of each activated piston before deactivating the levers once more.
Step 8: Preparing for Villager Arrival
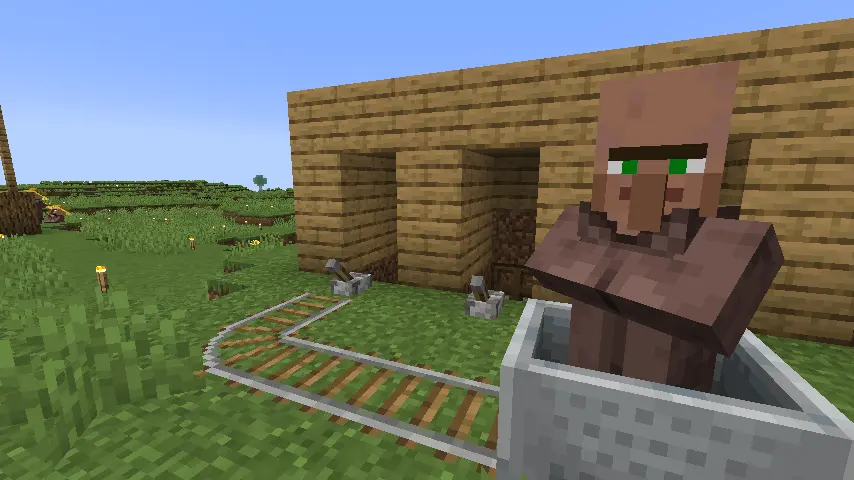 The final step before bringing in villagers is temporarily placing a dirt block directly above each trapdoor in all thirteen of the trading hall storefront spaces. This will ensure the success of the next step while preventing villagers from escaping into the back tunnel.
Step 9: Finding Villagers
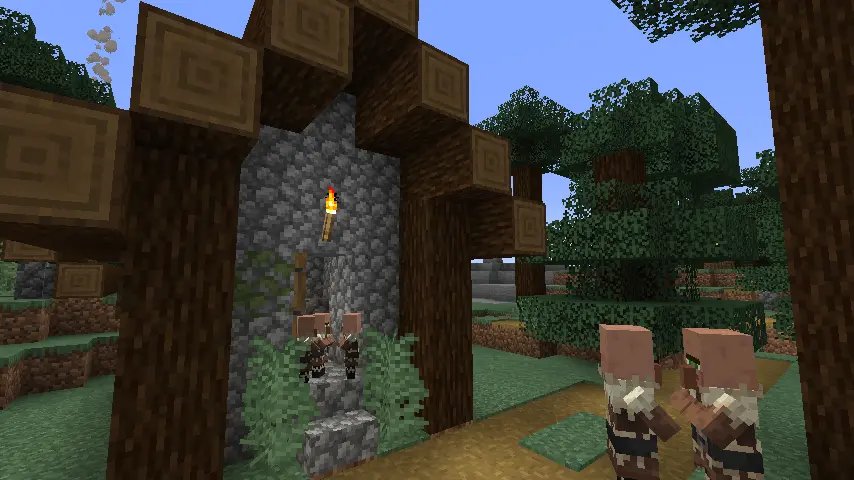 To complete the villager trading hall, thirteen unemployed villagers will eventually be required. Unemployed villagers can be obtained through a villager breeder or by transporting villagers from nearby villages.
Step 10: Moving Villagers In
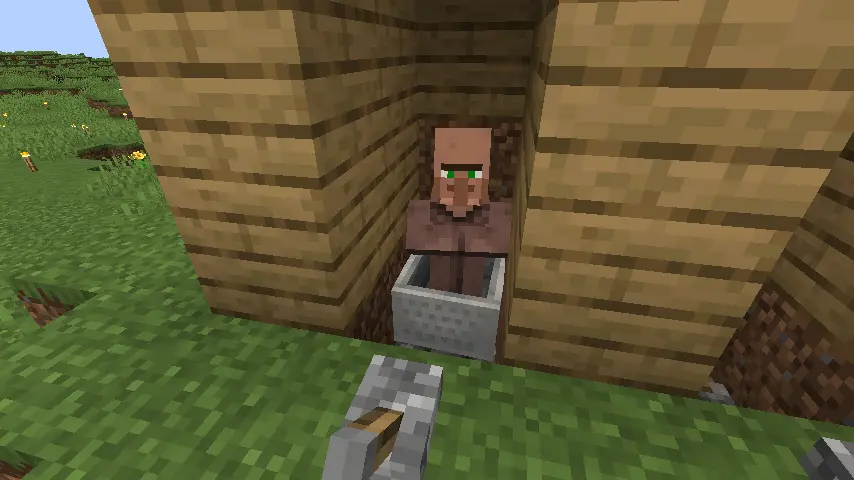 Using a minecart, push each villager all the way inside until the minecart is directly on top of the deactivated piston. Now, activate the pistons. If all was done correctly, the villagers and minecarts should be lifted into the air.
Step 11: Locking Villagers in Place
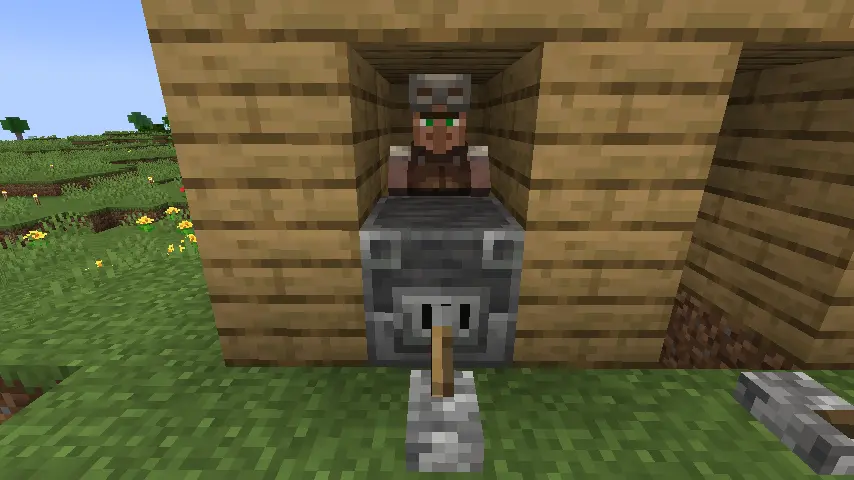 To lock each villager inside, place a job block at the entrance. The job block will determine the villager’s profession, so be sure to use only one of each if creating a trading hall that has exactly thirteen villagers, each with a different profession.
Upon successfully doing so, break the minecart, and the villager will seek out the job block that was used to lock them in and obtain their profession. Repeat this step until all thirteen spaces are locked in.
Step 12: Rerolling Trades
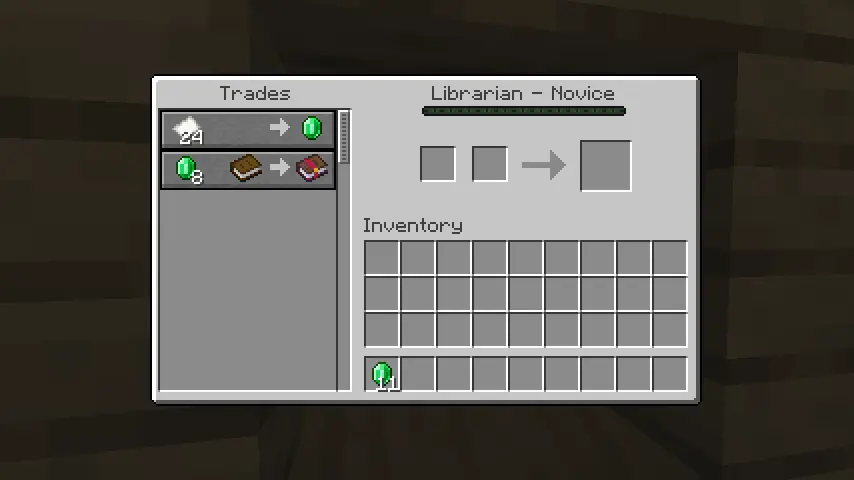 Once every villager has obtained their profession, check their trades to ensure they are to your liking. If they are not, simply place one dirt block above the job block to prevent an escape and then break the job block. This will remove the villager’s profession, allowing the job block to be set down again to generate a new set of trades. Repeat this process until all desired trades are found.
Finally, the trades can be made permanent by completing at least one trade with the villager. This will prevent the villager from losing its profession and trades even if the job block is broken in the future.
Step 13: Manipulating Prices Part 1
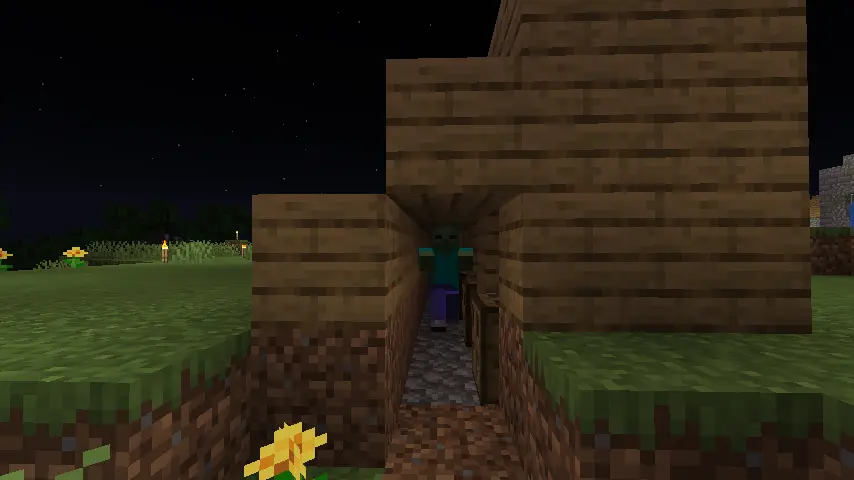 Before proceeding with this step, create side entrances to the tunnel inside the trading hall and clear out all the dirt that was placed prior. Once done, grab some throwaway armor or a name tag and wait for nightfall.
Upon night’s arrival, head out, find a zombie, and give it a name or armor. This will prevent the mob from despawning. Now, lead the zombie into the back of the trading hall before sealing up the walls to lock it inside.
Step 14: Manipulating Prices Part 2
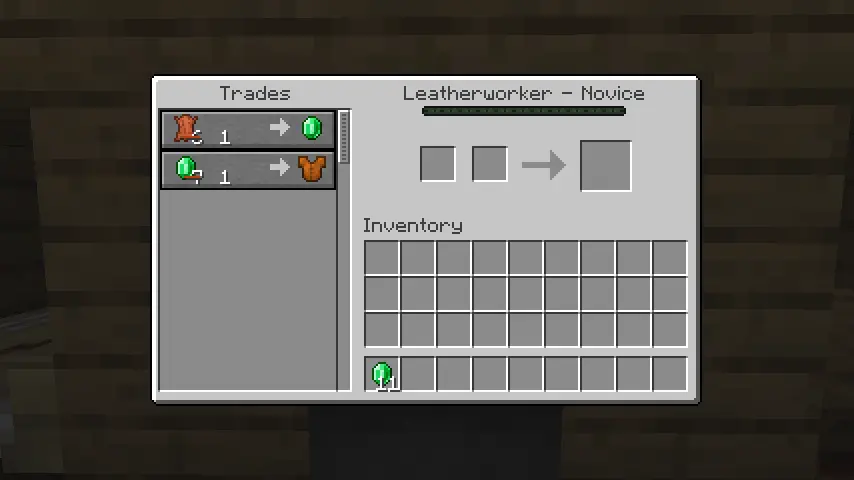 With the thirteen splash potions of weakness and thirteen golden apples in hand, lower each villager using the levers. The zombie trapped inside will be able to attack the villagers through the trap door, turning them into zombie villagers.
IMPORTANT NOTE: Ensure the game is on hard difficulty. Villagers only have a 50% chance of becoming a zombie villager on normal difficulty, while it is a 100% chance on hard.
Once a villager becomes a zombie villager, raise them back up and throw the splash potion of weakness at them before feeding them a golden apple. They will transform back into a villager within a few minutes, now with permanent discounts for saving them. This process can be repeated until prices are as low as one emerald.
With that, your villager trading hall is now done!
With the thirteen splash potions of weakness and thirteen golden apples in hand, lower each villager using the levers. The zombie trapped inside will be able to attack the villagers through the trap door, turning them into zombie villagers.
IMPORTANT NOTE: Ensure the game is on hard difficulty. Villagers only have a 50% chance of becoming a zombie villager on normal difficulty, while it is a 100% chance on hard.
Once a villager becomes a zombie villager, raise them back up and throw the splash potion of weakness at them before feeding them a golden apple. They will transform back into a villager within a few minutes, now with permanent discounts for saving them. This process can be repeated until prices are as low as one emerald.
With that, your villager trading hall is now done!Join our Newsletter
Subscribe for the latest updates on all things gaming!
How would you rate this blog?
Share your opinion and help us make our blogs even better!
Didn't like
Neutral
Liked

Need a game server?
Rent a game server where you and your friends can play privately with low latency and custom settings. Choose from 70+ games, invite people from around the globe, and enjoy private matches, or build your own online community with your own rules.

Relevant Blogs

GET THE INSIDE SCOOP!
Join our email for updates on our hosted games, company news and exclusive deals. Stay in the loop!


