Minecraft 1.21 Iris Shaders Guide: How to Install, Requirements, & more
Posted on by
Share:
Share on X
Share on Facebook
Share on Threads
Share on Threads
Copy to Clipboard
Share via email
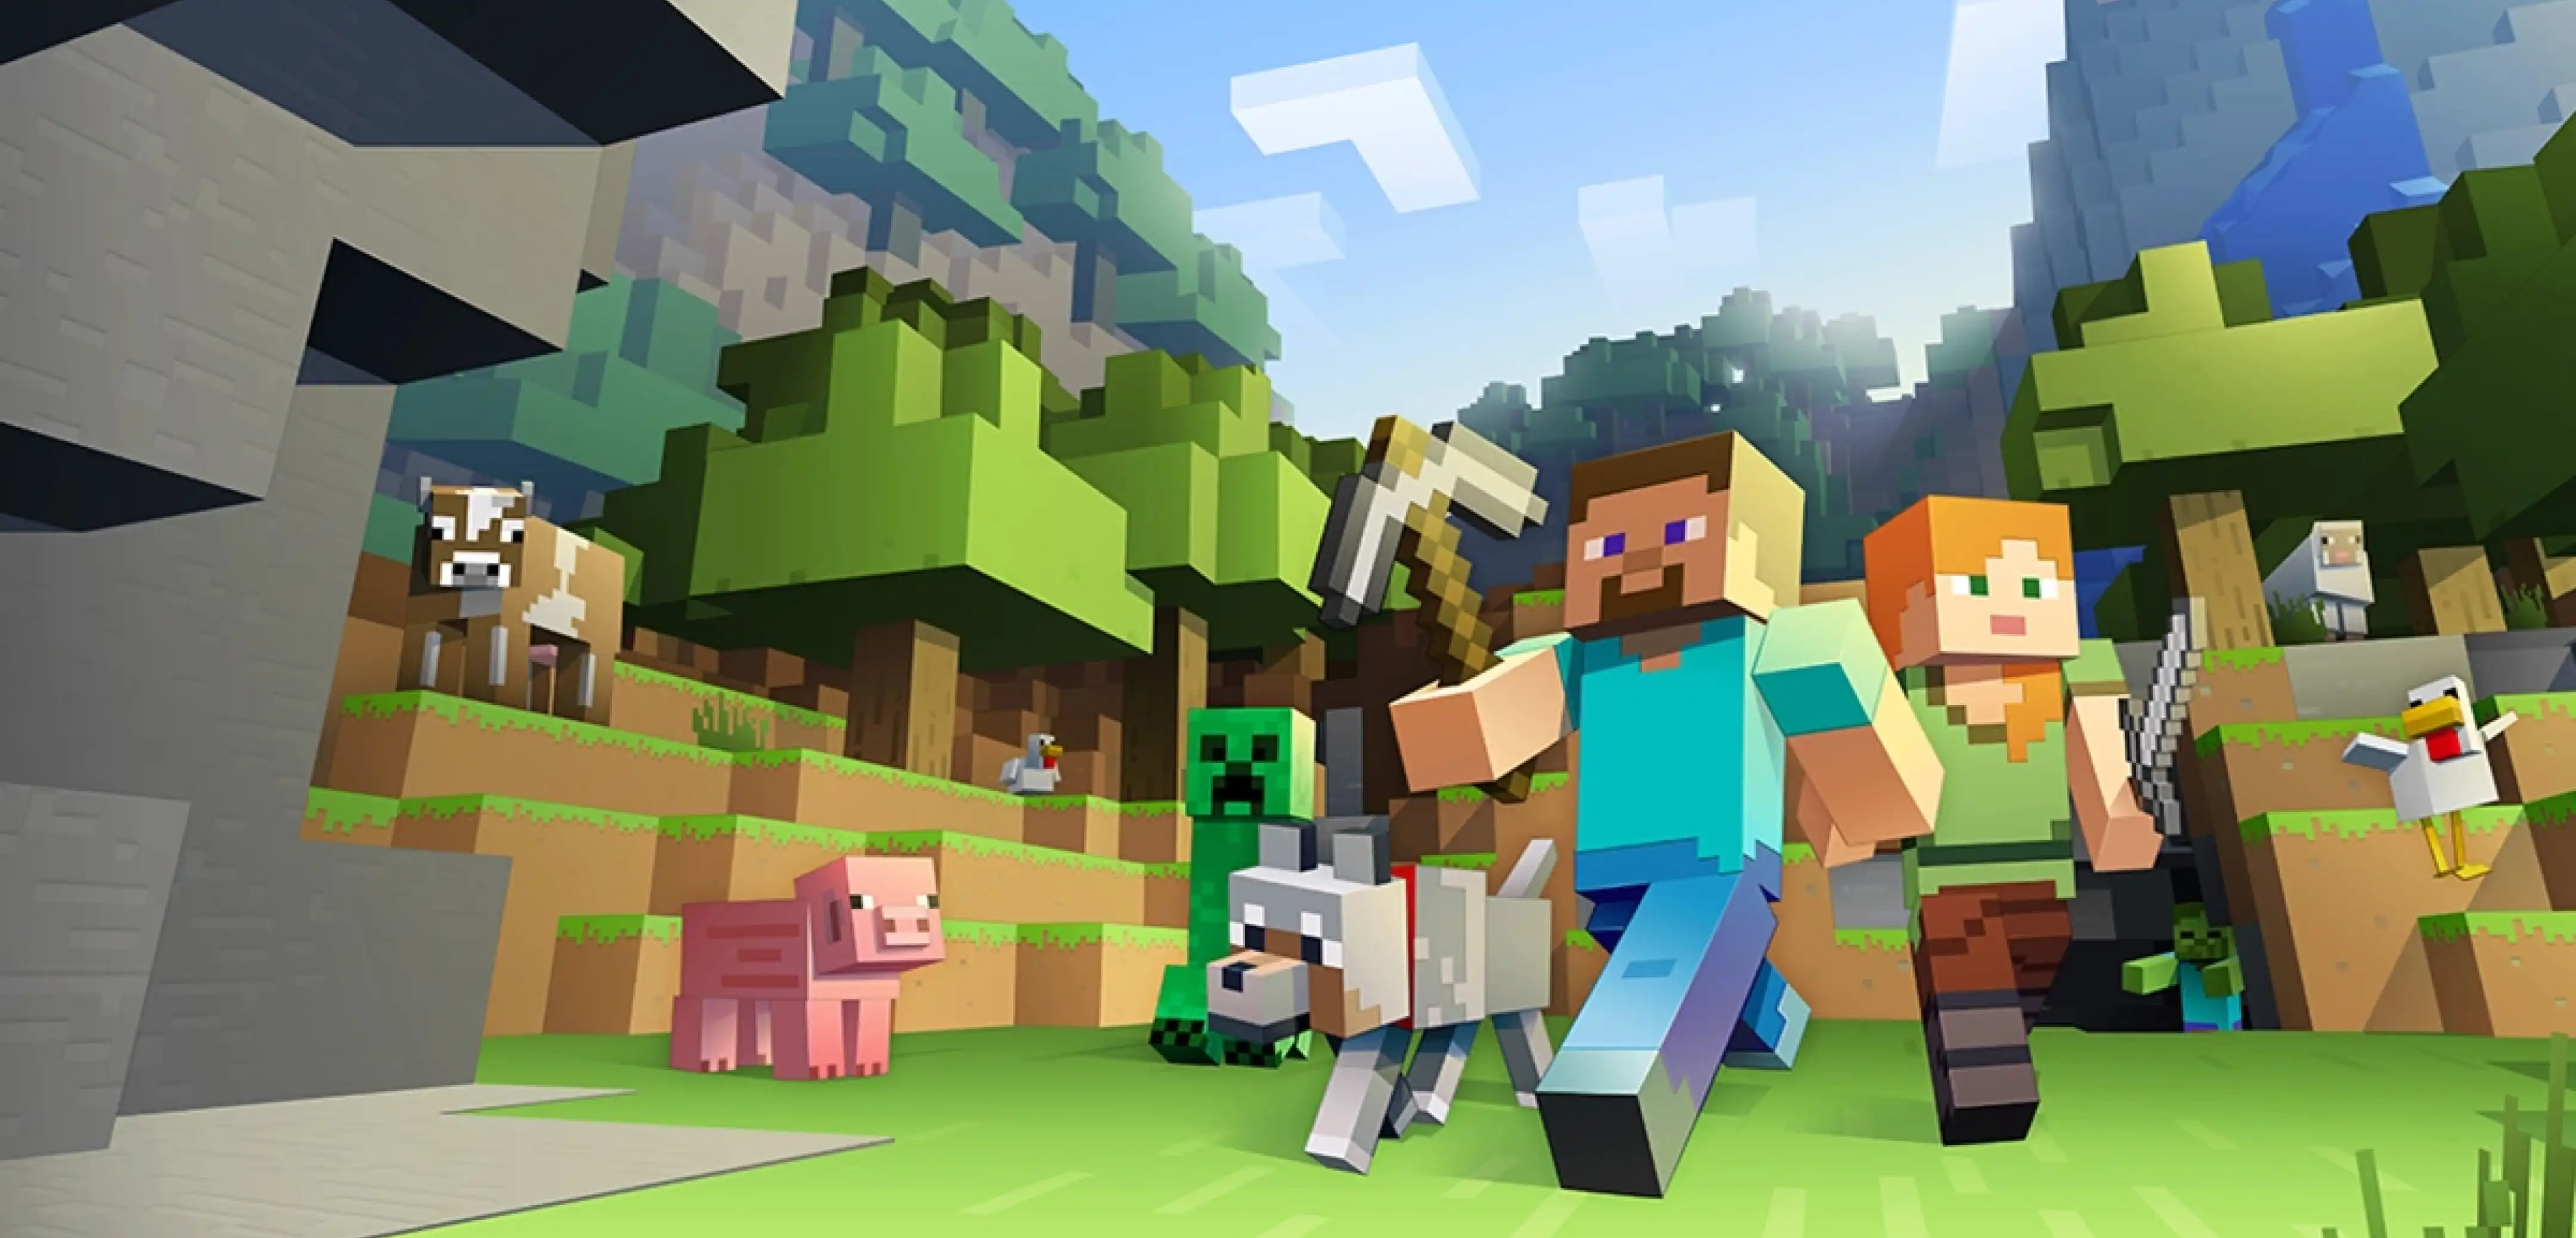
Shaders bring the world of Minecraft to a new dimension, enhancing immersion and the visual quality of the many biomes you'll explore in your adventures. With the latest update for Minecraft finally live, here’s a step-by-step guide on how to install Iris shaders in Minecraft 1.21.
 Before installing shaders in Minecraft 1.21, it’s important to mention that your PC should meet specific hardware criteria. Otherwise, the installed program might make the game run poorer than before. Additionally, the system requirements may differ depending on the shader you install.
Nonetheless, here’s a list of the general system requirements to run certain Minecraft shaders without running into significant issues:
Before installing shaders in Minecraft 1.21, it’s important to mention that your PC should meet specific hardware criteria. Otherwise, the installed program might make the game run poorer than before. Additionally, the system requirements may differ depending on the shader you install.
Nonetheless, here’s a list of the general system requirements to run certain Minecraft shaders without running into significant issues:
How to Install Iris Shaders in Minecraft 1.21
Before installing shaders in Minecraft 1.21, it’s important to mention that your PC should meet specific hardware criteria. Otherwise, the installed program might make the game run poorer than before. Additionally, the system requirements may differ depending on the shader you install.
Nonetheless, here’s a list of the general system requirements to run certain Minecraft shaders without running into significant issues:
- A graphics card that supports OpenGL 2+
- 8GB RAM (with at least 4GB memory allocated for video processing)
- 15GB storage space
- 1. Download Universal Jar from the Iris website here.
- 2. Run the Iris Installer jar file and choose 1.21 from the dropdown box in the “Select game version” field.
- 3. Select “Iris Install” under “Installation type,” and then click “Install.”
- 4. Wait for the installation to complete.
- 5. Open the Minecraft launcher and select the “Iris & Sodium for 1.21” in the Play tab.
- 6. Click the "Play" button and agree that you understood the on-screen warnings.
- 7. While in your Minecraft game, open the in-game menu and choose “Options.”
- 8. Select “Video Settings” in the Options menu and navigate to the “Shader Packs” tab.
- 9. Assuming that you previously downloaded shaders for Minecraft 1.21, click the “Open Shader Pack Folder” and select the shader pack you want to run.
- 10. Click "Apply" to confirm your selection; the shaders should function as intended.
Why Use Shaders in Minecraft?
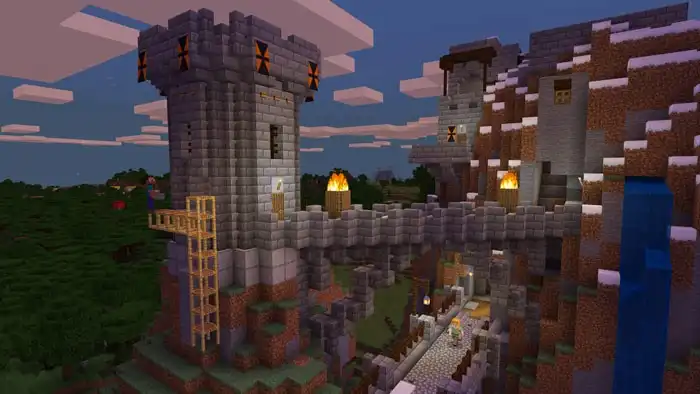
As mentioned earlier, installing shaders in Minecraft improves a player’s gaming experience. The software enhances the game’s various visual elements, including (but not limited to) in-game textures, lighting effects, and waterscapes. Some shader packs can also improve the overall Minecraft gaming experience by enhancing the game’s graphical performance, such as increasing the frame rate. Additionally, some players with GeForce RTX and AMD GPUs can take advantage of ray tracing for the Windows version of Minecraft. Enabling this feature can enhance the game’s graphics further than only using shaders. With ray tracing for Minecraft, it enhances the lighting in various in-game elements. For instance, players can enjoy global illumination and per-pixel lighting, enhancing the game's overall feel and look.Join our Newsletter
Subscribe for the latest updates on all things gaming!
How would you rate this blog?
Share your opinion and help us make our blogs even better!
Didn't like
Neutral
Liked
Need a game server?
Rent a game server where you and your friends can play privately with low latency and custom settings. Choose from 70+ games, invite people from around the globe, and enjoy private matches, or build your own online community with your own rules.

Relevant Blogs


GET THE INSIDE SCOOP!
Join our email for updates on our hosted games, company news and exclusive deals. Stay in the loop!