How to Use the Official Minecraft Server List
Posted on by
(Estimated Read Time: 5 minutes)
Mojang launched an Official Minecraft Server List that has already become one of the best places to find players to join you in-game. However, how does one list their server or even begin? Today, we explore the Official Minecraft Server List in our step-by-step guide.What Are Minecraft Server Lists?
 Before the Official Minecraft Server List, Minecraft server lists were third-party sites where server owners could list their servers to help them reach new heights. Players looking for a server or community could then browse using various search tools for the type of servers they like.
Now, Mojang has stepped in with an officially curated list that players can use to find servers that match Mojang’s guidelines. This also means it is safer for families and kids.
How to Use the Official Minecraft Server List
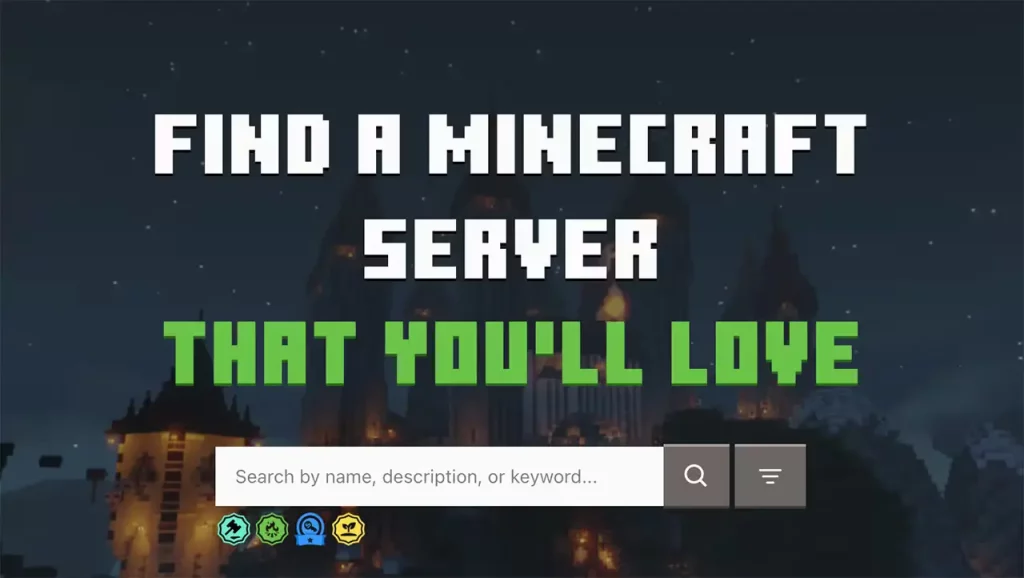
 Browsing the Official Minecraft Server list is done right from findmcserver.com. The homepage will show a collection of new servers to discover, while those with more specific genres in mind can select ‘Menu’ in the top left and then ‘Browse All Servers.’
This leads to a page with plenty of filters to help find a server that is just right.
How to Add a Server to the Official Minecraft Server List
Step 0: Rules & Restrictions
 While not necessarily a step in adding a server, the Official Minecraft Server List has a very strict set of rules and guidelines server owners must adhere to. Before proceeding, please review the three pages below to ensure your server complies with Mojang’s requirements.
- Minecraft End-User License Agreement (“Eula”)
- Minecraft Usage Guidelines
- Code of Conduct for Minecraft Server Owners
Step 1: Make an Account
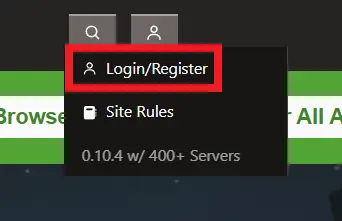 The first step for adding a server to the Official Minecraft Server List is making an account on the website! The dropdown menu for doing so can be found on the top right of the homepage. Once signed up, a page called ‘Server Admin’ will appear under the same dropdown menu from before. Select it and proceed to step two.
Step 2: Click ‘Add Your Server’
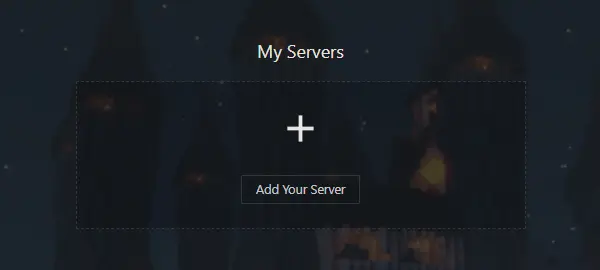 After entering the Server Admin page, click ‘Add Your Server,’ and a prompt will appear asking if you already have a server. If not, many hosts, such as BisectHosting, offer server hosting that can be used. If you do, select ‘I Have One’ before proceeding to step three.
Step 3: Online Status
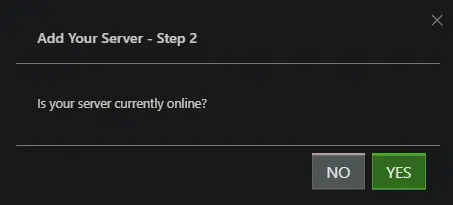 The third prompt that will appear is one confirming your server is online. If it is not already online, be sure to turn it on at this time. The official Minecraft Server List will not accept any server that is offline. Once ready, select ‘YES.’
Step 4: Server Details
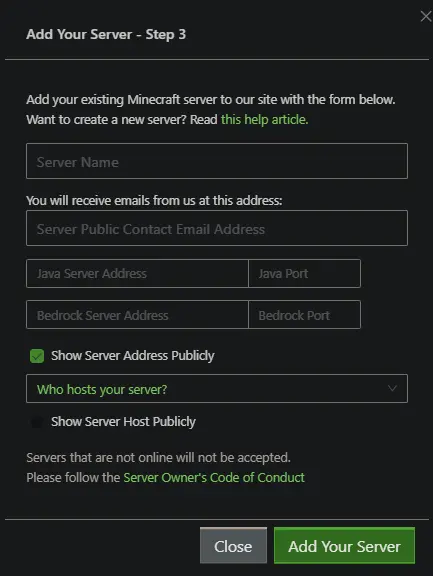 Adding the server now begins! A variety of information is required, ranging from the server’s IP to an email for contact. Below, we will list what to have prepared.
- Server Name
- Server Public Contact Email Address
- Java Server IP/Port
- Bedrock Server IP/Port
- Server Host
Step 5: Keeping in Contact & Earning Badges
 Once a server is listed, the trials of a server owner truly begin. Be ready to work towards the goals set by Mojang and GamerSafer, including keeping the server online and responding to periodic check-ins. Additionally, servers can earn prestigious badges to show potential players their dedication.
Altogether, it should lead to your server having a healthy population.
How to Use the Official Minecraft Server List
We hope our step-by-step guide has helped your server reach a new audience online! A server community can lead to memories cherished far down the line. Maybe we will even be writing about your server at some point! Until Next Time, BisectHosting =)Join our Newsletter
Subscribe for the latest updates on all things gaming!
How would you rate this blog?
Share your opinion and help us make our blogs even better!
Didn't like
Neutral
Liked

Need a game server?
Rent a game server where you and your friends can play privately with low latency and custom settings. Choose from 70+ games, invite people from around the globe, and enjoy private matches, or build your own online community with your own rules.

Relevant Blogs

GET THE INSIDE SCOOP!
Join our email for updates on our hosted games, company news and exclusive deals. Stay in the loop!


