Farming Simulator 25 Beginner’s Guide: Tips, Tricks, & New Player Walkthrough
Posted on by
Farming Simulator 25 invites farmers of all skill levels regardless of their familiarity with the series. Take your farming simulation to the next level with new and familiar features and mechanics. So, if you’re new to the franchise or a seasoned Farming Simulator enthusiast who wants to try their hand at the latest title in the series, here’s our Farming Simulator 25 Beginner’s Guide to help kick-start your farming adventure.
 In this Farming Simulator 25 Beginner’s Guide, you’ll familiarize yourself with the farm life and how to get started as a new or returning player. But first, you’ll begin by choosing one of the three base maps: Riverbend Springs, Hutan Pantai, or Zielonka. Once selected, your farming adventure begins!
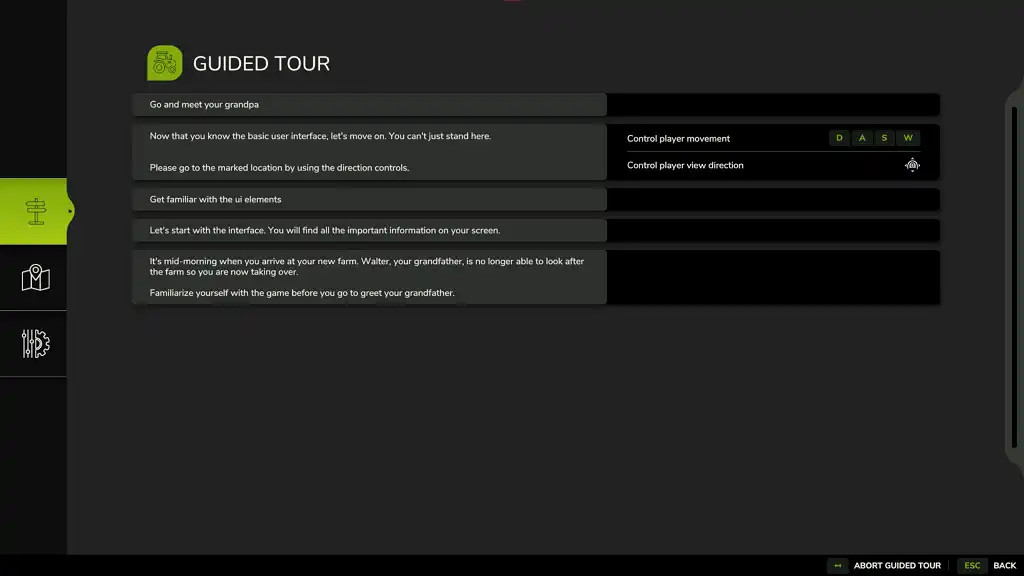
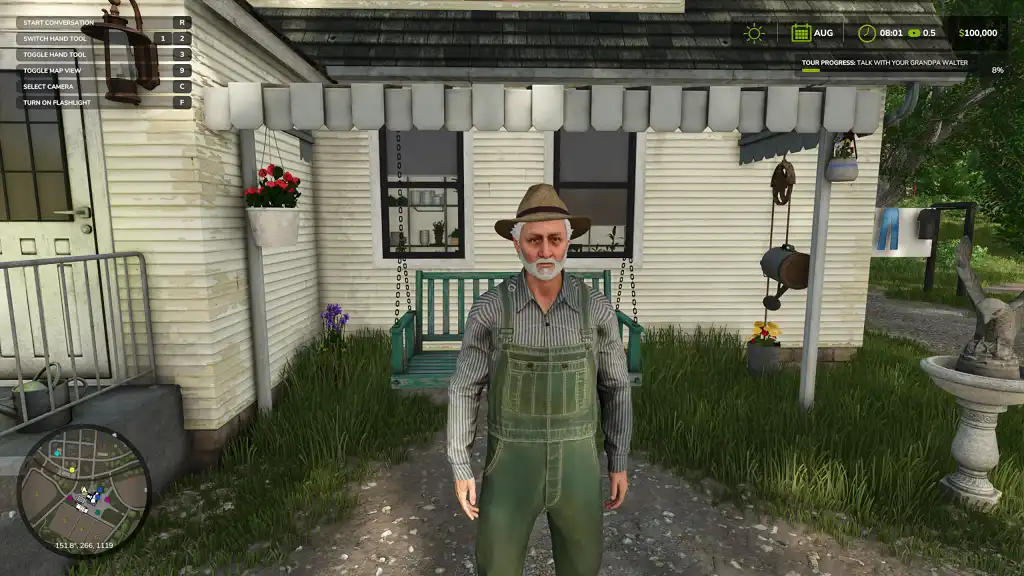 Grandpa Walter will be in every starting farm, regardless of the chosen map. Talking to this NPC marks the beginning of your life as a farmer. Initially, Walter shares some of his insights and experiences with you. Assuming that you choose to go through the Guided Tour, Walter will guide you through each step, which will help you familiarize yourself with the different ways to care for your farm.
Note: Choosing to forego the Guided Tour lets players gain free reign on what to they can do at the beginning. However, this choice isn’t advisable for newcomers, especially those who are unfamiliar with the game’s controls.
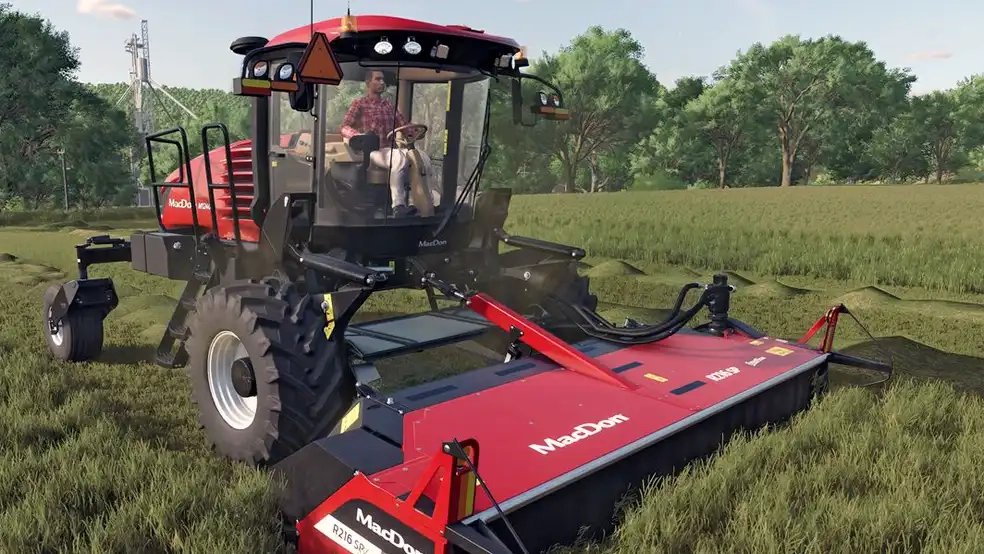
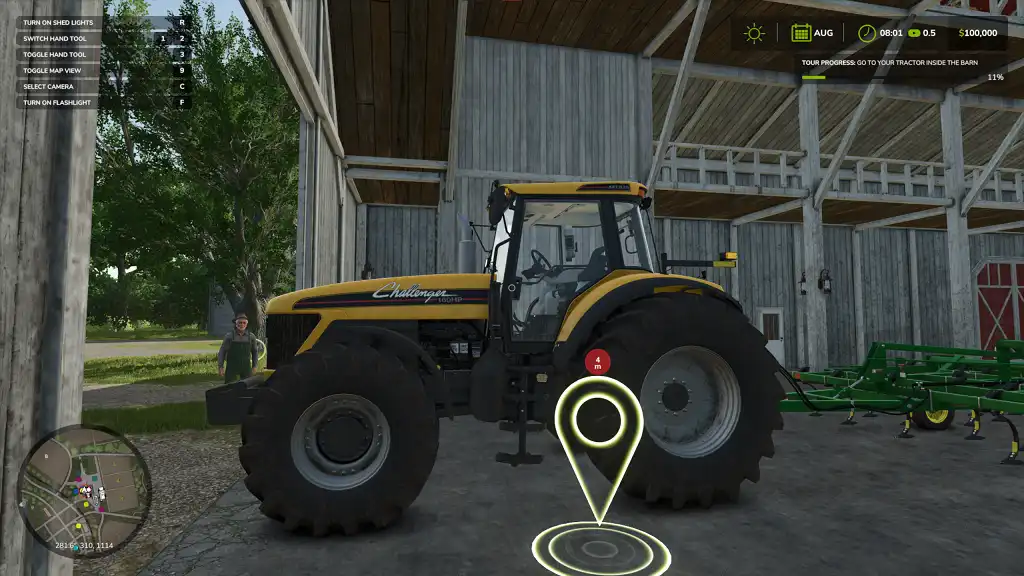 Various pieces of farm equipment are available from the beginning, including a tractor and a cultivator. These vehicles may not provide the best assistance to farmers by themselves. That's why one of your first objectives as a Farming Simulator 25 is to learn how to connect equipment for farming efficiency.
For starters, Walter guides you in using a tractor and a cultivator. Walk next to the tractor and press the “E” key (by default) to enter the vehicle. Once inside, drive the tractor with the cultivator to the field Walter mentioned.
The default basic controls for driving vehicles in Farming Simulator are the following:
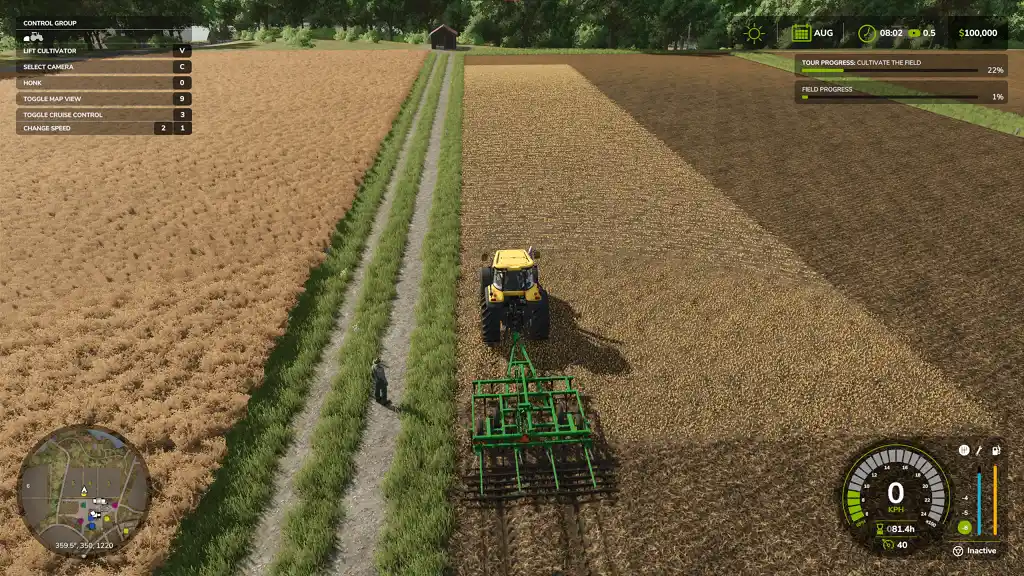 After familiarizing yourself with the controls, especially for controlling vehicles, it’s time to cultivate the fields. Remember, you can’t sow anything on fields if they’re not cultivated. So, drive the tractor with the cultivator over the field adjacent to Walter.
Lower the cultivator when you’re in position. To lower the tool, press the “V” key (by default). Then, drive the vehicle and the attached tool within the field’s perimeter to cultivate it. Cultivate the field until the progress bar on the upper right reaches 100%.
Generally, you can hire NPCs to do various farming work for you, including cultivating fields. However, this feature isn’t accessible while you’re still in this part of the Guided Tour.
Tip: Aside from hiring NPCs, players can work together in multiplayer Farming Simulator 25 servers to complete objectives faster than in single-player mode.
 Return the tractor with the cultivator to the barn. This time, Walter wants you to detach the cultivator (press the “Q” key) and attach the seeder that’s in the establishment.
Next, reverse the tractor into the barn and next to the seeder. If done correctly, an on-screen prompt should appear telling you to attach the seeder.
With the seeder attached, drive the tractor with the seeder next to the big bag of seeds. Then, fill the seeder with seeds by pressing the “R” key (by default). Wait for the seeder to be filled before proceeding with the next step.
Tip: Press the "Y" key (by default) to select which seed to use if you’re managing different variants in the seeder.
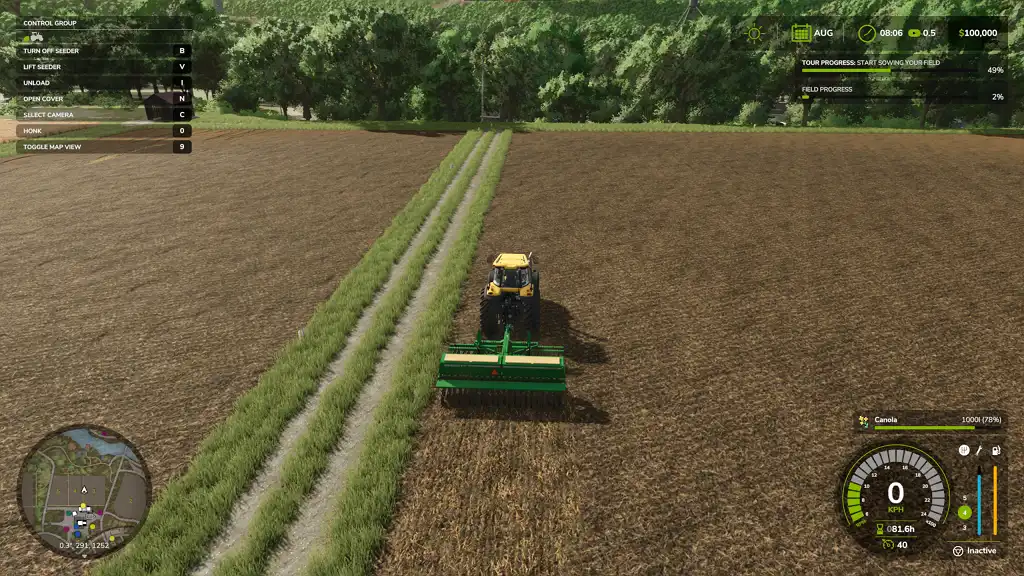
Drive to the field that Walter mentioned afterward. Once you're in position, lower the tool and activate the seeder using the “B” key (by default. Next, drive the tractor within the field’s perimeter and fill the field with seeds until the progress bar on the upper right of the screen says 100%.
At this point, Walter also tells you that you can now hire NPC helpers to help you complete farm objectives. Do so by pressing the “H” key (by default). Once finished, press the “TAB” key (by default) on your keyboard to instantly move to the next vehicle and your next task.
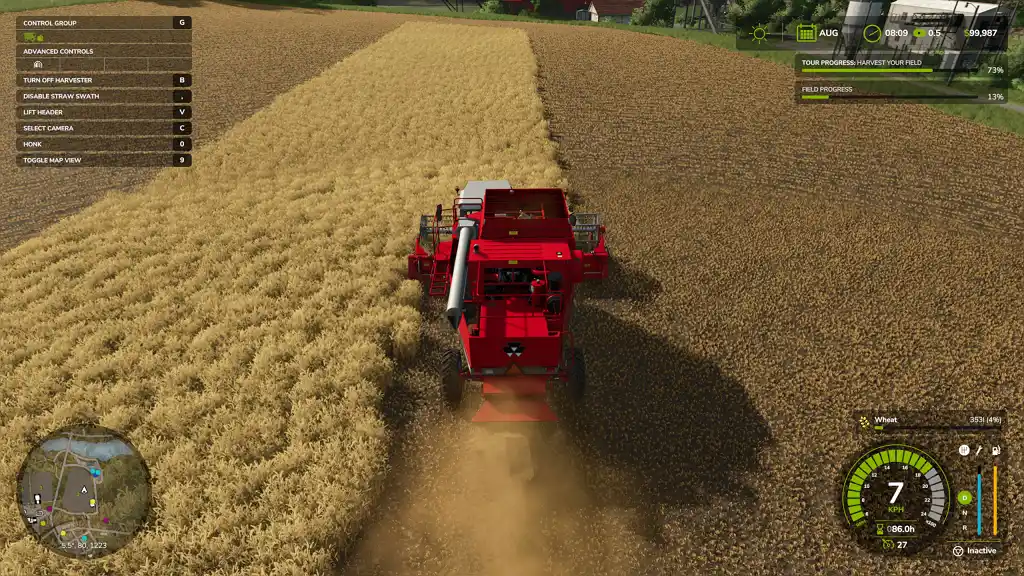 Pressing the "TAB" key will teleport you to a harvester at this point. At this point in the Guided Tour, the harvester already has a header attached to it. However, harvesters generally require farmers to attach headers to harvest crops from fields.
Moving forward, drive the harvester with the header to the field Walter mentioned. Now, if you have the “Crop Destruction” feature enabled, driving over any harvestable crop will ruin it. Thankfully, the Guided Tour has this feature disabled, allowing you to drive the vehicle over crops without worry.
Then, detach the header from its towing point. Next, drive the harvester to the point indicated and reattach the tool. Unfold the grain tank afterward by pressing the “X” key (by default). Now, activate the tool, lower it, and drive the harvester with the header across the harvestable field. Continue this task until the progress bar on the upper right of the screen reaches 100%.
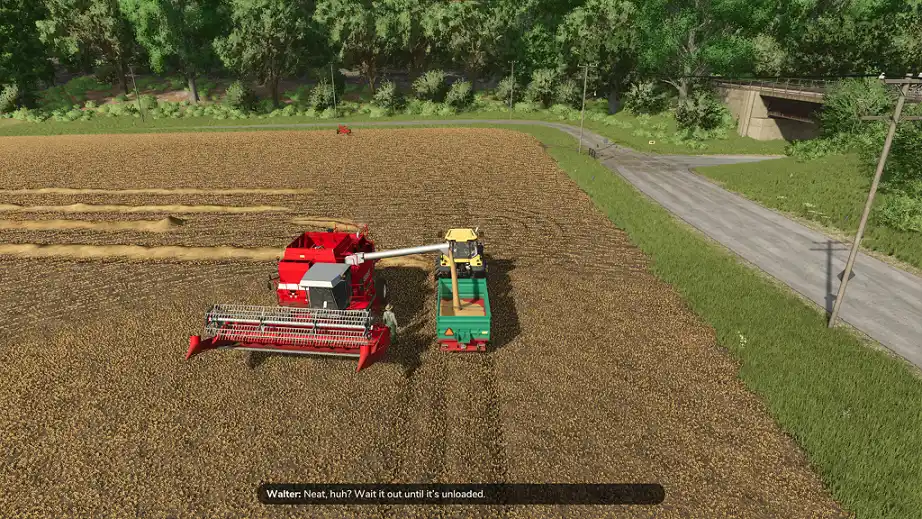 Once you're finished harvesting the crops, park it at a convenient location and press the "O" key (by default) to extend the pipe. Then, Walter tells you to get the trailer from the garage. You can walk to the garage manually or teleport to the trailer by pressing the "TAB" key.
You should now be in a tractor with a trailer. Drive the tractor with the trailer next to the parked harvester. Next, place the trailer underneath the pipe, which should automatically unload the harvested crops onto the trailer. At this point, you have two options: sell the crops or store them.
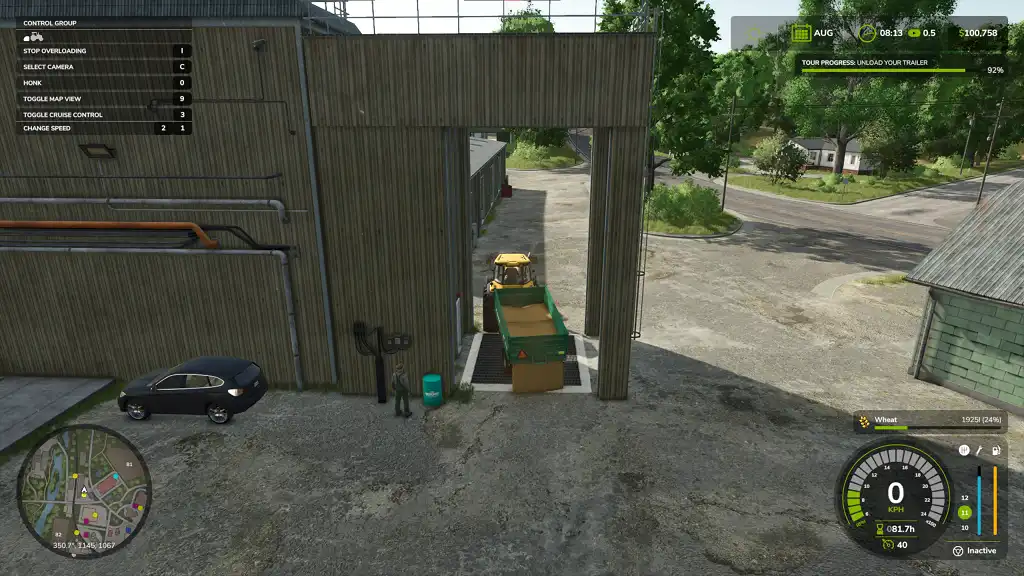 Like previous Farming Simulator iterations, Farming Simulator 25 requires you to drive goods to sell points to vend them. In this case, drive the tractor with the crop-filled trailer to the location on the map that Walter mentioned.
Tip: Remember to check market prices frequently to ensure the best prices when selling goods on the market.
Once you’re at the location, drive the trailer over the tip area and unload the crops by pressing the “I” key by default. Doing so unloads the crop and sells it automatically.
Drive back to the farm and talk to Walter to complete the Guided Tour. Search for and interact with Ben for additional in-game tips, particularly for other tasks like fertilizing and weeding.
With the Guided Tour complete, it also completes this Farming Simulator 25 Beginner’s Guide. Now, you have free reign on what you want to do in this game.
Farming Simulator 25 Beginner’s Guide
 In this Farming Simulator 25 Beginner’s Guide, you’ll familiarize yourself with the farm life and how to get started as a new or returning player. But first, you’ll begin by choosing one of the three base maps: Riverbend Springs, Hutan Pantai, or Zielonka. Once selected, your farming adventure begins!
Talking to Walter (Guide Tour/Tutorial)
 Grandpa Walter will be in every starting farm, regardless of the chosen map. Talking to this NPC marks the beginning of your life as a farmer. Initially, Walter shares some of his insights and experiences with you. Assuming that you choose to go through the Guided Tour, Walter will guide you through each step, which will help you familiarize yourself with the different ways to care for your farm.
Note: Choosing to forego the Guided Tour lets players gain free reign on what to they can do at the beginning. However, this choice isn’t advisable for newcomers, especially those who are unfamiliar with the game’s controls.
Controlling Farm Equipment
 Various pieces of farm equipment are available from the beginning, including a tractor and a cultivator. These vehicles may not provide the best assistance to farmers by themselves. That's why one of your first objectives as a Farming Simulator 25 is to learn how to connect equipment for farming efficiency.
For starters, Walter guides you in using a tractor and a cultivator. Walk next to the tractor and press the “E” key (by default) to enter the vehicle. Once inside, drive the tractor with the cultivator to the field Walter mentioned.
The default basic controls for driving vehicles in Farming Simulator are the following:
- Accelerate: W
- Decelerate: S
- Steer left: A
- Steer right: D
Cultivating Fields
 After familiarizing yourself with the controls, especially for controlling vehicles, it’s time to cultivate the fields. Remember, you can’t sow anything on fields if they’re not cultivated. So, drive the tractor with the cultivator over the field adjacent to Walter.
Lower the cultivator when you’re in position. To lower the tool, press the “V” key (by default). Then, drive the vehicle and the attached tool within the field’s perimeter to cultivate it. Cultivate the field until the progress bar on the upper right reaches 100%.
Generally, you can hire NPCs to do various farming work for you, including cultivating fields. However, this feature isn’t accessible while you’re still in this part of the Guided Tour.
Tip: Aside from hiring NPCs, players can work together in multiplayer Farming Simulator 25 servers to complete objectives faster than in single-player mode.
Seeding Fields
 Return the tractor with the cultivator to the barn. This time, Walter wants you to detach the cultivator (press the “Q” key) and attach the seeder that’s in the establishment.
Next, reverse the tractor into the barn and next to the seeder. If done correctly, an on-screen prompt should appear telling you to attach the seeder.
With the seeder attached, drive the tractor with the seeder next to the big bag of seeds. Then, fill the seeder with seeds by pressing the “R” key (by default). Wait for the seeder to be filled before proceeding with the next step.
Tip: Press the "Y" key (by default) to select which seed to use if you’re managing different variants in the seeder.
Drive to the field that Walter mentioned afterward. Once you're in position, lower the tool and activate the seeder using the “B” key (by default. Next, drive the tractor within the field’s perimeter and fill the field with seeds until the progress bar on the upper right of the screen says 100%.
At this point, Walter also tells you that you can now hire NPC helpers to help you complete farm objectives. Do so by pressing the “H” key (by default). Once finished, press the “TAB” key (by default) on your keyboard to instantly move to the next vehicle and your next task.
Harvesting Crops
 Pressing the "TAB" key will teleport you to a harvester at this point. At this point in the Guided Tour, the harvester already has a header attached to it. However, harvesters generally require farmers to attach headers to harvest crops from fields.
Moving forward, drive the harvester with the header to the field Walter mentioned. Now, if you have the “Crop Destruction” feature enabled, driving over any harvestable crop will ruin it. Thankfully, the Guided Tour has this feature disabled, allowing you to drive the vehicle over crops without worry.
Then, detach the header from its towing point. Next, drive the harvester to the point indicated and reattach the tool. Unfold the grain tank afterward by pressing the “X” key (by default). Now, activate the tool, lower it, and drive the harvester with the header across the harvestable field. Continue this task until the progress bar on the upper right of the screen reaches 100%.
Unloading Harvested Crops
 Once you're finished harvesting the crops, park it at a convenient location and press the "O" key (by default) to extend the pipe. Then, Walter tells you to get the trailer from the garage. You can walk to the garage manually or teleport to the trailer by pressing the "TAB" key.
You should now be in a tractor with a trailer. Drive the tractor with the trailer next to the parked harvester. Next, place the trailer underneath the pipe, which should automatically unload the harvested crops onto the trailer. At this point, you have two options: sell the crops or store them.
Selling Crops
 Like previous Farming Simulator iterations, Farming Simulator 25 requires you to drive goods to sell points to vend them. In this case, drive the tractor with the crop-filled trailer to the location on the map that Walter mentioned.
Tip: Remember to check market prices frequently to ensure the best prices when selling goods on the market.
Once you’re at the location, drive the trailer over the tip area and unload the crops by pressing the “I” key by default. Doing so unloads the crop and sells it automatically.
Drive back to the farm and talk to Walter to complete the Guided Tour. Search for and interact with Ben for additional in-game tips, particularly for other tasks like fertilizing and weeding.
With the Guided Tour complete, it also completes this Farming Simulator 25 Beginner’s Guide. Now, you have free reign on what you want to do in this game.
Like previous Farming Simulator iterations, Farming Simulator 25 requires you to drive goods to sell points to vend them. In this case, drive the tractor with the crop-filled trailer to the location on the map that Walter mentioned.
Tip: Remember to check market prices frequently to ensure the best prices when selling goods on the market.
Once you’re at the location, drive the trailer over the tip area and unload the crops by pressing the “I” key by default. Doing so unloads the crop and sells it automatically.
Drive back to the farm and talk to Walter to complete the Guided Tour. Search for and interact with Ben for additional in-game tips, particularly for other tasks like fertilizing and weeding.
With the Guided Tour complete, it also completes this Farming Simulator 25 Beginner’s Guide. Now, you have free reign on what you want to do in this game.Create your own
Farming Simulator 25 server
Farming Simulator 25 server
Choose a plan, pick a game, and play with your friends!
Join our Newsletter
Subscribe for the latest updates on all things gaming!
How would you rate this blog?
Share your opinion and help us make our blogs even better!
Didn't like
Neutral
Liked

Need a game server?
Rent a game server where you and your friends can play privately with low latency and custom settings. Choose from 70+ games, invite people from around the globe, and enjoy private matches, or build your own online community with your own rules.

Relevant Blogs

GET THE INSIDE SCOOP!
Join our email for updates on our hosted games, company news and exclusive deals. Stay in the loop!
