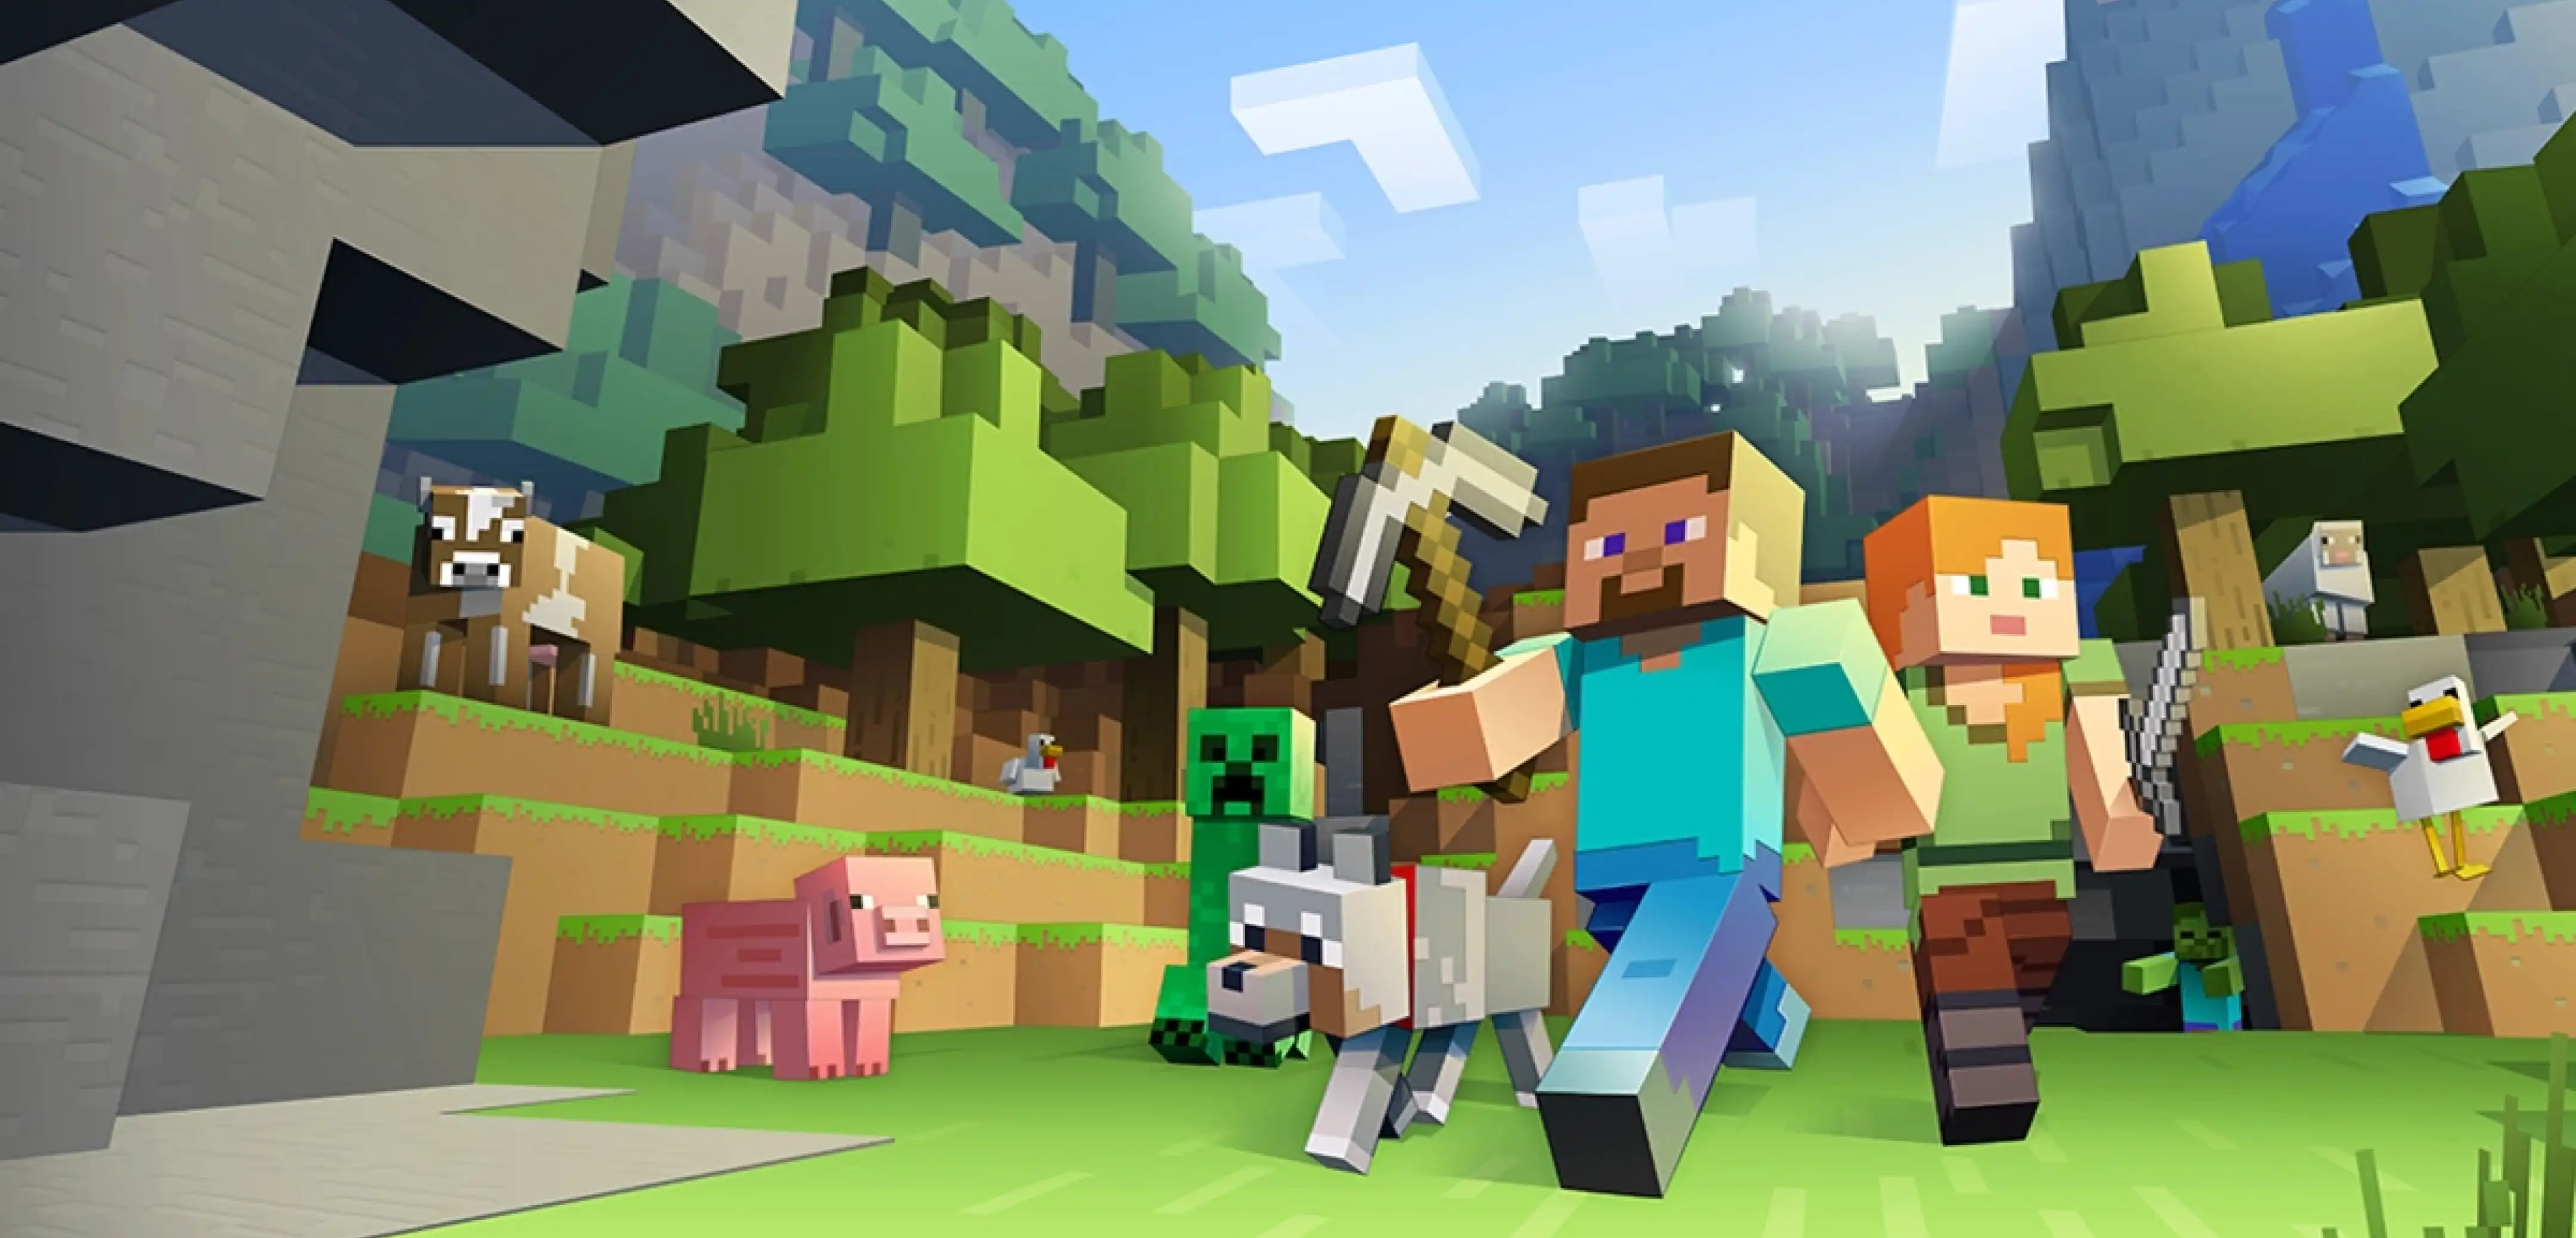
One of the most exciting aspects of Minecraft Java Edition is the mods. They can change the game into dinosaur survival, bring players to new solar systems far beyond the stars, and even add Mario to Minecraft. The possibilities are quite literally endless! But where does a new server owner even begin? Today we will be going over modded servers and modpacks to answer just that.
General Overview

Before jumping into the how-to, it is best to understand what makes modded servers different from vanilla and spigot. So, to first oversimplify the answer, mods modify Minecraft and its files. This in turn means that modded servers are essentially running a different version of the game.
To then connect, you must also be running that newly created version of Minecraft client-side. This is done by installing the exact same mods on your computer’s Minecraft client. Remember, unless the client and server files match, you will not be able to connect to the server.
Many also question why servers running modpacks require more RAM. In the same way that mods modify Minecraft, they also add to it. So, as more and more mods are added, it in turn becomes more resource-intensive. This is true for both the Minecraft client and server.
While RAM requirements vary significantly between modpacks, we generally recommend 4GB of RAM at minimum. Using any less risks lag or the server not being able to start up at all.
Picking a Modded Launcher

To connect to a modded server, you must first have the mods installed on your computer. Thankfully, through the use of third-party launchers, this is made easy with one-click install and play. But that brings us to the question of which launcher to use. Below we go over a few of the most common options.
CurseForge
CurseForge officially hosts majority of the modpacks out today and is by far the most common of the launchers. With a user-friendly interface and a very high chance of having the modpack you intend to use, it is generally the go-to option. The only exception would be for modpacks exclusive to other launchers which are quite few in number.
FTB App
The FTB App hosts a variety of exclusive modpacks created, managed, and maintained by a dedicated team of developers. For that reason, FTB modpacks are often the highest quality experience one can find in a modded environment. Additionally, all CurseForge modpacks can be installed and managed through the FTB App.
Technic
The Technic Launcher hosts user-submitted third-party modpacks alongside a selection of exclusive modpacks. Much like FTB, one can expect a smoother experience from their exclusive options due to the dedicated team managing them.
ATLauncher
The ATLauncher hosts third-party modpacks and can install modpacks otherwise exclusive to the launchers above. It is a well-working alternative should there be technical troubles with the other options.
VoidLauncher
The VoidLauncher offers a few exclusive modpacks, but most are quite outdated by today’s standards. Those looking to play the very popular CrazyCraft would use this launcher.
GDLauncher
The GDLauncher hosts no modpacks of its own but can be used to run modpacks from all other sources. It is a simple yet powerful launcher with a strong focus on user experience. We highly recommend its use should there be technical issues with any of the previously listed launchers.
Installing a Modpack on Your Computer
Once a launcher has been selected and installed, it can now be used to install and run a modpack in singleplayer. However, please keep in mind, modpacks use your computer’s RAM to function. Too little RAM allocated to the modpack, and your game will lag in singleplayer and on servers.
Should the default RAM values be too little, which is not uncommon, a higher amount will need to be manually allocated. A process with varying steps depending on which launcher is being used. As an example, the steps for CurseForge can be found below.
PLEASE NOTE: You can not allocate more RAM than your computer physically has. Please double-check your computer’s specs before proceeding.
- Open the CurseForge client
- Click the gear icon in the bottom left corner (️⚙️)
- Click 'Minecraft'
- Under Java Settings use the slider to adjust the memory allocated to the client.
Always remember, the amount of RAM each modpack requires varies depending on the modpack itself.
Creating a Minecraft Server

Private servers can be created for free through home hosting, but we recommend paid hosting options for ease of use and performance. Especially when running modpacks. Paid hosting is offered here at BisectHosting and many other places around the web.
Please keep in mind that modded Minecraft clients and servers require a lot of RAM to function properly. 4GB is the general minimum we recommend. However, there are many modpacks out there that require upwards of 5, 6, and even 8GB at minimum.
Please review your desired modpack for its RAM requirements. Modpack developers will often list these numbers on the modpack’s official page.
Installing a Modpack on Your Server
The steps required for installing a modpack on your server will vary depending on which Minecraft server host you are with. For example, the manual install process for BisectHosting can be found in our step-by-step guide here.
If a client of BisectHosting, Budget Servers with Advanced Support and Premium Servers will have one-click modpack installs offered directly through the multicraft panel. Our guide on the multicraft panel’s Jar Menu can be found here.
Once the server starts up, you can then connect using your modded client. Remember! The client and server files must match to connect.
Still Having Trouble?
Should all else fail, BisectHosting’s ticket support is open 24/7 with an average wait of less then thirty minutes. Our staff will do their best to assist, if not outright installing it for you should your purchased services allow.
While not an official support avenue, I would also be happy to answer any general questions you may have in the comments below.
Closing Words
Hopefully this has helped as an introduction to the wide world of modded Minecraft. While it can be frustrating, trust that this small hurdle truly opens the door to endless genres of fun creating Minecraft experiences like never before. Don’t give up! We are here to help. =)
Until Next Time,
BisectHosting =)
Subscribe for the latest updates on all things gaming!
How would you rate this blog?

Relevant Blogs

GET THE INSIDE SCOOP!
Join our email for updates on our hosted games, company news and exclusive deals. Stay in the loop!
