7 Days To Die: All Light Sources & How To Use Them
Posted on by
Share:
Share on X
Share on Facebook
Share on Threads
Share on Threads
Copy to Clipboard
Share via email
(Estimated Read Time: 10 minutes)
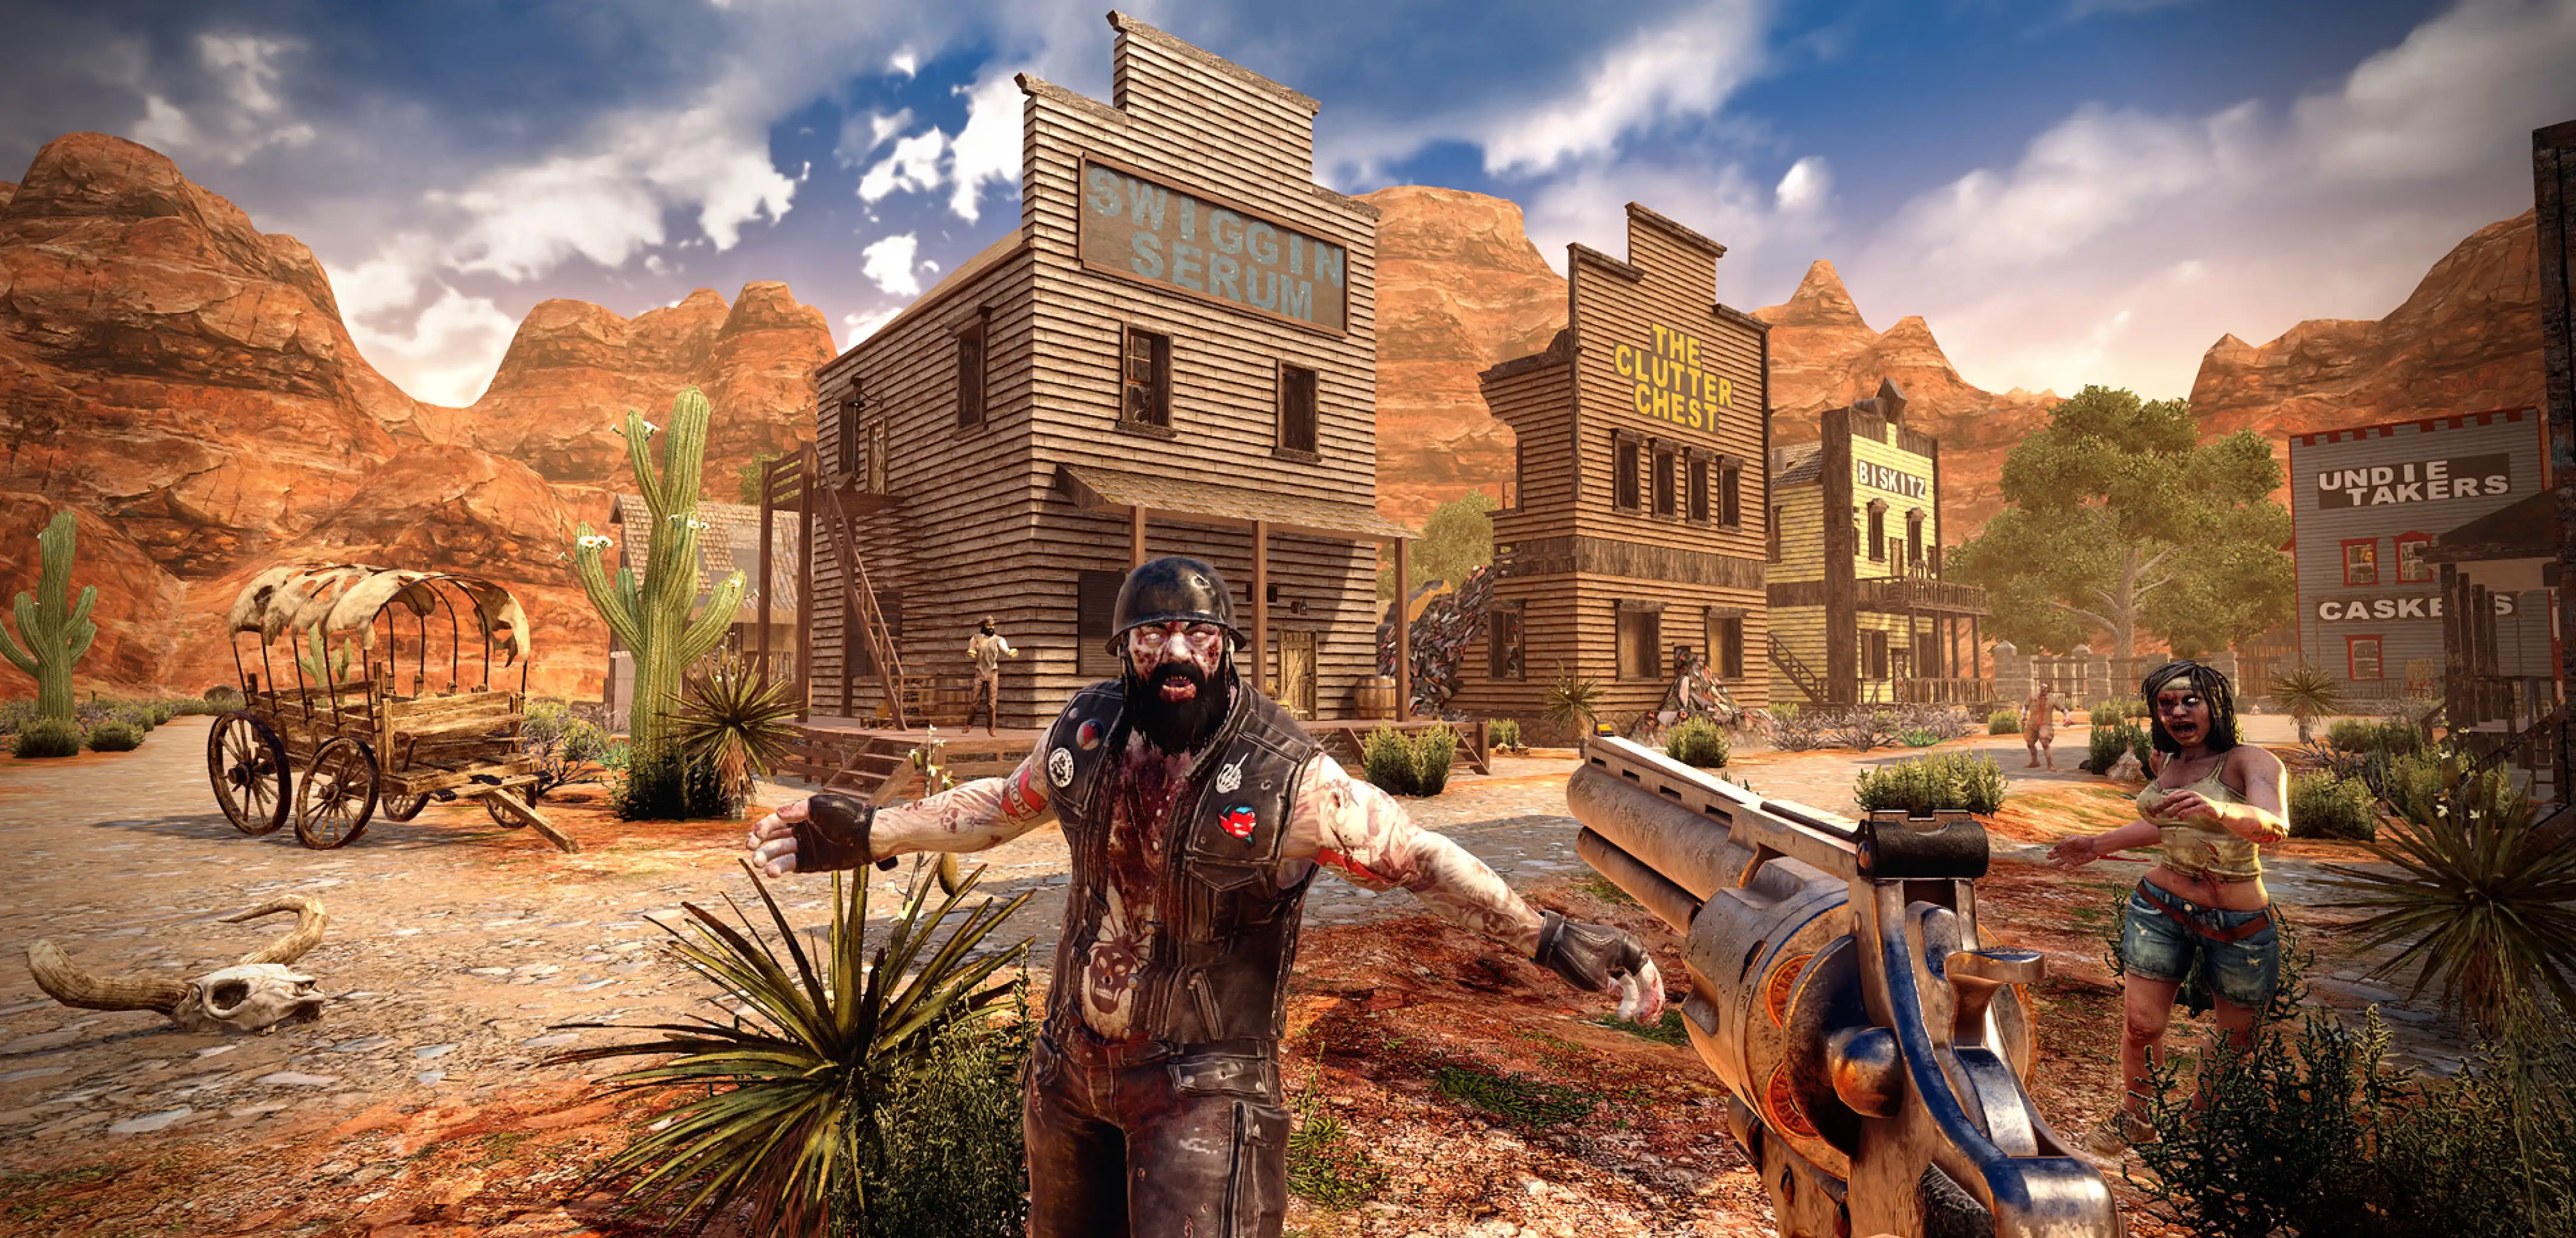
Are you scared of the dark, especially in 7 Days to Die? Thankfully, this survival horror title lets you use different light sources to make the night less scary than expected. So, continue reading to learn more about the different light sources in 7 Days to Die.7 Days to Die Light Sources
 Many light sources in 7 Days to Die don’t require power or fuel to function. However, lighting fixtures that require electricity must be in a power grid. Players must use the Wire Tool to connect the lights to power sources for the fixtures to work as intended.
With that, here are the light sources in 7 Days to Die, excluding the map-generated models, and how to use them:
Many light sources in 7 Days to Die don’t require power or fuel to function. However, lighting fixtures that require electricity must be in a power grid. Players must use the Wire Tool to connect the lights to power sources for the fixtures to work as intended.
With that, here are the light sources in 7 Days to Die, excluding the map-generated models, and how to use them:
Flashlight
- How to Get: Craft it on the Workbench using 1x Forged Iron, 10x Electrical Parts, 4x Duct Tape, and 4x Scrap Polymers
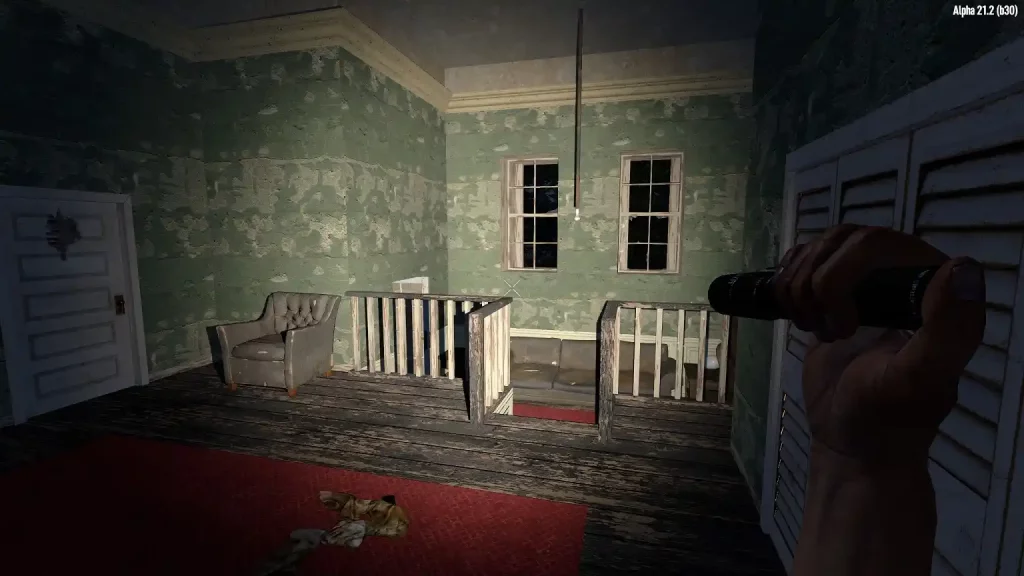
- How to Use: The Flashlight in 7 Days to Die doesn’t require batteries, unlike those in other games like Sons of the Forest. Players can turn this light source on and off using the “F” key (by default). It’s also usable as a close-range weapon, albeit it’s not going to be effective in incapacitating the undead.
Weapon Flashlight Mod
- How to Get: Unlock the crafting recipe using the Weapon Flashlight Mod Schematic. Then, craft it on the Workbench by using 10x Scrap Polymers, 2x Glue, 5x Electrical Parts, and 1x Flashlight.
- How to Use: Attach it to a compatible weapon to shine a beam of light while holding said weapon. The weapons you can attach a Weapon Flashlight Mod to are the following:
- .44 Desert Vulture
- .44 Magnum
- Rocket Launcher
- AK-47 Machine Gun
- Auto Shotgun
- Compound Crossbow
- Iron Crossbow
- Double Barrel Shotgun
- Pipe Pistol
- Pipe Machine Gun
- Pipe Rifle
- Pipe Shotgun
- Hunting Rifle
- M60 Machine Gun
- SMG-5
- Pistol
- Pump Shotgun
- Sniper Rifle
- Tactical Assault Rifle
Helmet Light Mod
- How to Get: Unlock the crafting recipe using the Helmet Light Mod Schematic. Then, craft it by hand using 5x Forged Steel, 2x Scrap Polymers, 2x Duct Tape, 1x Sewing Kit, and 1x Flashlight.
- How to Use: Attach to any head armor for a convenient way to shine a beam of light in the direction the player is facing. Then, press the “F” key (by default) to activate or deactivate the light from the Helmet Light Mod.
Vehicle Off-Road Headlights Mod
- How to Get: Unlock the crafting recipe using the Vehicle Off Road Headlights Mod Schematic. Then, craft it by hand using 5x Forged Steel, 10x Scrap Polymers, 4x Electrical Parts, and 4x Headlight.
- How to Use: Attach to all drivable vehicles except the Bicycle and Gyrocopter. This mod increases the vehicle’s headlight strength by 120%.
Old Outdoor Light
- How to Get: Craft it on the Workbench using 2x Forged Iron and 6x Electrical Parts.
- How to Use: The Old Outdoor Light must be in a working electrical power grid to function. It’s a placeable lighting fixture that can be turned on or off manually.
Basic Light Bulb
- How to Get: Read at least 25 “Wiring 101” magazines. Then, craft it on the Workbench by using 3x Forged Iron, 6x Electrical Parts, and 1x Headlight.
- How to Use: A placeable lighting fixture that must be part of a working electrical power grid to function. Players can turn it on or off manually.
Industrial Light
- How to Get: Read at least 25 “Wiring 101” magazines. Then, craft it on the Workbench by using 6x Forged Iron and 6x Electrical Parts.
- How to Use: A placeable lighting fixture that must be part of a working electrical power grid to function. Players can turn it on or off manually.
Industrial Light Bulb
- How to Get: Read at least 25 “Wiring 101” magazines. Then, craft it on the Workbench by using 6x Forged Iron and 6x Electrical Parts.
- How to Use: Must be connected to a power source, such as a Generator or Power Bank, to function. Players can turn it on or off manually.
Lantern
- How to Get: Craft it on the Workbench using 5x Forged Iron, 1x Headlight, 3x Electrical Parts, 4x Duct Tape, and 5x Oil.
- How to Use: A light source that projects a powerful shine within the immediate area. However, this placeable lighting fixture’s potent light can generally attract more zombies than other lighting units.
Street Light (Switch)
- How to Get: Introduced in Alpha 15, craft it on the Workbench using 5x Forged Steel and 15x Electrical Parts.
- How to Use: Not to be confused with the Street Lights generated by the map, this craftable version is one of the most powerful light sources in 7 Days to Die. Players can turn it on or off manually, and it shines a downward beam of light that illuminates up to three blocks away.
Spotlight
- How to Get: Read at least 50 “Wiring 101” magazines. Then, craft it on the Workbench by using 1x Headlight, 12x Electrical Parts, 3x Duct Tape, and 78x Iron.
- How to Use: A placeable powerful lighting fixture that must be part of an electrical power grid. It creates a concentrated beam of light in the direction it’s facing to illuminate the surroundings. However, it can also attract zombies.
Fluorescent Light
- How to Get: Read at least 25 “Wiring 101” magazines. Then, craft it on the Workbench by using 3x Forged Iron and 6x Electrical Parts.
- How to Use: A placeable lighting fixture that must be part of an electrical power grid. Players can turn it on or off manually.
Candle
- How to Get: Craft it by hand using 1x Plant Fibers and 1x Animal Fat.
- How to Use: A placeable lighting fixture that shines a dim light. Players can place it on almost any surface with structural integrity, including most floors and walls.
Torch
- How to Get: Craft it by hand using 5x Cloth Fragment, 1x Animal Fat, and 1x Wood.
- How to Use: The Torch is usable as a weapon and a light source. Damaging the undead with it can set them ablaze, dealing 15 damage over 10 seconds. However, this item also attracts zombies with its heat.
Jack O' Lantern
- How to Get: Craft it by hand using 1x Candle and 1x Pumpkin.
- How to Use: A placeable light source with no heat map, unlike the Torch. That means it doesn’t attract zombies. However, the Jack O’ Lantern’s light is dimmer than that of other options, such as the Spotlight.
Burning Barrel
- How to Get: Craft it on the Workbench using 3x Forged Iron and 10x Wood.
- How to Use: As a light source, the Burning Barrel is like a larger version of the Torch. It produces heat and light indefinitely until the player disassembles it or water snuffs out the flames.
Campfire
- How to Get: Craft it by hand using 5x Small Stone.
- How to Use: One of the most versatile light sources in 7 Days to Die, players can use the Campfire to brighten the surroundings, cook food, create medicines, and boil water. It’s also usable to craft some resources, such as Glue and Paint.
Create your own
7 Days to Die server
7 Days to Die server
Choose a plan, pick a game, and play with your friends!
Join our Newsletter
Subscribe for the latest updates on all things gaming!
How would you rate this blog?
Share your opinion and help us make our blogs even better!
Didn't like
Neutral
Liked

Need a game server?
Rent a game server where you and your friends can play privately with low latency and custom settings. Choose from 70+ games, invite people from around the globe, and enjoy private matches, or build your own online community with your own rules.

Relevant Blogs


GET THE INSIDE SCOOP!
Join our email for updates on our hosted games, company news and exclusive deals. Stay in the loop!