
7 Days to Die Electricity Guide: How to Set Up Power and Connect Devices
Posted on by
Much like the real world, your base in 7 Days to Die needs power to run various gadgets and tools, anywhere from traps to lighting fixtures. However, setting up electricity in Navezgane can be tricky, especially if you're fairly new to this seemingly bleak world. So, keep reading as we help you bring power to your base through this 7 Days to Die electricity guide.
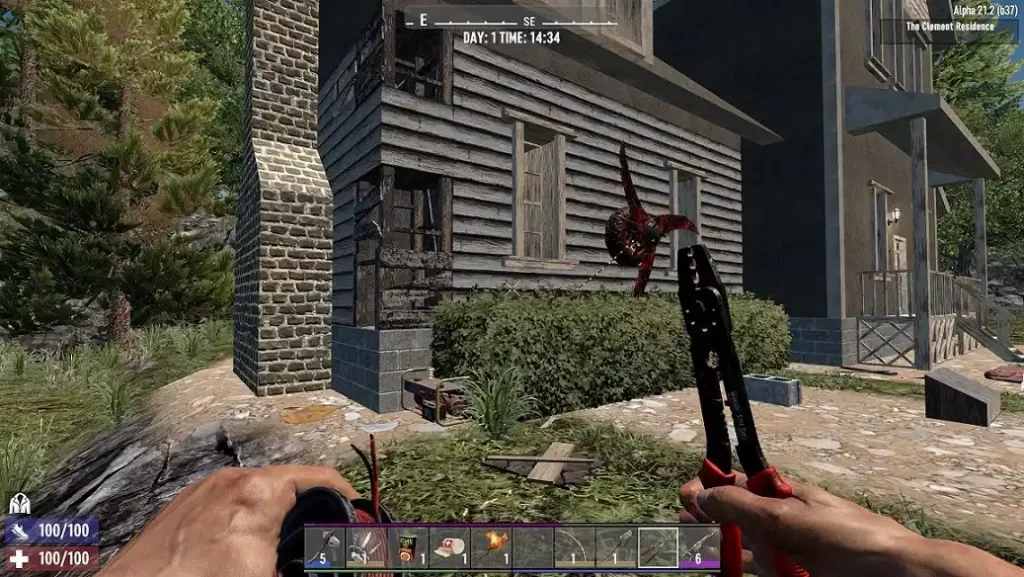 Note that you can unlock additional crafting recipes related to electricity when leveling the “Advanced Engineering” skill. Still, it’s important to mention that spending skill points to increase your Advanced Engineering skill isn’t a requirement to set up the electricity in your 7 Days to Die base. In particular, it’s possible to unlock certain crafting recipes by reading specific schematics, such as the Basics of Electricity Schematic.
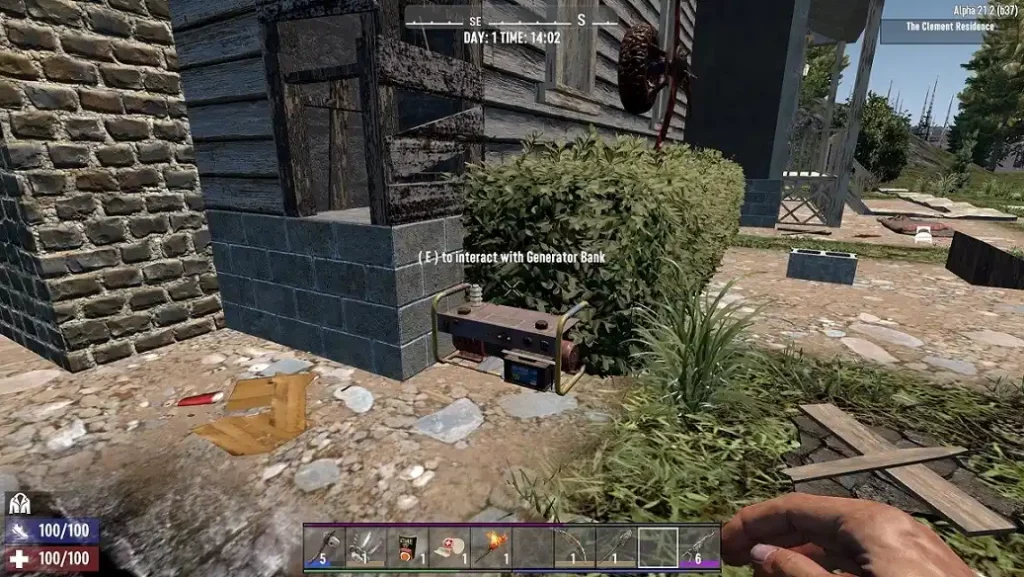 First, you must have an electrical power source to run electricity through your base and its various devices. Currently, two power options exist: Battery Bank and Generator Bank. The requirements to craft these items are as follows:
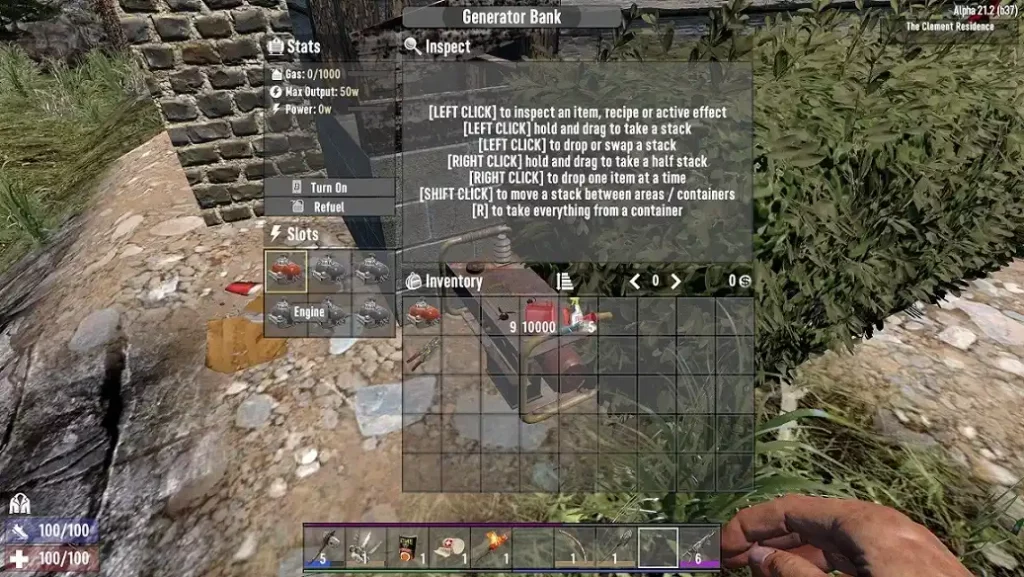 Powering a Battery Bank requires Lead Car Batteries, whereas the Generator Bank needs Engines. Additionally, the Generator Bank needs Fuel from a Gas Can for it to run, which you can harvest from various vehicles.
Note: It’s also possible to use a Solar Bank with a Battery Bank.
Crafting a Lead Car Battery requires unlocking the crafting recipe by reading at least 65x Wiring 101. Then, use at least 180x Lead, 1x Bottle of Acid, and 10x Scrap Polymers at the Chemistry Station.
On the other hand, the Engine is a non-craftable item in 7 Days to Die. Instead, you must dismantle sedans and Working Stiffs Crates using a Wrench to farm the item.
Finally, you must craft the Wire Tool at the Workbench using 9x Forged Steel and 3x Mechanical Parts. This tool is the final requirement to setting up electricity in 7 Days to Die, as you need it to connect a power source to different devices.
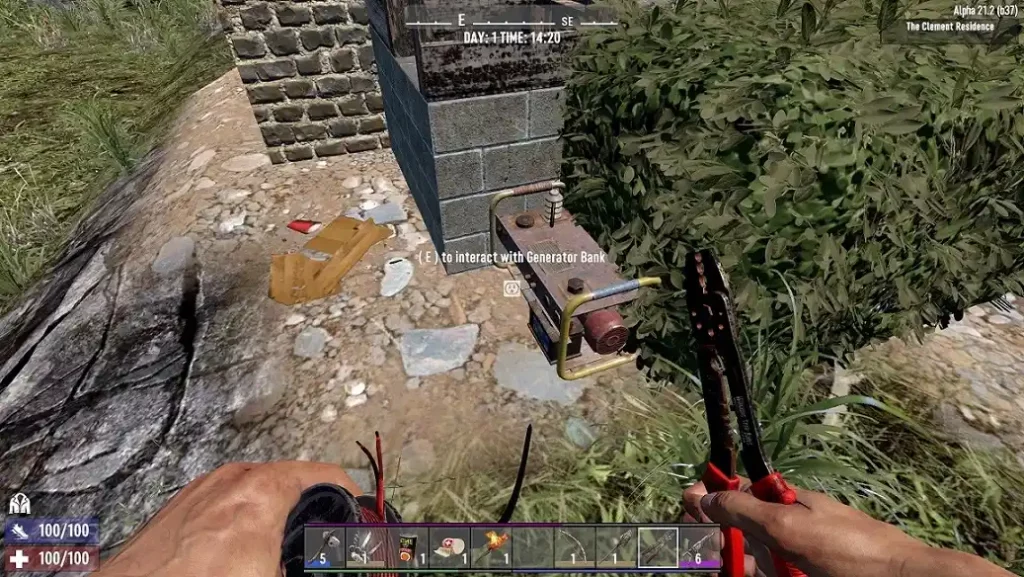 After completing the requirements, it's time to place the power source and electrical devices at your desired locations. If you’re not using Electric Wire Relays, ensure that the power source and the devices are nearby since the wire won’t be long enough to form a connection.
Additionally, the power source must have enough wattage to supply electricity to the connected devices. For example, adding 1x Engine to a Generator Bank adds 50 watts to the power source, which you can divide into different devices.
With that, connecting the power source to nearby devices is as straightforward as equipping the Wire Tool. Then, press the right mouse button (by default) while pointing at the power source to start the connection. Then, press the right mouse button again while pointing at a device to form the connection.
Note: Point your camera at the wire and press the left mouse button (by default) to sever the connection.
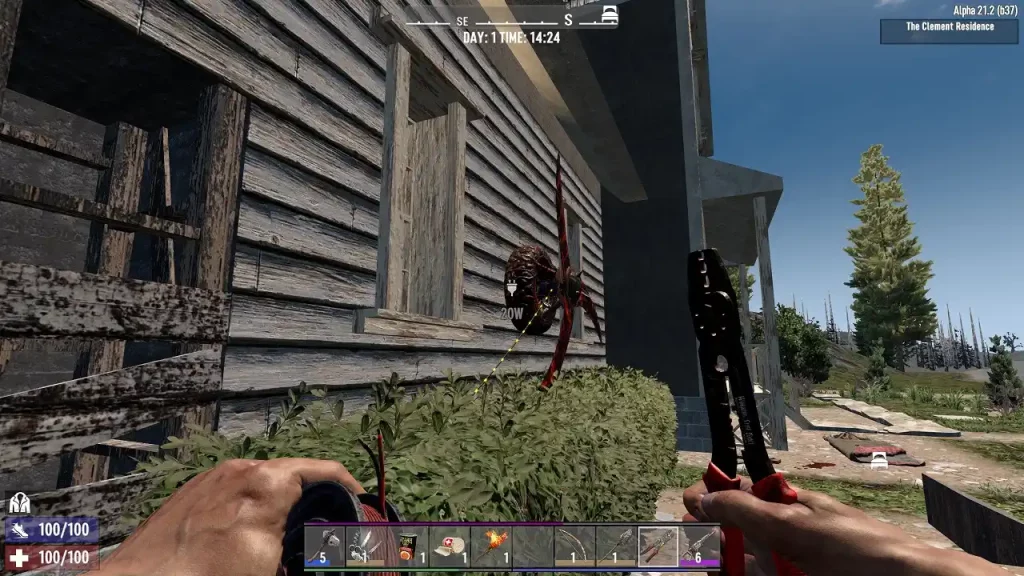 Hovering your crosshair over a device while holding the Wire Tool shows how much wattage is needed to power it. If your power source has insufficient power, the connected device won’t function.
Also, you can connect various devices as long as one has a wired connection to a power source. However, this setup isn't ideal, especially during horde night, since severing one of the connections can result in a power loss for all devices.
Instead, each device should have a separate connection to the power source. That way, if one connection is severed, you may still have other operational devices, preventing a significant loss of defensive power in your base.
If a particular device is far from the power source, you can place an Electric Wire Relay between the two items to help form the connection. Unlock the crafting recipe for this item by reading 25x Wiring 101. Then, use at least 3x Forged Iron and 1x Electrical Parts at the Workbench to craft 1x Electric Wire Relay.
Note: Some mods enable quality-of-life improvements to the electricity system in 7 Days to Die.
How to Setup Electricity in 7 Days to Die
 Note that you can unlock additional crafting recipes related to electricity when leveling the “Advanced Engineering” skill. Still, it’s important to mention that spending skill points to increase your Advanced Engineering skill isn’t a requirement to set up the electricity in your 7 Days to Die base. In particular, it’s possible to unlock certain crafting recipes by reading specific schematics, such as the Basics of Electricity Schematic.
Requirements
 First, you must have an electrical power source to run electricity through your base and its various devices. Currently, two power options exist: Battery Bank and Generator Bank. The requirements to craft these items are as follows:
- Battery Bank: Read 75x Wiring 101 to unlock the crafting recipe. Then, use 10x Forged Iron, 11x Electrical Parts, and 6x Scrap Polymers at the Workbench.
- Generator Bank: Unlock the crafting recipe by reading 25x Wiring 101. Then, use 15x Forged Iron, 15x Mechanical Parts, and 21x Electrical Parts (with Advanced Engineering levels 0 to 2) at the Workbench.
 Powering a Battery Bank requires Lead Car Batteries, whereas the Generator Bank needs Engines. Additionally, the Generator Bank needs Fuel from a Gas Can for it to run, which you can harvest from various vehicles.
Note: It’s also possible to use a Solar Bank with a Battery Bank.
Crafting a Lead Car Battery requires unlocking the crafting recipe by reading at least 65x Wiring 101. Then, use at least 180x Lead, 1x Bottle of Acid, and 10x Scrap Polymers at the Chemistry Station.
On the other hand, the Engine is a non-craftable item in 7 Days to Die. Instead, you must dismantle sedans and Working Stiffs Crates using a Wrench to farm the item.
Finally, you must craft the Wire Tool at the Workbench using 9x Forged Steel and 3x Mechanical Parts. This tool is the final requirement to setting up electricity in 7 Days to Die, as you need it to connect a power source to different devices.
Connecting Devices
 After completing the requirements, it's time to place the power source and electrical devices at your desired locations. If you’re not using Electric Wire Relays, ensure that the power source and the devices are nearby since the wire won’t be long enough to form a connection.
Additionally, the power source must have enough wattage to supply electricity to the connected devices. For example, adding 1x Engine to a Generator Bank adds 50 watts to the power source, which you can divide into different devices.
With that, connecting the power source to nearby devices is as straightforward as equipping the Wire Tool. Then, press the right mouse button (by default) while pointing at the power source to start the connection. Then, press the right mouse button again while pointing at a device to form the connection.
Note: Point your camera at the wire and press the left mouse button (by default) to sever the connection.
 Hovering your crosshair over a device while holding the Wire Tool shows how much wattage is needed to power it. If your power source has insufficient power, the connected device won’t function.
Also, you can connect various devices as long as one has a wired connection to a power source. However, this setup isn't ideal, especially during horde night, since severing one of the connections can result in a power loss for all devices.
Instead, each device should have a separate connection to the power source. That way, if one connection is severed, you may still have other operational devices, preventing a significant loss of defensive power in your base.
If a particular device is far from the power source, you can place an Electric Wire Relay between the two items to help form the connection. Unlock the crafting recipe for this item by reading 25x Wiring 101. Then, use at least 3x Forged Iron and 1x Electrical Parts at the Workbench to craft 1x Electric Wire Relay.
Note: Some mods enable quality-of-life improvements to the electricity system in 7 Days to Die.
Hovering your crosshair over a device while holding the Wire Tool shows how much wattage is needed to power it. If your power source has insufficient power, the connected device won’t function.
Also, you can connect various devices as long as one has a wired connection to a power source. However, this setup isn't ideal, especially during horde night, since severing one of the connections can result in a power loss for all devices.
Instead, each device should have a separate connection to the power source. That way, if one connection is severed, you may still have other operational devices, preventing a significant loss of defensive power in your base.
If a particular device is far from the power source, you can place an Electric Wire Relay between the two items to help form the connection. Unlock the crafting recipe for this item by reading 25x Wiring 101. Then, use at least 3x Forged Iron and 1x Electrical Parts at the Workbench to craft 1x Electric Wire Relay.
Note: Some mods enable quality-of-life improvements to the electricity system in 7 Days to Die.Create your own
7 Days to Die server
7 Days to Die server
Choose a plan, pick a game, and play with your friends!
Join our Newsletter
Subscribe for the latest updates on all things gaming!
How would you rate this blog?
Share your opinion and help us make our blogs even better!
Didn't like
Neutral
Liked

Need a game server?
Rent a game server where you and your friends can play privately with low latency and custom settings. Choose from 70+ games, invite people from around the globe, and enjoy private matches, or build your own online community with your own rules.

Relevant Blogs

GET THE INSIDE SCOOP!
Join our email for updates on our hosted games, company news and exclusive deals. Stay in the loop!
